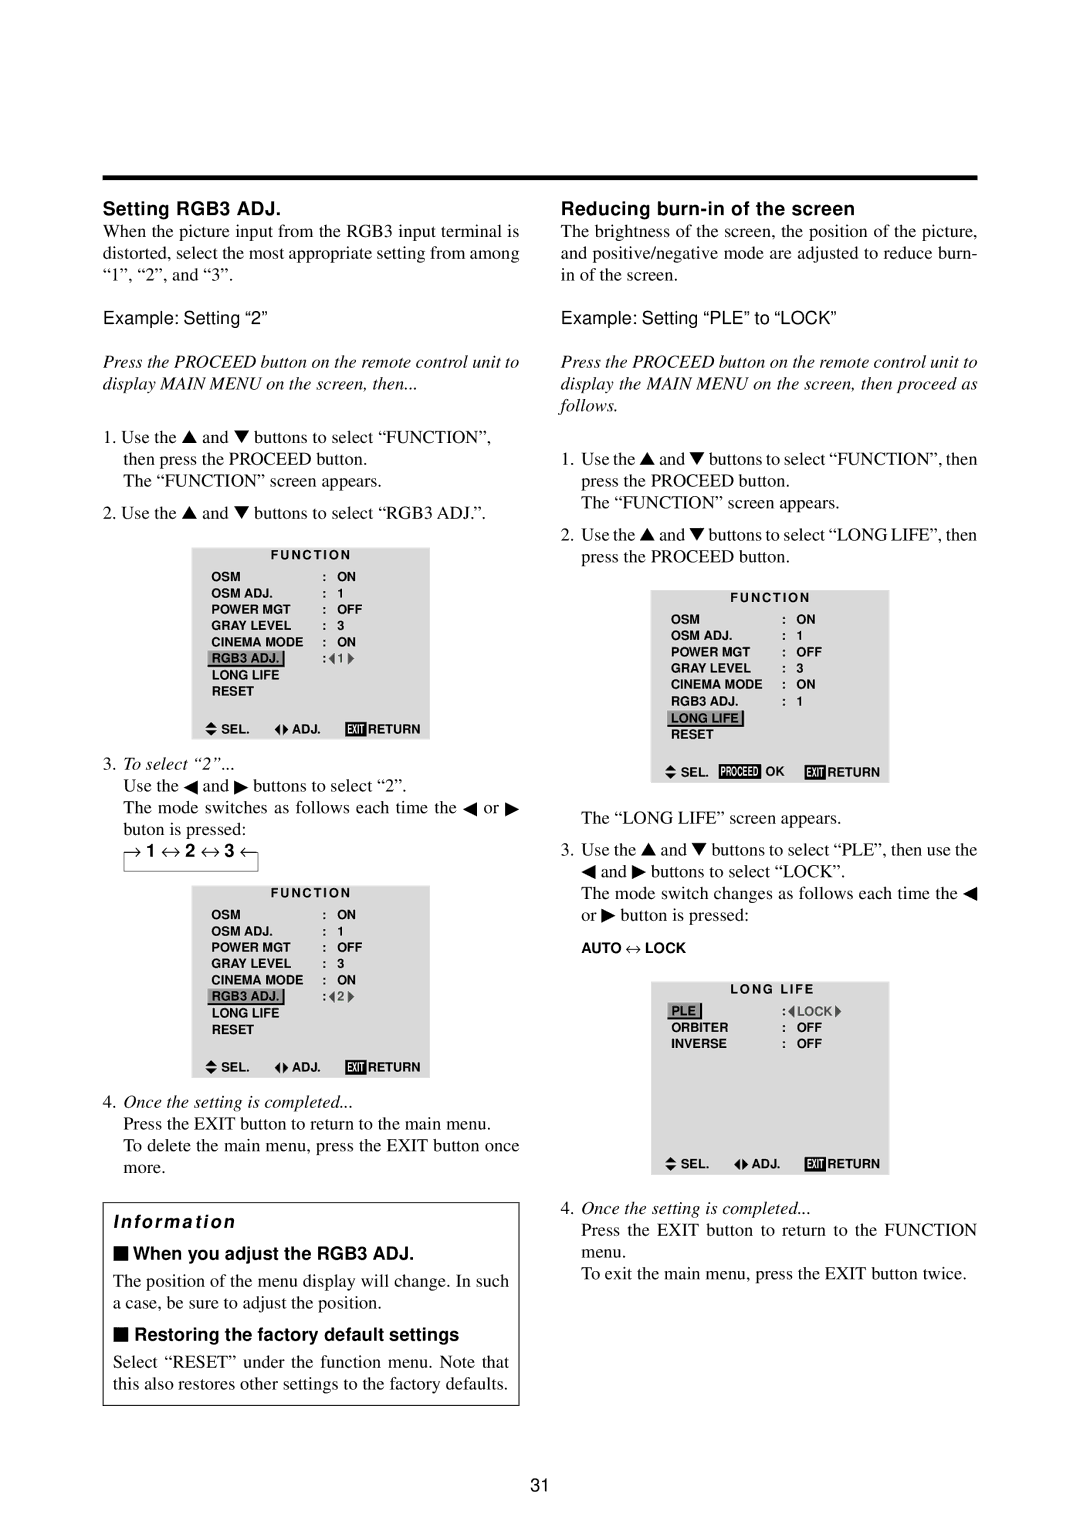
Setting RGB3 ADJ.
When the picture input from the RGB3 input terminal is distorted, select the most appropriate setting from among “1”, “2”, and “3”.
Example: Setting “2”
Press the PROCEED button on the remote control unit to
display MAIN MENU on the screen, then...
1.Use the ▲ and ▼ buttons to select “FUNCTION”, then press the PROCEED button.
The “FUNCTION” screen appears.
2.Use the ▲ and ▼ buttons to select “RGB3 ADJ.”.
F U N C T I O N
OSM | : | ON | |
OSM ADJ. | : | 1 | |
POWER MGT | : | OFF | |
GRAY LEVEL | : | 3 | |
CINEMA MODE | : | ON | |
RGB3 ADJ. |
| : | 1 |
LONG LIFE
RESET
SEL. | ADJ. | EXIT | RETURN |
3.To select “2”...
Use the ◀ and ▶ buttons to select “2”.
The mode switches as follows each time the ◀ or ▶ buton is pressed:
→ 1 ↔ 2 ↔ 3 ←
F U N C T I O N
OSM | : | ON | |
OSM ADJ. | : | 1 | |
POWER MGT | : | OFF | |
GRAY LEVEL | : | 3 | |
CINEMA MODE | : | ON | |
RGB3 ADJ. |
| : | 2 |
LONG LIFE
RESET
SEL. | ADJ. | EXIT | RETURN |
4.Once the setting is completed...
Press the EXIT button to return to the main menu.
To delete the main menu, press the EXIT button once more.
Information
⬛When you adjust the RGB3 ADJ.
The position of the menu display will change. In such a case, be sure to adjust the position.
⬛Restoring the factory default settings
Select “RESET” under the function menu. Note that this also restores other settings to the factory defaults.
Reducing burn-in of the screen
The brightness of the screen, the position of the picture, and positive/negative mode are adjusted to reduce burn- in of the screen.
Example: Setting “PLE” to “LOCK”
Press the PROCEED button on the remote control unit to display the MAIN MENU on the screen, then proceed as follows.
1.Use the ▲ and ▼ buttons to select “FUNCTION”, then press the PROCEED button.
The “FUNCTION” screen appears.
2.Use the ▲ and ▼ buttons to select “LONG LIFE”, then press the PROCEED button.
F U N C T I O N
OSM | : | ON | |||||
OSM ADJ. | : | 1 |
|
| |||
POWER MGT | : | OFF | |||||
GRAY LEVEL | : | 3 |
|
| |||
CINEMA MODE | : | ON | |||||
RGB3 ADJ. | : | 1 |
|
| |||
LONG LIFE |
|
|
|
|
|
| |
RESET |
|
|
|
|
| ||
SEL. |
|
|
| OK |
|
|
|
PROCEED |
| EXIT | RETURN | ||||
The “LONG LIFE” screen appears.
3.Use the ▲ and ▼ buttons to select “PLE”, then use the ◀ and ▶ buttons to select “LOCK”.
The mode switch changes as follows each time the ◀ or ▶ button is pressed:
AUTO ↔ LOCK
|
| L O N G L I F E |
|
| : LOCK |
PLE |
| |
ORBITER | : OFF | |
INVERSE | : OFF | |
SEL. | ADJ. | EXIT | RETURN |
4.Once the setting is completed...
Press the EXIT button to return to the FUNCTION menu.
To exit the main menu, press the EXIT button twice.
31
