Installation and Initial Setup
Unpacking
Carefully unpack the OR-841-HDSDI monitor and verify that the following items are included:
•OR-841-HDSDI Monitor
•12V 4A XLR Power Supply with 4-Pin Female XLR Connector
•Operating Instructions
Inspect the unit for any physical damage that may have occurred during shipping. Should there be any damage, immediately call Marshall Electronics Customer Service at (800) 800-6608. If you are not located within the continental United States, call +1 (310) 333-0606.
Mounting
The OR-841-HDSDI is designed as a tabletop camera assist or tri-pod/camera-top monitor. It comes complete with tabletop stand, easy-to-carry handle on top, and is equipped with both ¼-20 and 3/8” threaded mounts on top and bottom. The included handle and stand may be removed for access to the threaded mounts.
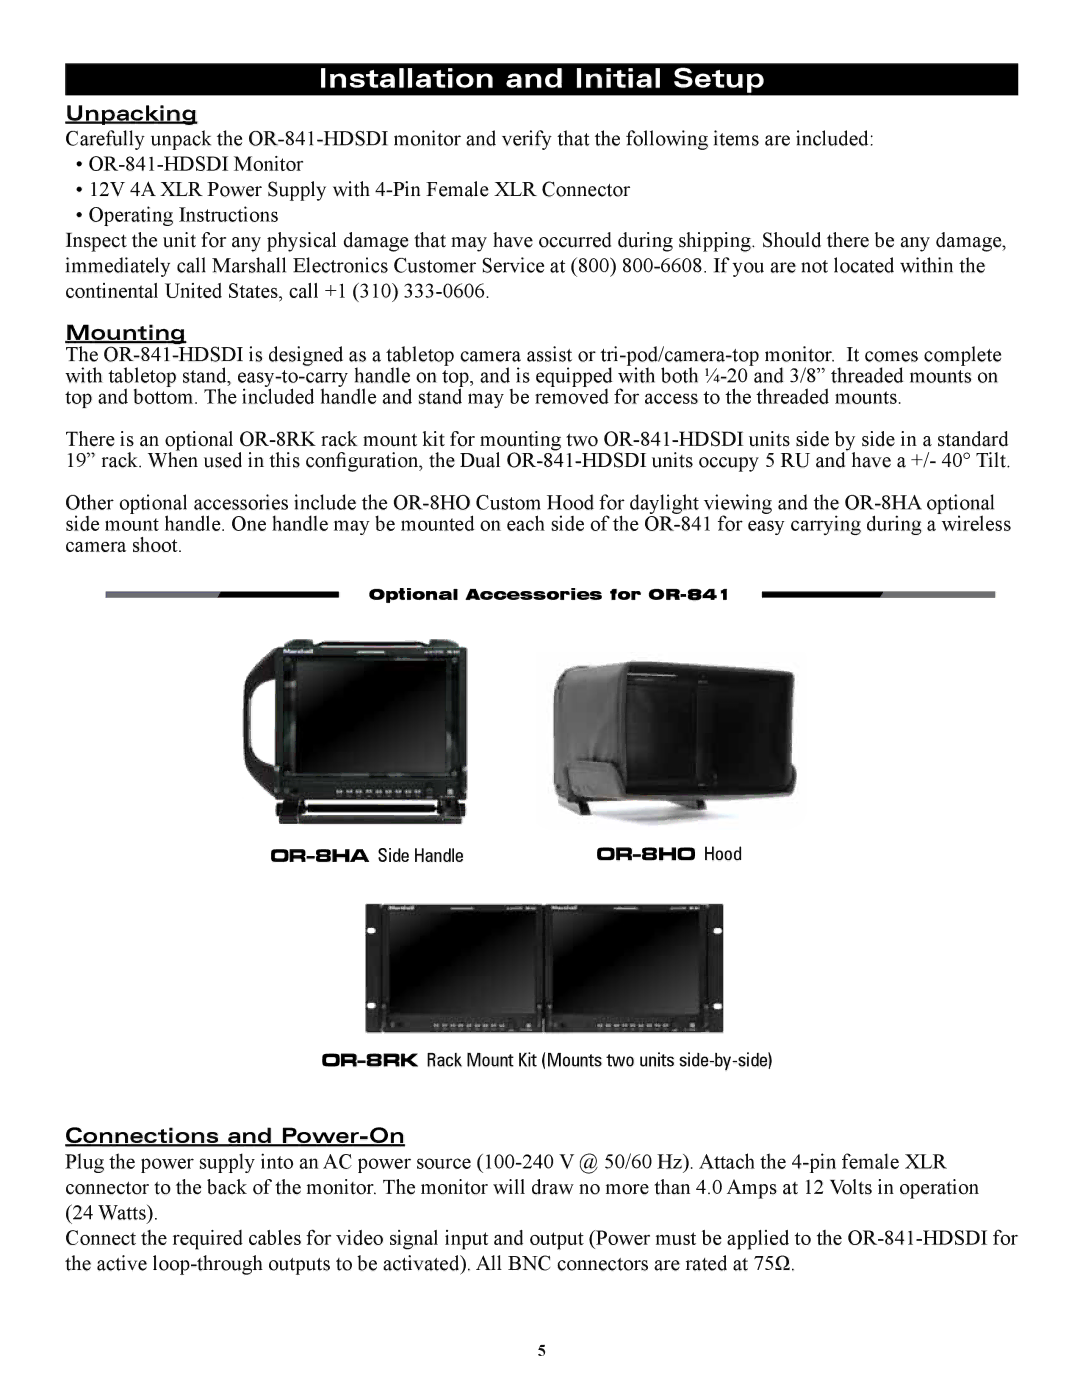
There is an optional OR-8RK rack mount kit for mounting two OR-841-HDSDI units side by side in a standard 19” rack. When used in this configuration, the Dual OR-841-HDSDI units occupy 5 RU and have a +/- 40° Tilt.
Other optional accessories include the OR-8HO Custom Hood for daylight viewing and the OR-8HA optional side mount handle. One handle may be mounted on each side of the OR-841 for easy carrying during a wireless camera shoot.
Optional Accessories for OR-841
OR-8HASide Handle | OR-8HO Hood |
OR-8RKRack Mount Kit (Mounts two units side-by-side)
Connections and Power-On
Plug the power supply into an AC power source (100-240 V @ 50/60 Hz). Attach the 4-pin female XLR connector to the back of the monitor. The monitor will draw no more than 4.0 Amps at 12 Volts in operation (24 Watts).
Connect the required cables for video signal input and output (Power must be applied to the OR-841-HDSDI for the active loop-through outputs to be activated). All BNC connectors are rated at 75Ω.