Operating Instructions
The proper amount of heat for each application is dependent on three variables:
1.The volume/speed of airflow along with distance of nozzle from work surface.
2.Length of time that heat is applied and airflow.
3.Combination of air and settings. Experiment with these variables to better learn the capabilities of this heat gun.
Before performing any application, we recommend that you experiment with a piece of scrap material. Use care in approaching the work until you find the proper combination of heat and air velocity control, distance and the heat application time.
Use a gentle back and forth motion when applying heat unless it is found that a concentrated heat is desired.
To Operate Heat Gun
1)Plug heat gun into properly rated outlet.
2)Move the switch to position one (I) for about 130°F54°C air output, air velocity can now be regulated between
3)Move the switch to position two (II) for temperature control from
4)Move switch to zero(O)"Off" position.
CAUTION: Do not place unit on its side while using spreader or heat shrink attachments.
NOTE:
Users should independently evaluate the suitability of the product for their application.
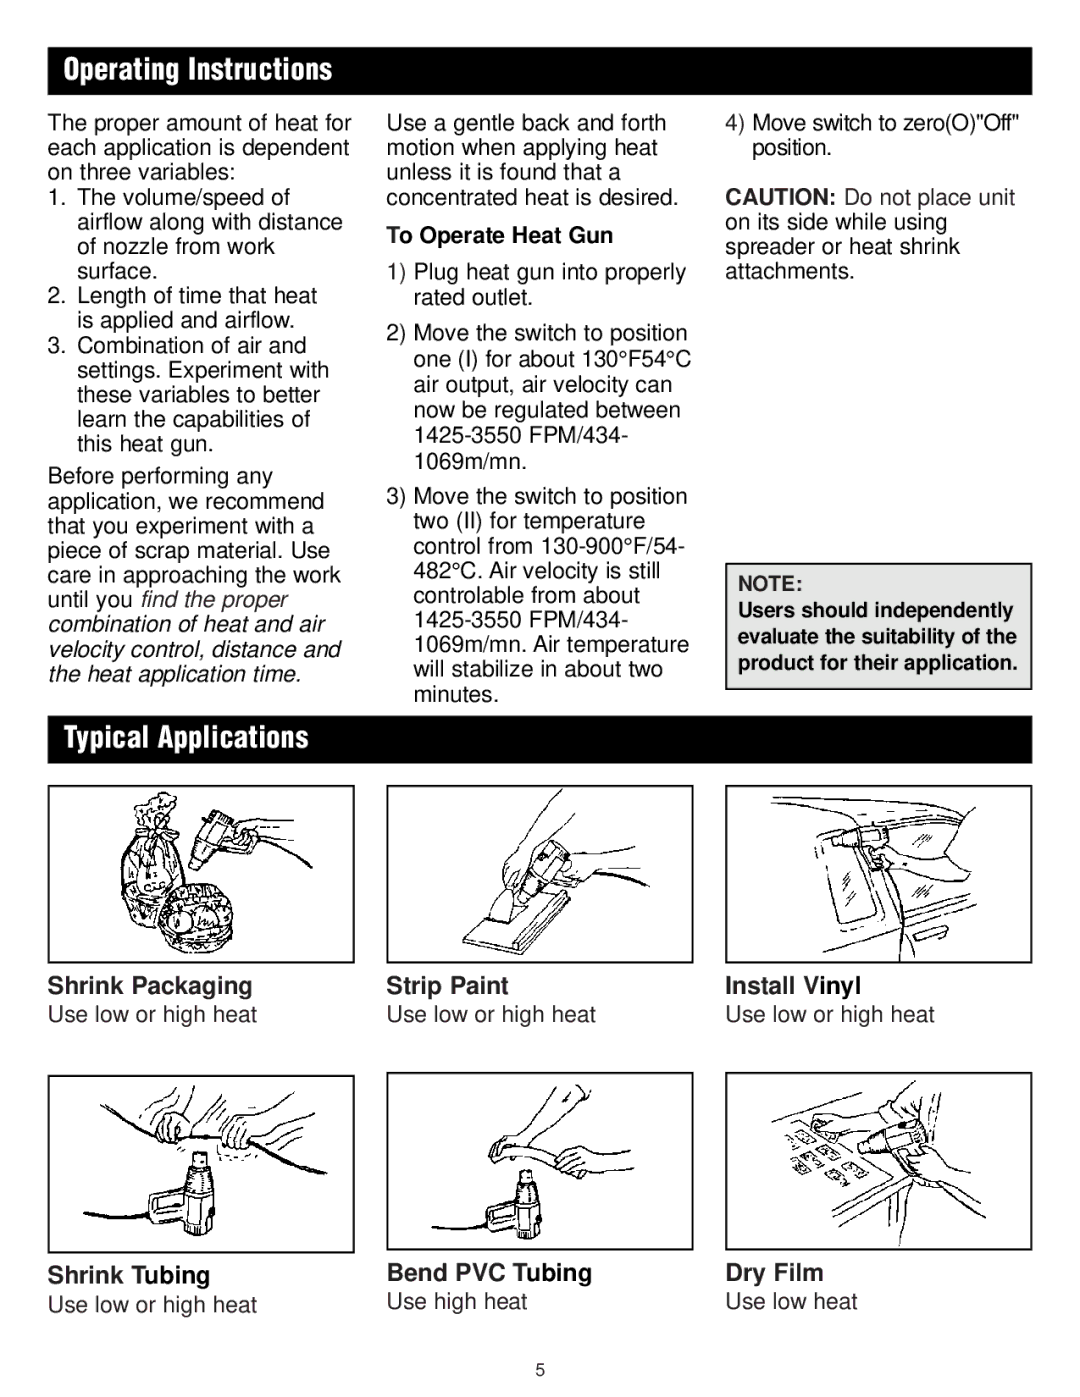
Typical Applications
Shrink Packaging |
| Strip Paint |
| Install Vinyl |
Use low or high heat |
| Use low or high heat |
| Use low or high heat |
|
|
|
|
|
|
|
|
|
|
Shrink Tubing | Bend PVC Tubing | Dry Film |
Use low or high heat | Use high heat | Use low heat |
5
