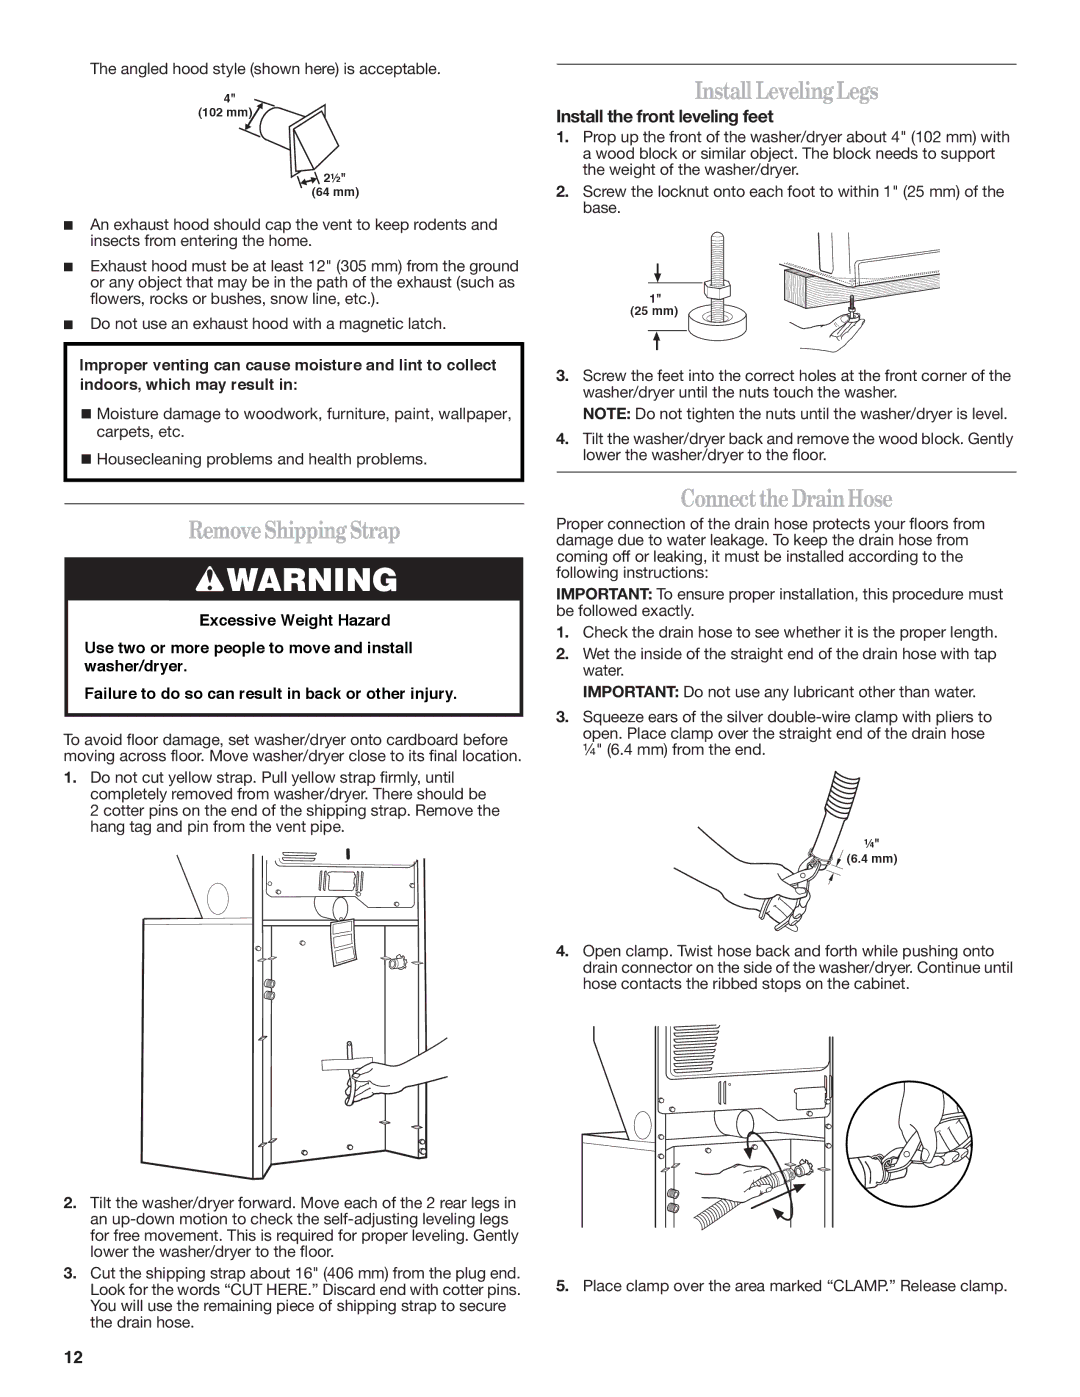
The angled hood style (shown here) is acceptable.
4"
(102 mm) ![]()
2½" (64 mm)
An exhaust hood should cap the vent to keep rodents and insects from entering the home.
Exhaust hood must be at least 12" (305 mm) from the ground or any object that may be in the path of the exhaust (such as flowers, rocks or bushes, snow line, etc.).
Do not use an exhaust hood with a magnetic latch.
Improper venting can cause moisture and lint to collect indoors, which may result in:
![]() Moisture damage to woodwork, furniture, paint, wallpaper, carpets, etc.
Moisture damage to woodwork, furniture, paint, wallpaper, carpets, etc.
![]() Housecleaning problems and health problems.
Housecleaning problems and health problems.
RemoveShippingStrap
![]() WARNING
WARNING
Excessive Weight Hazard
Use two or more people to move and install washer/dryer.
Failure to do so can result in back or other injury.
To avoid floor damage, set washer/dryer onto cardboard before moving across floor. Move washer/dryer close to its final location.
1.Do not cut yellow strap. Pull yellow strap firmly, until completely removed from washer/dryer. There should be
2 cotter pins on the end of the shipping strap. Remove the hang tag and pin from the vent pipe.
2.Tilt the washer/dryer forward. Move each of the 2 rear legs in an
3.Cut the shipping strap about 16" (406 mm) from the plug end. Look for the words “CUT HERE.” Discard end with cotter pins. You will use the remaining piece of shipping strap to secure the drain hose.
Install LevelingLegs
Install the front leveling feet
1.Prop up the front of the washer/dryer about 4" (102 mm) with a wood block or similar object. The block needs to support the weight of the washer/dryer.
2.Screw the locknut onto each foot to within 1" (25 mm) of the base.
1"
(25 mm)
3.Screw the feet into the correct holes at the front corner of the washer/dryer until the nuts touch the washer.
NOTE: Do not tighten the nuts until the washer/dryer is level.
4.Tilt the washer/dryer back and remove the wood block. Gently lower the washer/dryer to the floor.
ConnecttheDrainHose
Proper connection of the drain hose protects your floors from damage due to water leakage. To keep the drain hose from coming off or leaking, it must be installed according to the following instructions:
IMPORTANT: To ensure proper installation, this procedure must be followed exactly.
1.Check the drain hose to see whether it is the proper length.
2.Wet the inside of the straight end of the drain hose with tap water.
IMPORTANT: Do not use any lubricant other than water.
3.Squeeze ears of the silver
¼"
![]()
![]()
![]() (6.4 mm)
(6.4 mm)
4.Open clamp. Twist hose back and forth while pushing onto drain connector on the side of the washer/dryer. Continue until hose contacts the ribbed stops on the cabinet.
5.Place clamp over the area marked “CLAMP.” Release clamp.
12