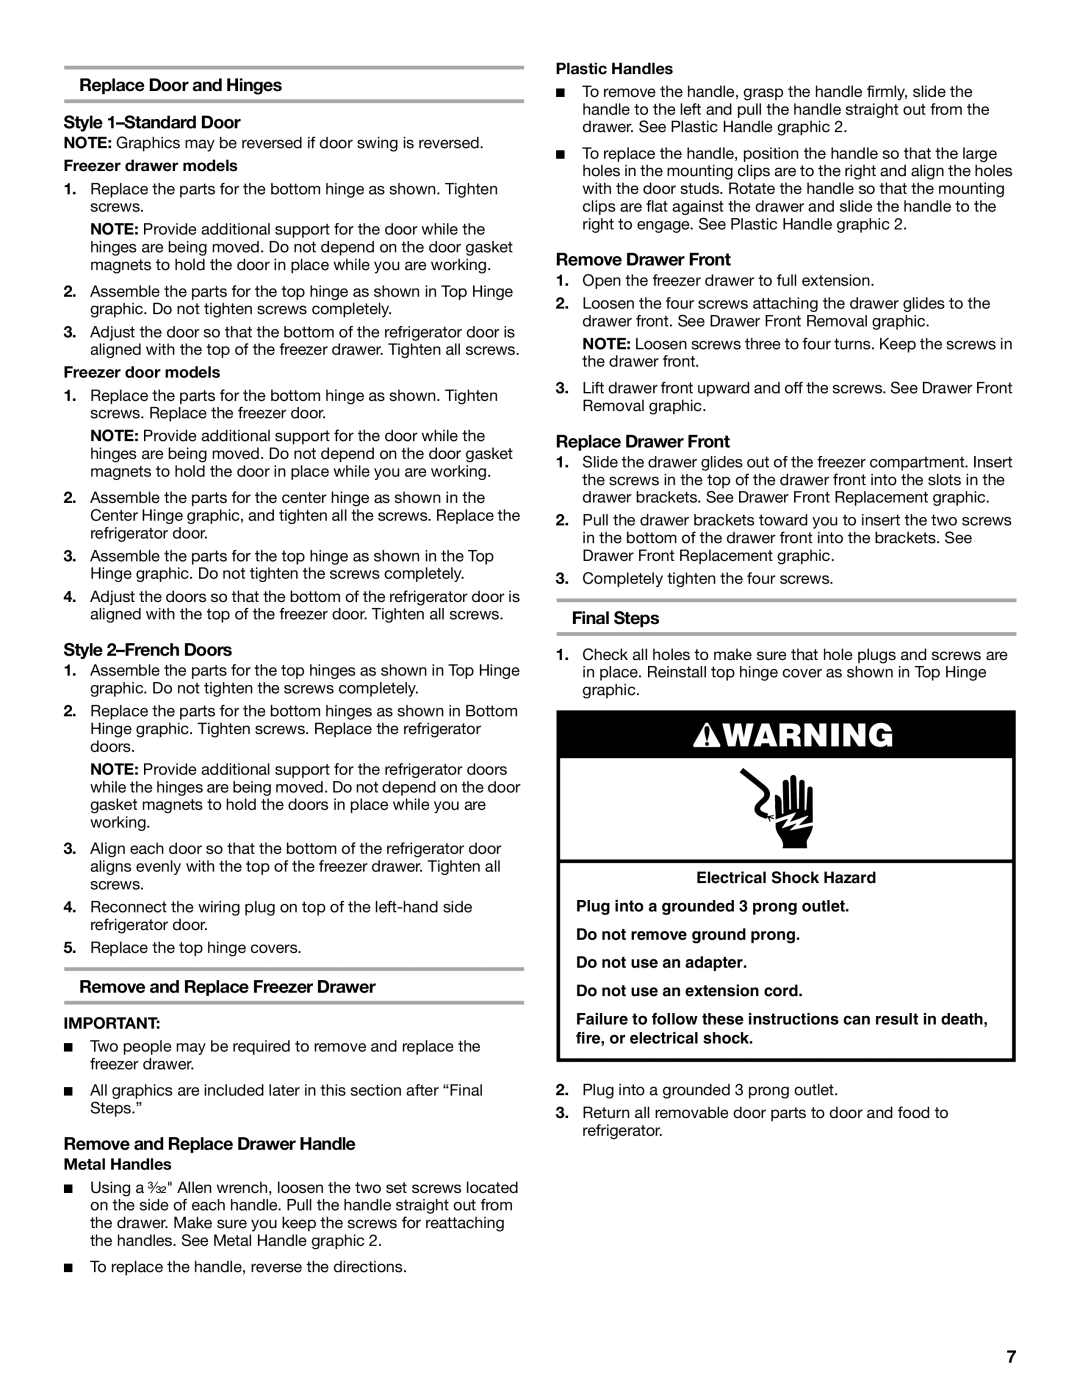
Replace Door and Hinges

Style 1–Standard Door

NOTE: Graphics may be reversed if door swing is reversed.

Freezer drawer models

1.Replace the parts for the bottom hinge as shown. Tighten screws.

NOTE: Provide additional support for the door while the hinges are being moved. Do not depend on the door gasket magnets to hold the door in place while you are working.

2.Assemble the parts for the top hinge as shown in Top Hinge graphic. Do not tighten screws completely.

3.Adjust the door so that the bottom of the refrigerator door is aligned with the top of the freezer drawer. Tighten all screws.

Freezer door models

1.Replace the parts for the bottom hinge as shown. Tighten screws. Replace the freezer door.

NOTE: Provide additional support for the door while the hinges are being moved. Do not depend on the door gasket magnets to hold the door in place while you are working.

2.Assemble the parts for the center hinge as shown in the Center Hinge graphic, and tighten all the screws. Replace the refrigerator door.

3.Assemble the parts for the top hinge as shown in the Top Hinge graphic. Do not tighten the screws completely.

4.Adjust the doors so that the bottom of the refrigerator door is aligned with the top of the freezer door. Tighten all screws.

Style 2–French Doors

1.Assemble the parts for the top hinges as shown in Top Hinge graphic. Do not tighten the screws completely.

2.Replace the parts for the bottom hinges as shown in Bottom Hinge graphic. Tighten screws. Replace the refrigerator doors.

NOTE: Provide additional support for the refrigerator doors while the hinges are being moved. Do not depend on the door gasket magnets to hold the doors in place while you are working.

3.Align each door so that the bottom of the refrigerator door aligns evenly with the top of the freezer drawer. Tighten all screws.

4.Reconnect the wiring plug on top of the left-hand side refrigerator door.

5.Replace the top hinge covers.

Remove and Replace Freezer Drawer

IMPORTANT:

Two people may be required to remove and replace the freezer drawer.

All graphics are included later in this section after “Final Steps.”

Remove and Replace Drawer Handle

Metal Handles

Using a ³⁄₃₂" Allen wrench, loosen the two set screws located on the side of each handle. Pull the handle straight out from the drawer. Make sure you keep the screws for reattaching the handles. See Metal Handle graphic 2.

To replace the handle, reverse the directions.

Plastic Handles

To remove the handle, grasp the handle firmly, slide the handle to the left and pull the handle straight out from the drawer. See Plastic Handle graphic 2.

To replace the handle, position the handle so that the large holes in the mounting clips are to the right and align the holes with the door studs. Rotate the handle so that the mounting clips are flat against the drawer and slide the handle to the right to engage. See Plastic Handle graphic 2.

Remove Drawer Front

1.Open the freezer drawer to full extension.

2.Loosen the four screws attaching the drawer glides to the drawer front. See Drawer Front Removal graphic.

NOTE: Loosen screws three to four turns. Keep the screws in the drawer front.

3.Lift drawer front upward and off the screws. See Drawer Front Removal graphic.

Replace Drawer Front

1.Slide the drawer glides out of the freezer compartment. Insert the screws in the top of the drawer front into the slots in the drawer brackets. See Drawer Front Replacement graphic.

2.Pull the drawer brackets toward you to insert the two screws in the bottom of the drawer front into the brackets. See Drawer Front Replacement graphic.

3.Completely tighten the four screws.

Final Steps

1.Check all holes to make sure that hole plugs and screws are in place. Reinstall top hinge cover as shown in Top Hinge graphic.

WARNING

Electrical Shock Hazard

Plug into a grounded 3 prong outlet.

Do not remove ground prong.

Do not use an adapter.

Do not use an extension cord.

Failure to follow these instructions can result in death, fire, or electrical shock.

2.Plug into a grounded 3 prong outlet.

3.Return all removable door parts to door and food to refrigerator.

7

Page 7
Image 7
Maytag W10297791 Replace Door and Hinges Style 1-Standard Door, Remove and Replace Freezer Drawer, Remove Drawer Front

W10297791 specifications

The Maytag W10297791 is a highly regarded appliance part, specifically designed for use in various Maytag washing machines. This part is commonly recognized as a washer door lock assembly, playing a critical role in the functionality of front-loading washers. Its primary responsibility is to ensure that the washing machine door remains securely closed during the wash cycle, preventing any incidents of water leakage and ensuring optimal safety while the machine operates.

One of the notable features of the W10297791 is its durability. Made from high-quality materials, the assembly is built to withstand the rigors of regular use, providing reliability over time. The component is engineered to resist wear and tear, which is essential for maintaining the washing machine's efficiency and longevity.

The installation of the W10297791 is user-friendly, making it an ideal choice for both professional technicians and DIY enthusiasts. Understanding that home maintenance can be daunting, the design allows for straightforward replacement. Many customers have reported success in installing the part without the need for extensive technical knowledge, saving both time and money on repairs.

Another significant characteristic of the W10297791 is its compatibility. This door lock assembly is designed to fit a range of Maytag washer models, ensuring a wide application across various appliances. This versatility not only makes it an essential component for existing Maytag users but also reinforces Maytag's commitment to quality and customer satisfaction.

Moreover, the W10297791 features an advanced locking mechanism that enhances overall safety. By securely locking the door during operation, it minimizes the risk of accidental openings that could lead to spills or injuries. This technology enables users to operate their washing machines with confidence, knowing that the appliance will function safely and effectively.

In conclusion, the Maytag W10297791 washer door lock assembly is an essential component for any Maytag washer, characterized by its durability, user-friendly installation, and broad compatibility. With its advanced locking mechanism, it ensures safety and reliability, making it a valuable addition to any household. Whether you are replacing a broken part or conducting maintenance, the W10297791 promises to deliver excellent performance and peace of mind, keeping your laundry routine efficient and hassle-free.