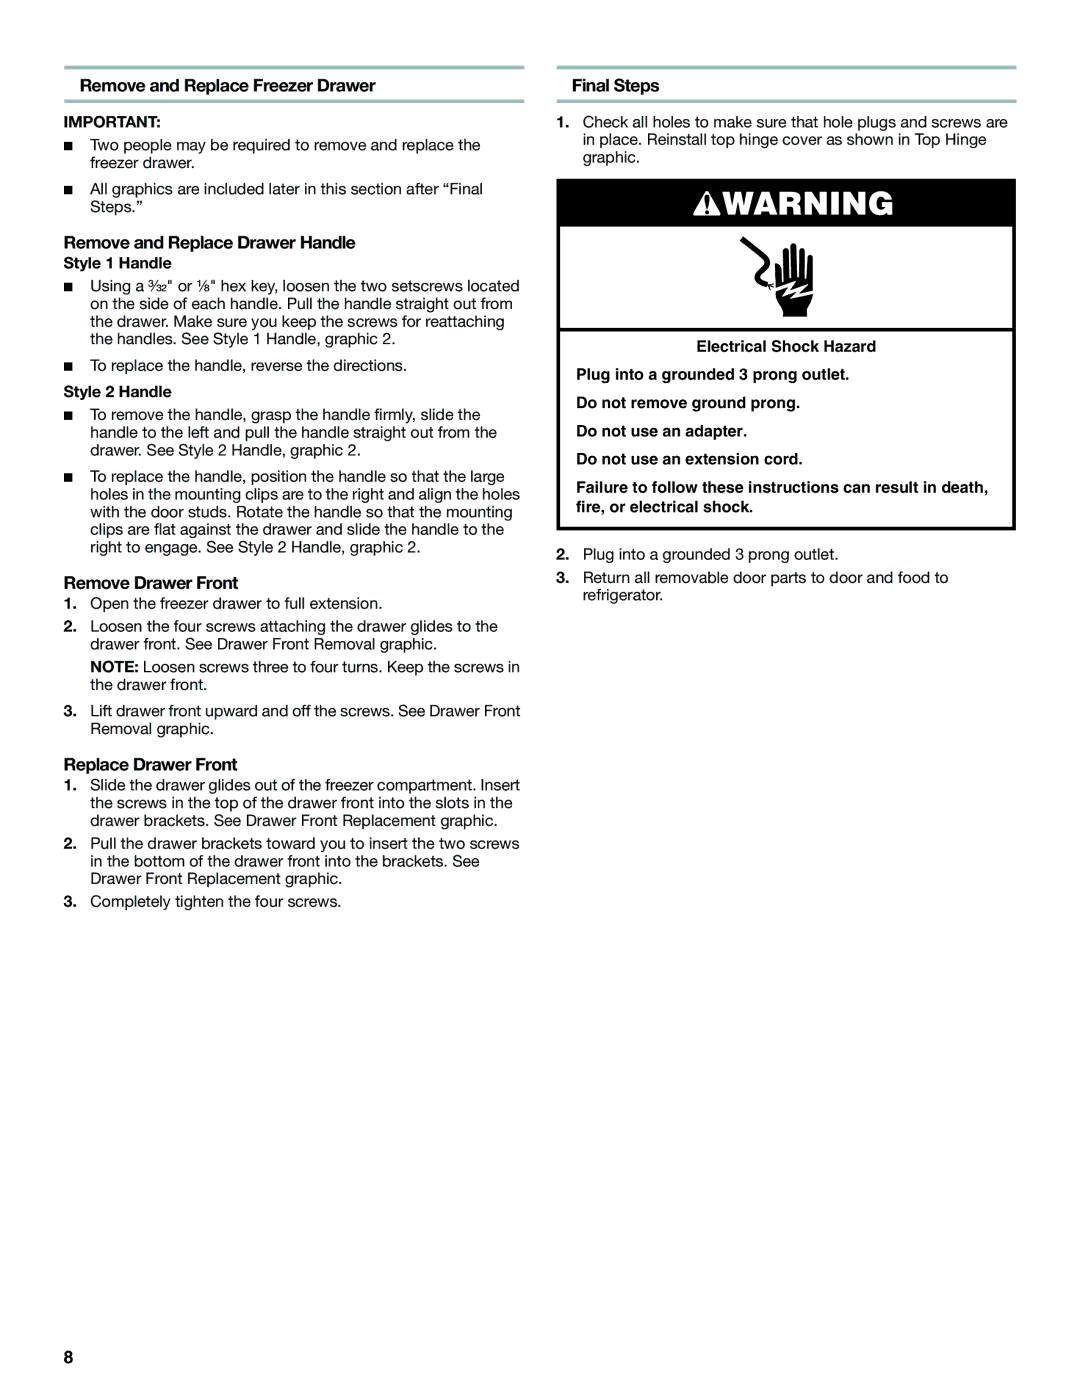
W10366206A specifications
The Maytag W10366206A is a highly regarded kitchen appliance, specifically designed as a replacement part for various Maytag appliances. This component showcases the brand's commitment to quality and durability, ensuring that it meets the demanding needs of everyday use in modern kitchens.One of the standout features of the W10366206A is its robust construction. Made with high-quality materials, it is engineered to withstand the rigors of frequent operation, contributing to the longevity of the appliance it serves. This durability is a hallmark of Maytag, a brand known for its emphasis on reliability and performance.
The W10366206A is compatible with a range of Maytag models, which adds to its appeal. This versatility allows consumers to replace worn or damaged parts without the need to purchase an entirely new appliance. This not only saves money but also reduces waste, aligning with sustainable practices that many consumers value today.
In terms of technology, the W10366206A embodies innovative design. This part is designed with precision to ensure a seamless fit and effective operation within your kitchen appliance. Its design includes features that facilitate easy installation, making it a user-friendly option for those who might prefer to make repairs themselves.
Another important characteristic of the W10366206A is its efficiency. By ensuring that appliances operate at their optimal levels, this replacement part contributes to energy savings, which is increasingly important in today’s eco-conscious environment. With energy-efficient performance, consumers can expect to see reductions in utility bills while enjoying consistent service from their Maytag appliances.
Moreover, Maytag's commitment to customer satisfaction is evident in the extensive testing and quality control that the W10366206A undergoes before reaching consumers. This rigorous process ensures that every part meets high standards of performance, giving users peace of mind in their investment.
In conclusion, the Maytag W10366206A presents a combination of durability, compatibility, innovative technology, and efficiency that make it a valuable component in any kitchen setting. Whether you are looking to maintain your appliance’s performance or make a simple upgrade, this replacement part stands as a testament to Maytag’s reputation for excellence. Investing in the W10366206A is choosing reliability and quality that consumers can trust.

