ETX-80AT-TC specifications
The Meade ETX-80AT-TC is a sophisticated yet user-friendly telescope that caters to both novice astronomers and seasoned stargazers. This compact telescope is particularly praised for its portability, making it an ideal choice for those who wish to explore the night sky without the burden of heavy equipment.One of the standout features of the ETX-80AT-TC is its 80mm aperture, which delivers impressive light-gathering capabilities. This allows users to observe a wide range of celestial objects, from the craters on the Moon to distant galaxies. The telescope’s Achromatic refractor design minimizes chromatic aberration, ensuring sharp and clear images across the field of view.
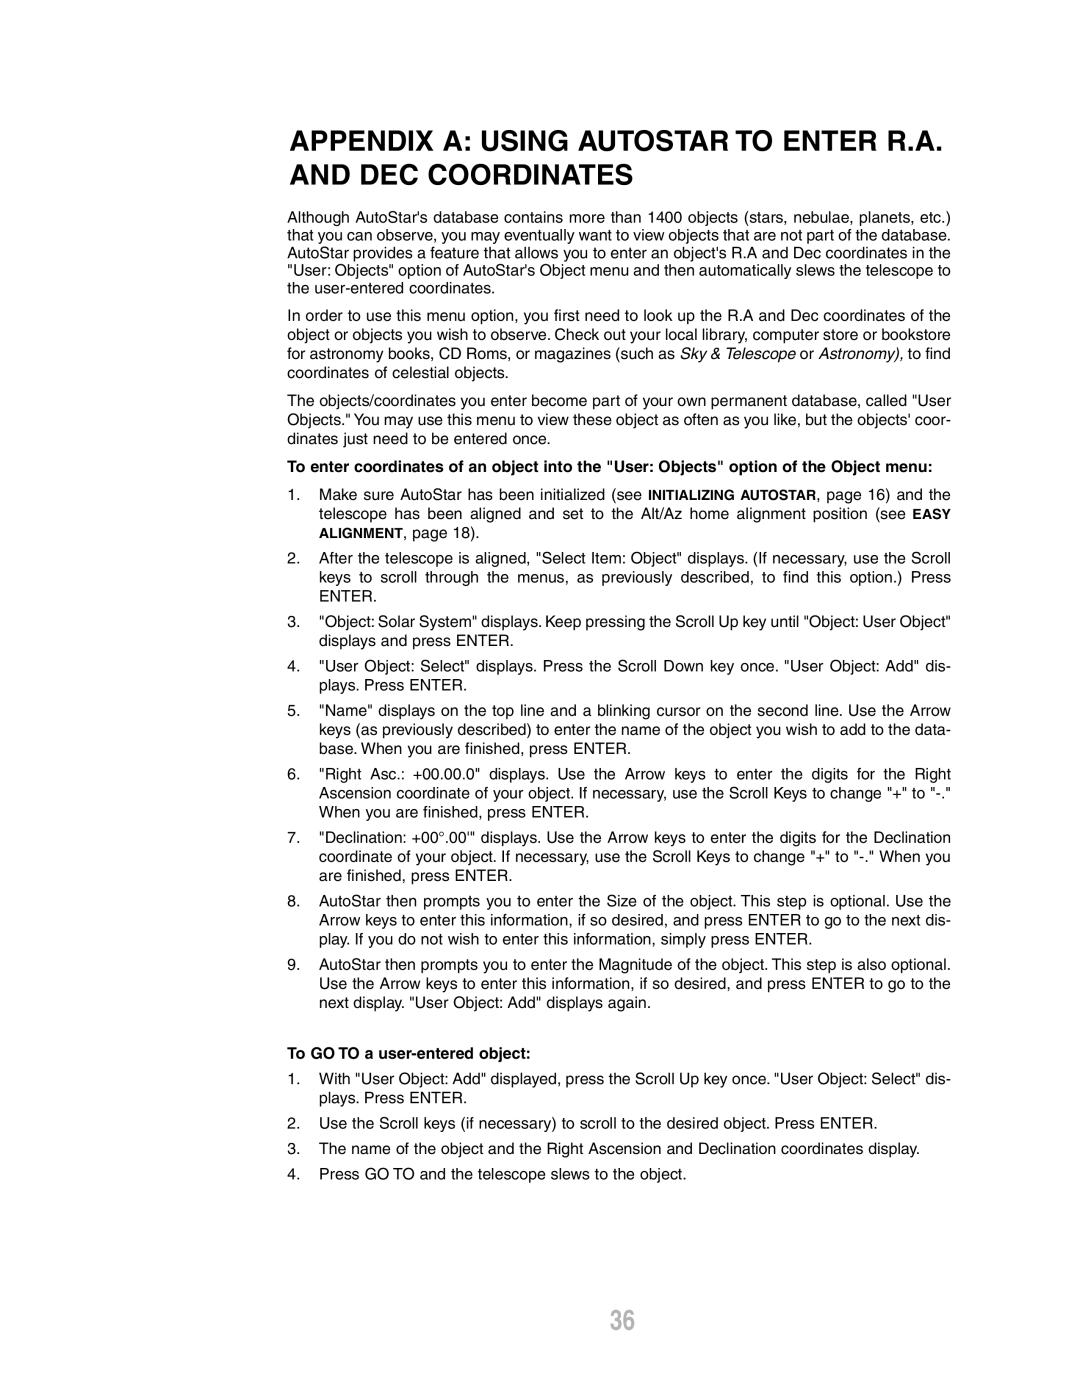
The Meade ETX-80AT-TC is equipped with the AutoStar computer control system, which enhances the observational experience significantly. This technology allows users to locate and track thousands of celestial objects with ease. With a simple push of a button, the telescope can automatically find and track planets, stars, and deep-sky objects, making it perfect for those who are new to astronomy and may find manual navigation challenging.
Additionally, the telescope features a built-in Solar System tour that animates a journey through the solar system, providing educational insights about the celestial bodies in our neighborhood. It is operated via a user-friendly handheld controller with a numeric keypad and an LCD display, making navigation intuitive even for beginners.
The ETX-80AT-TC also includes a durable and lightweight design, with an integrated tabletop tripod for stable viewing. It can be easily set up and taken down, allowing for spontaneous stargazing adventures. The telescope is compatible with various Meade accessories, including additional eyepieces and filters, which further enhance the observing experience.
In terms of mechanics, the ETX-80AT-TC boasts smooth, slow-motion manual controls for fine adjustments and a flip mirror for easy switching between visual and photographic modes. Whether capturing breathtaking astrophotos or enjoying the stars visually, this telescope delivers versatility and quality.
Overall, the Meade ETX-80AT-TC stands out with its thoughtful combination of features, technology, and portability, making it an excellent choice for anyone looking to explore the wonders of the night sky. Whether you are a budding astronomer or a more experienced enthusiast, this telescope provides ample opportunities for wonder and discovery under the stars.