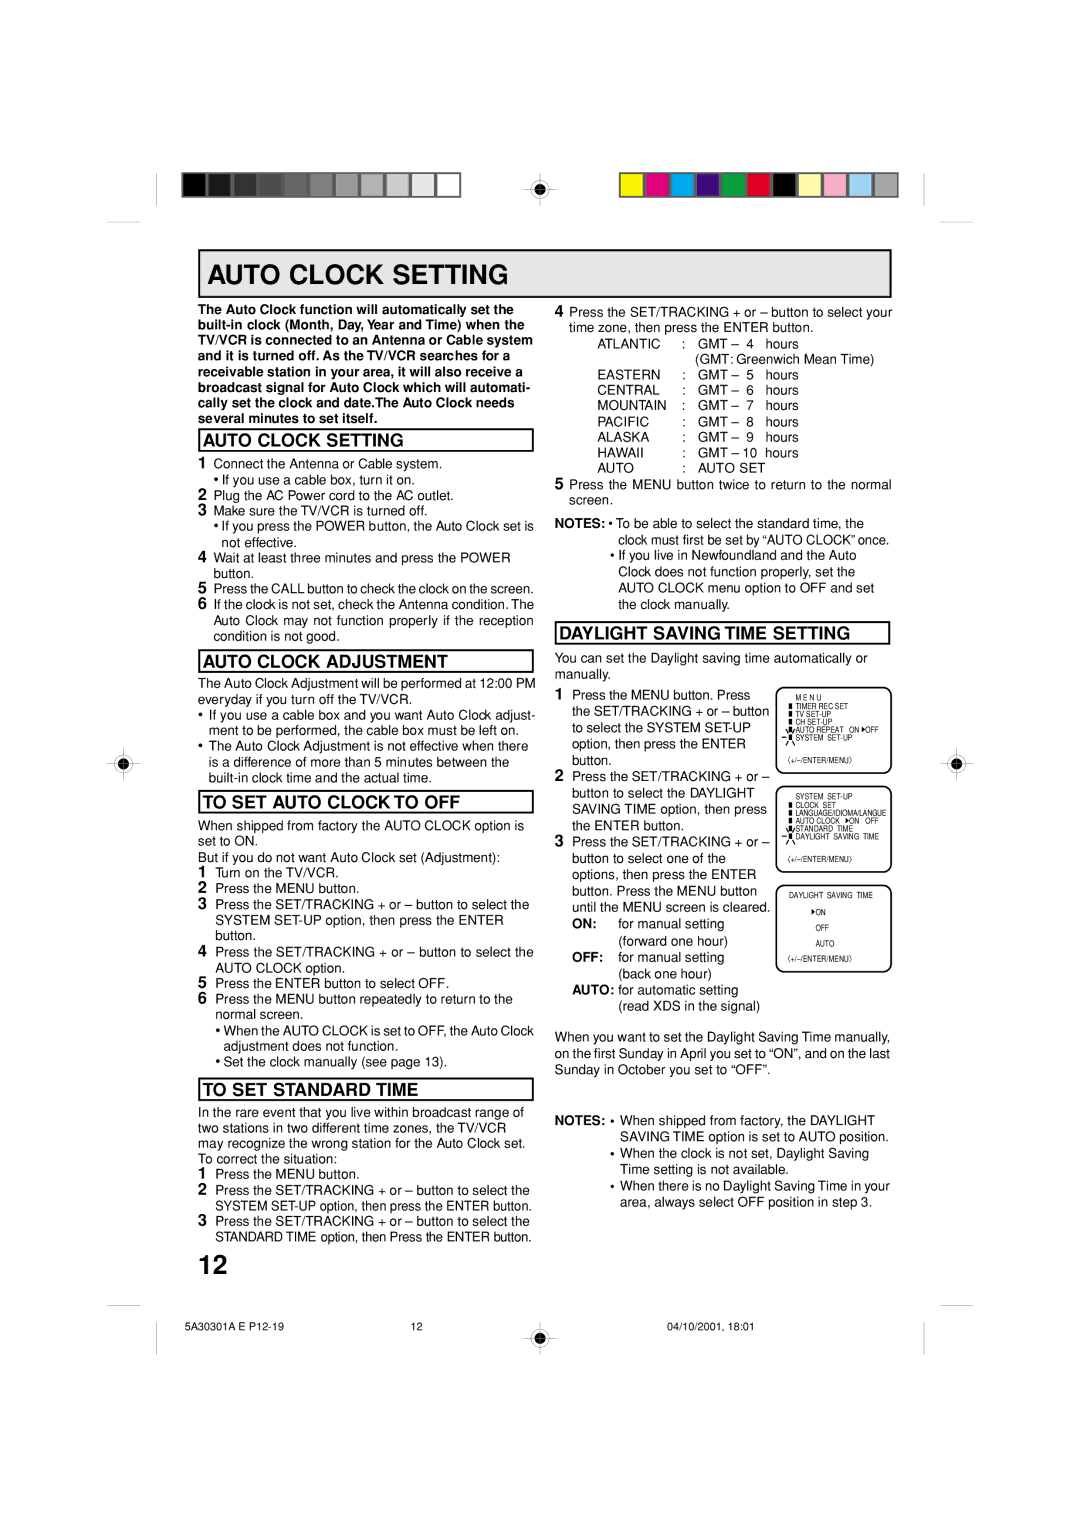
AUTO CLOCK SETTING

The Auto Clock function will automatically set the built-in clock (Month, Day, Year and Time) when the TV/VCR is connected to an Antenna or Cable system and it is turned off. As the TV/VCR searches for a receivable station in your area, it will also receive a broadcast signal for Auto Clock which will automati- cally set the clock and date.The Auto Clock needs several minutes to set itself.

AUTO CLOCK SETTING

1Connect the Antenna or Cable system.

If you use a cable box, turn it on.

2Plug the AC Power cord to the AC outlet.

3Make sure the TV/VCR is turned off.

If you press the POWER button, the Auto Clock set is not effective.

4Wait at least three minutes and press the POWER button.

5Press the CALL button to check the clock on the screen.

6If the clock is not set, check the Antenna condition. The Auto Clock may not function properly if the reception condition is not good.

AUTO CLOCK ADJUSTMENT

The Auto Clock Adjustment will be performed at 12:00 PM

4Press the SET/TRACKING + or – button to select your time zone, then press the ENTER button.

ATLANTIC

:

GMT – 4

hours


(GMT: Greenwich Mean Time)

EASTERN

:

GMT – 5

hours

CENTRAL

:

GMT – 6

hours

MOUNTAIN

:

GMT – 7

hours

PACIFIC

:

GMT – 8

hours

ALASKA

:

GMT – 9

hours

HAWAII

:

GMT – 10 hours

AUTO

:

AUTO SET

5 Press the MENU button twice to return to the normal screen.

NOTES: • To be able to select the standard time, the clock must first be set by “AUTO CLOCK” once.

If you live in Newfoundland and the Auto Clock does not function properly, set the AUTO CLOCK menu option to OFF and set the clock manually.

DAYLIGHT SAVING TIME SETTING

You can set the Daylight saving time automatically or manually.

everyday if you turn off the TV/VCR.

If you use a cable box and you want Auto Clock adjust- ment to be performed, the cable box must be left on.

The Auto Clock Adjustment is not effective when there is a difference of more than 5 minutes between the built-in clock time and the actual time.

TO SET AUTO CLOCK TO OFF

When shipped from factory the AUTO CLOCK option is set to ON.

But if you do not want Auto Clock set (Adjustment):

1

Turn on the TV/VCR.

2

Press the MENU button.

3

Press the SET/TRACKING + or – button to select the


SYSTEM SET-UP option, then press the ENTER

4

button.

Press the SET/TRACKING + or – button to select the

5

AUTO CLOCK option.

Press the ENTER button to select OFF.

6

Press the MENU button repeatedly to return to the


normal screen.


When the AUTO CLOCK is set to OFF, the Auto Clock

1Press the MENU button. Press the SET/TRACKING + or – button to select the SYSTEM SET-UP option, then press the ENTER button.

2Press the SET/TRACKING + or – button to select the DAYLIGHT SAVING TIME option, then press the ENTER button.

3Press the SET/TRACKING + or – button to select one of the options, then press the ENTER button. Press the MENU button until the MENU screen is cleared. ON: for manual setting

(forward one hour) OFF: for manual setting

(back one hour) AUTO: for automatic setting

(read XDS in the signal)

M E N U

TIMER REC SET

TV SET-UP

CH SET-UP

AUTO REPEAT ON OFF SYSTEM SET-UP

+/–/ENTER/MENU

SYSTEM SET-UP

CLOCK SET

LANGUAGE/IDIOMA/LANGUE

AUTO CLOCK ON OFF

STANDARD TIME DAYLIGHT SAVING TIME

+/–/ENTER/MENU

DAYLIGHT SAVING TIME

ON OFF AUTO

+/–/ENTER/MENU

adjustment does not function.

Set the clock manually (see page 13).

TO SET STANDARD TIME

In the rare event that you live within broadcast range of two stations in two different time zones, the TV/VCR may recognize the wrong station for the Auto Clock set. To correct the situation:

1Press the MENU button.

2Press the SET/TRACKING + or – button to select the SYSTEM SET-UP option, then press the ENTER button.

3Press the SET/TRACKING + or – button to select the STANDARD TIME option, then Press the ENTER button.

12

When you want to set the Daylight Saving Time manually, on the first Sunday in April you set to “ON”, and on the last Sunday in October you set to “OFF”.

NOTES: • When shipped from factory, the DAYLIGHT SAVING TIME option is set to AUTO position.

When the clock is not set, Daylight Saving Time setting is not available.

When there is no Daylight Saving Time in your area, always select OFF position in step 3.

5A30301A E P12-19

12

04/10/2001, 18:01

Page 12
Image 12
Memorex DBVT1341 owner manual Auto Clock Setting

DBVT1341 specifications

The Memorex DBVT1341 is a versatile and feature-rich digital television receiver designed to enhance your TV viewing experience. Known for its user-friendly interface and advanced technology, this device bridges the gap between traditional analog broadcasts and modern digital signals, ensuring high-quality picture and sound for home entertainment.

One of the standout features of the Memorex DBVT1341 is its capability to receive both over-the-air digital broadcasts and standard analog signals. This dual reception makes it perfect for users who are transitioning from analog to digital television. The device supports various digital broadcast standards, including ATSC, ensuring compatibility with a wide range of signals available across different regions.

The DBVT1341 boasts a sleek and compact design, making it an excellent addition to any home entertainment system without taking up too much space. Its straightforward setup process allows users to quickly connect it to their television using HDMI or composite outputs, delivering high-definition video quality. The device is also equipped with a built-in digital tuner, which eliminates the need for external tuners or receivers.

Another significant characteristic of the Memorex DBVT1341 is its electronic program guide (EPG), which provides viewers with an easy-to-navigate interface for accessing current and upcoming programming. This feature allows users to search for their favorite shows, set reminders, and record programming for later viewing.

Additionally, the DBVT1341 supports various audio formats, ensuring compatibility with modern sound systems. Its audio output options provide flexibility, allowing users to connect the receiver to their home theater systems for an immersive viewing experience. The device also includes a USB port, giving users the option to play media files directly from USB drives, enhancing its utility beyond regular TV viewing.

In summary, the Memorex DBVT1341 is designed with the viewer's needs in mind. Its combination of dual reception capabilities, user-friendly interface, program guide, and modern connectivity options make it a valuable tool for anyone looking to enjoy high-quality television reception. Whether used in a basic setup or as part of a more elaborate home theater system, the DBVT1341 stands out as a reliable choice for enhancing digital TV experiences.