INSTALLATION GUIDE
Preparation
Please read entire manual before installation.
Before You Start
![]() Disconnect negative battery terminal.(consult a qualified technician for instructions)
Disconnect negative battery terminal.(consult a qualified technician for instructions) ![]() Avoid installing the unit where it would be subject to high temperatures, such as from direct sunlight, or where it would be subject to dust, dirt or excessive vibration.
Avoid installing the unit where it would be subject to high temperatures, such as from direct sunlight, or where it would be subject to dust, dirt or excessive vibration.
BUTTON FUNCTION
RDM
When no track is playing, press “RDM” to shuffle, the word “RND” will displays on LCD screen and blinking. Press selects a track. Press STOP cancels the shuffle and stop playing a track.
PRO
When no track is playing, press “PRO” to setup a play list, while “O” is blinking on LCD, press
navigates to the desired track and press “PRO” again to save that track into the play list. Then
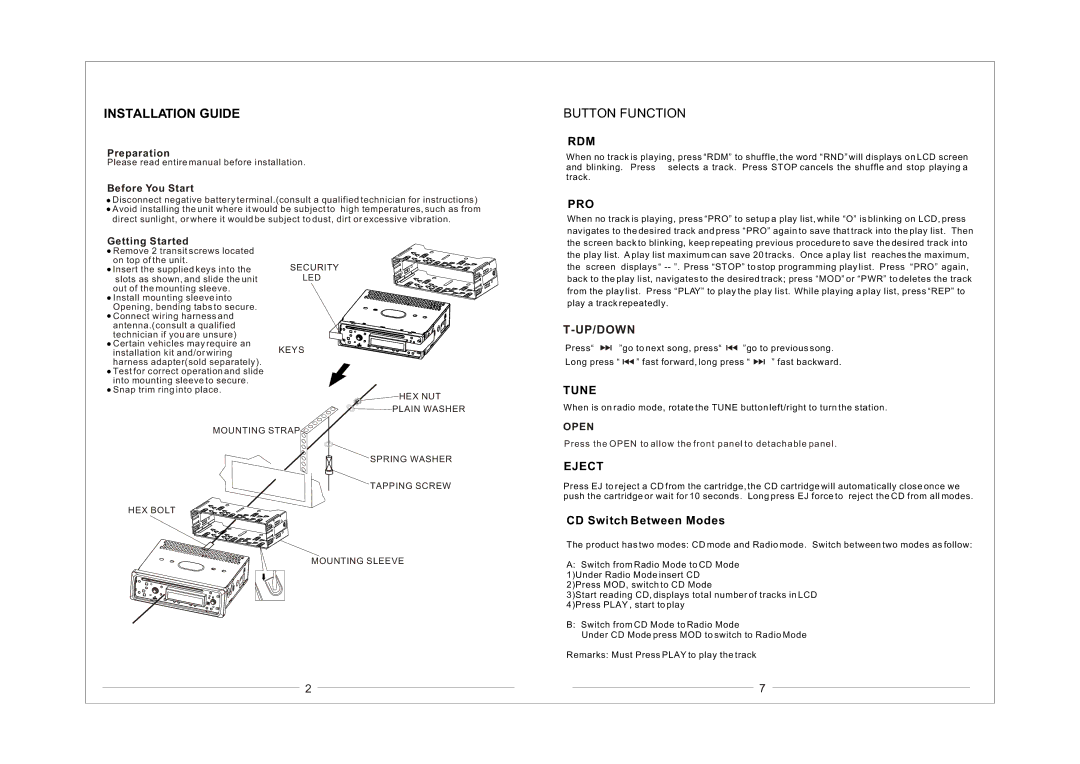
Getting Started
![]() Remove 2 transit screws located on top of the unit.
Remove 2 transit screws located on top of the unit.
![]() Insert the supplied keys into the slots as shown, and slide the unit out of the mounting sleeve.
Insert the supplied keys into the slots as shown, and slide the unit out of the mounting sleeve.
![]() Install mounting sleeve into Opening, bending tabs to secure.
Install mounting sleeve into Opening, bending tabs to secure.
![]() Connect wiring harness and antenna.(consult a qualified technician if you are unsure)
Connect wiring harness and antenna.(consult a qualified technician if you are unsure)
![]() Certain vehicles may require an installation kit and/or wiring harness adapter(sold separately).
Certain vehicles may require an installation kit and/or wiring harness adapter(sold separately).
![]() Test for correct operation and slide into mounting sleeve to secure.
Test for correct operation and slide into mounting sleeve to secure. ![]() Snap trim ring into place.
Snap trim ring into place.
SECURITY
LED
KEYS

 HEX NUT
 PLAIN WASHER
the screen back to blinking, keep repeating previous procedure to save the desired track into
the play list. A play list maximum can save 20 tracks. Once a play list reaches the maximum,
the screen displays “
back to the play list, navigates to the desired track; press “MOD” or “PWR” to deletes the track
from the play list. Press “PLAY” to play the play list. While playing a play list, press “REP” to
play a track repeatedly.
T-UP/DOWN
Press“ ![]()
![]() ”go to next song, press“
”go to next song, press“ ![]()
![]()
![]() ”go to previous song.
”go to previous song.
Long press “ ![]()
![]()
![]() ” fast forward, long press “
” fast forward, long press “ ![]()
![]() ” fast backward.
” fast backward.
TUNE
When is on radio mode, rotate the TUNE button left/right to turn the station.
MOUNTING STRAP ![]()
SPRING WASHER
TAPPING SCREW
HEX BOLT
MOUNTING SLEEVE
OPEN
Press the OPEN to allow the front panel to detachable panel.
EJECT
Press EJ to reject a CD from the cartridge, the CD cartridge will automatically close once we push the cartridge or wait for 10 seconds. Long press EJ force to reject the CD from all modes.
CD Switch Between Modes
The product has two modes: CD mode and Radio mode. Switch between two modes as follow:
A:Switch from Radio Mode to CD Mode 1)Under Radio Mode insert CD 2)Press MOD, switch to CD Mode
3)Start reading CD, displays total number of tracks in LCD 4)Press PLAY , start to play
B:Switch from CD Mode to Radio Mode
Under CD Mode press MOD to switch to Radio Mode
Remarks: Must Press PLAY to play the track
2 |
|
|
| 7 |
