Dual Core Center
DOT (Dynamic OverClocking)
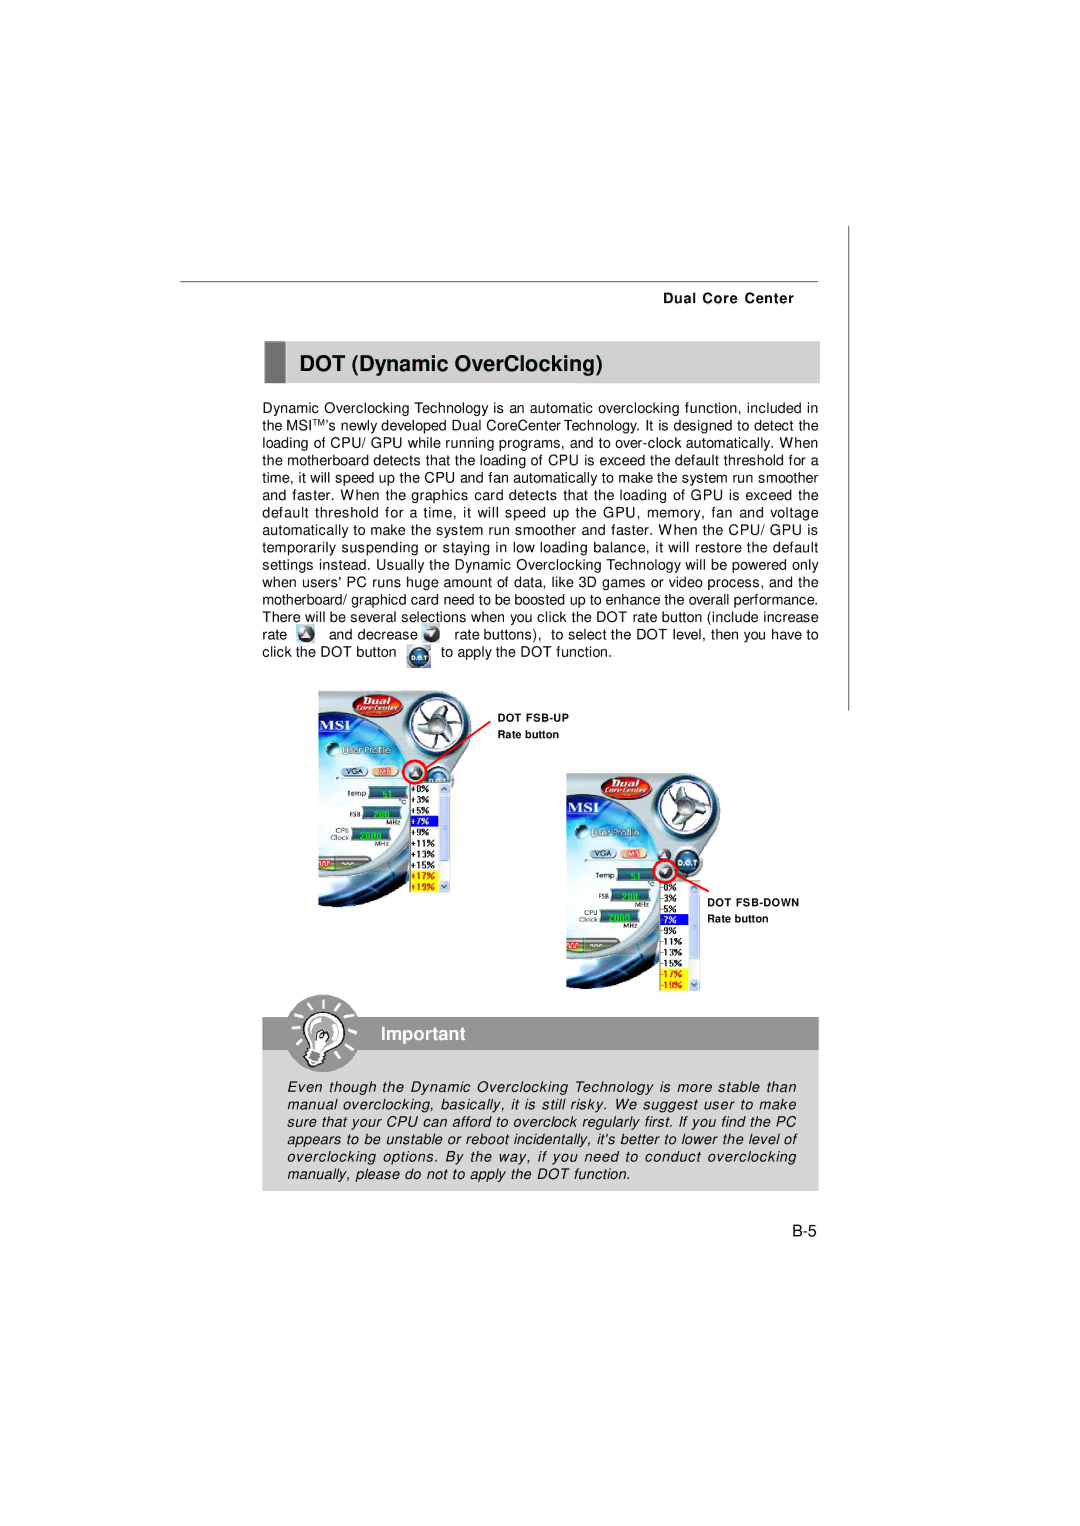
Dynamic Overclocking Technology is an automatic overclocking function, included in the MSITM’s newly developed Dual CoreCenter Technology. It is designed to detect the loading of CPU/ GPU while running programs, and to
rate ![]() and decrease
and decrease ![]() rate buttons), to select the DOT level, then you have to
rate buttons), to select the DOT level, then you have to
click the DOT button ![]() to apply the DOT function.
to apply the DOT function.
DOT
Rate button
DOT
Rate button
Important
Even though the Dynamic Overclocking Technology is more stable than manual overclocking, basically, it is still risky. We suggest user to make sure that your CPU can afford to overclock regularly first. If you find the PC appears to be unstable or reboot incidentally, it's better to lower the level of overclocking options. By the way, if you need to conduct overclocking manually, please do not to apply the DOT function.