DVD Premium Pro LightScribe Series | MICROBOARDS TECHNOLOGY, LLC | |||
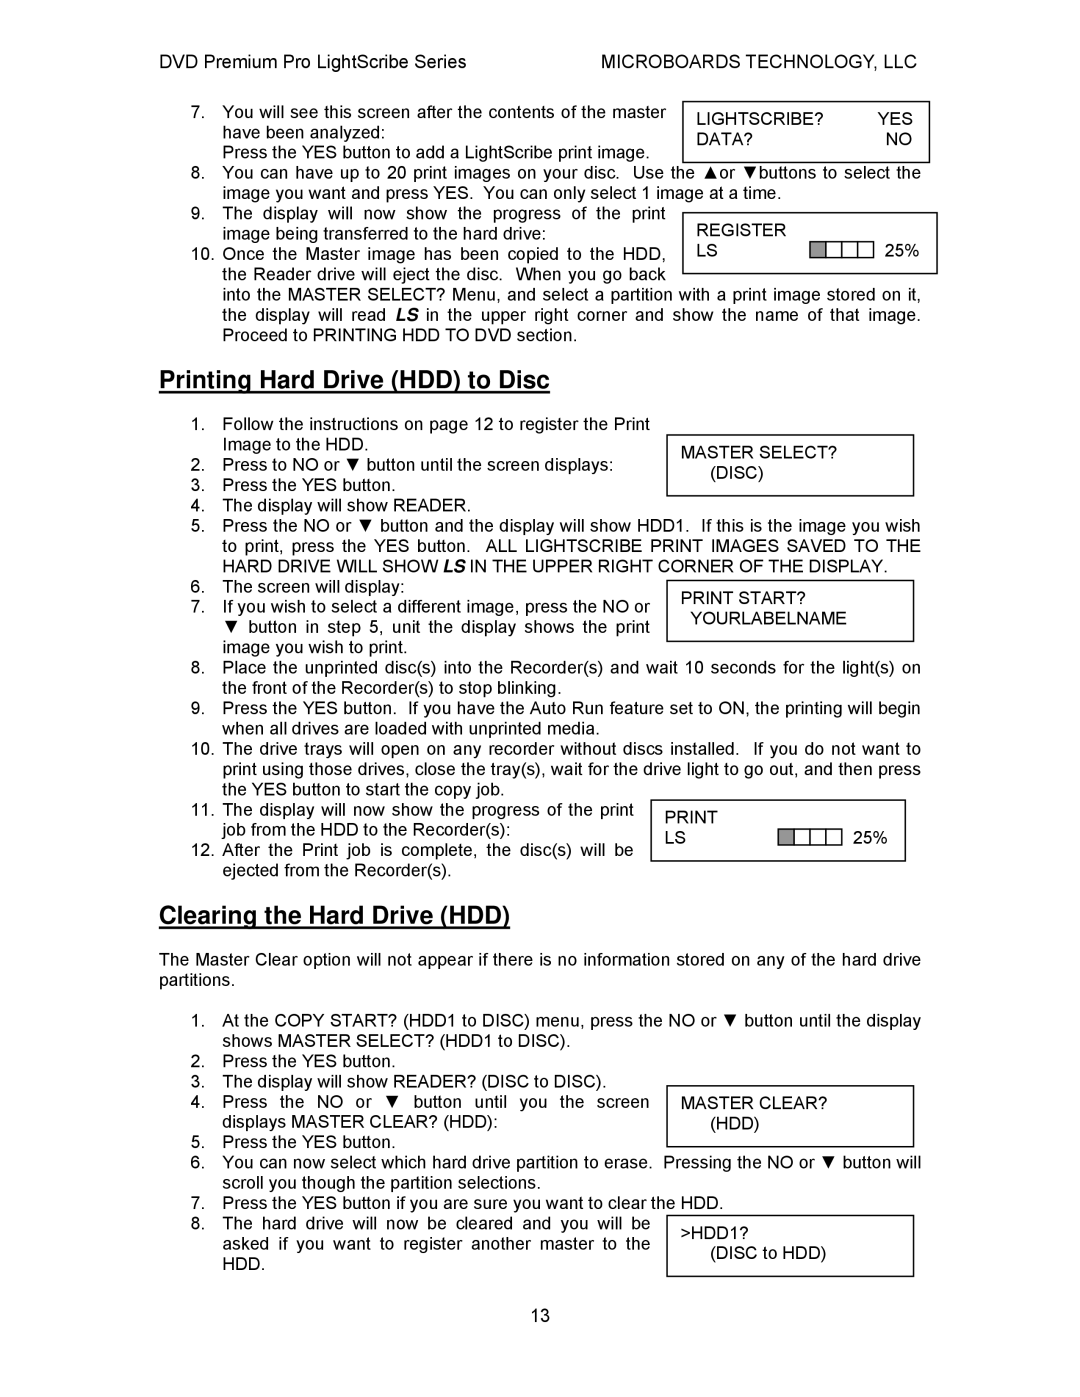
7. You will see this screen after the contents of the master |
|
| ||
LIGHTSCRIBE? | YES | |||
have been analyzed: |
| |||
| DATA? | NO | ||
Press the YES button to add a LightScribe print image. | ||||
|
| |||
8.You can have up to 20 print images on your disc. Use the ▲or ▼buttons to select the image you want and press YES. You can only select 1 image at a time.
9.The display will now show the progress of the print
image being transferred to the hard drive:
10. Once the Master image has been copied to the HDD,![]()
![]()
![]()
![]()
![]() 25% the Reader drive will eject the disc. When you go back
25% the Reader drive will eject the disc. When you go back
into the MASTER SELECT? Menu, and select a partition with a print image stored on it, the display will read LS in the upper right corner and show the name of that image. Proceed to PRINTING HDD TO DVD section.
Printing Hard Drive (HDD) to Disc
1. Follow the instructions on page 12 to register the Print Image to the HDD.
2. Press to NO or ▼ button until the screen displays:
3. Press the YES button.
4. The display will show READER.
5. Press the NO or ▼ button and the display will show HDD1. If this is the image you wish to print, press the YES button. ALL LIGHTSCRIBE PRINT IMAGES SAVED TO THE HARD DRIVE WILL SHOW LS IN THE UPPER RIGHT CORNER OF THE DISPLAY.
6. The screen will display:
7. If you wish to select a different image, press the NO or ▼ button in step 5, unit the display shows the print image you wish to print.
8.Place the unprinted disc(s) into the Recorder(s) and wait 10 seconds for the light(s) on the front of the Recorder(s) to stop blinking.
9.Press the YES button. If you have the Auto Run feature set to ON, the printing will begin when all drives are loaded with unprinted media.
10.The drive trays will open on any recorder without discs installed. If you do not want to print using those drives, close the tray(s), wait for the drive light to go out, and then press the YES button to start the copy job.
11. | The display will now show the progress of the print |
|
|
|
|
| |
| job from the HDD to the Recorder(s): |
|
|
|
|
| |
| LS |
|
|
|
| 25% | |
|
|
|
|
| |||
12. | After the Print job is complete, the disc(s) will be |
|
|
|
| ||
|
|
|
|
|
| ||
| ejected from the Recorder(s). |
|
|
|
|
|
|
Clearing the Hard Drive (HDD)
The Master Clear option will not appear if there is no information stored on any of the hard drive partitions.
1.At the COPY START? (HDD1 to DISC) menu, press the NO or ▼ button until the display shows MASTER SELECT? (HDD1 to DISC).
2.Press the YES button.
3.The display will show READER? (DISC to DISC).
4. Press the NO or ▼ button until you the screen displays MASTER CLEAR? (HDD):
5.Press the YES button.
6.You can now select which hard drive partition to erase. Pressing the NO or ▼ button will scroll you though the partition selections.
7.Press the YES button if you are sure you want to clear the HDD.
8. The hard drive will now be cleared and you will be asked if you want to register another master to the HDD.
13