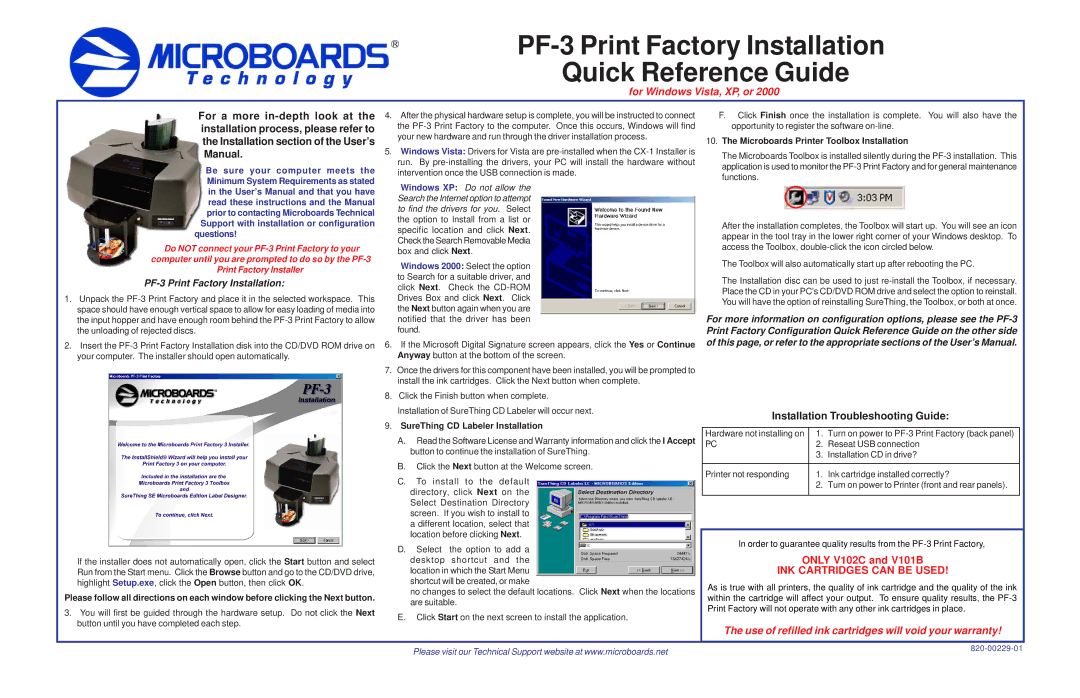
PF-3 Print Factory Installation Quick Reference Guide

for Windows Vista, XP, or 2000

For a more in-depth look at the installation process, please refer to the Installation section of the User’s Manual.

Be sure your computer meets the Minimum System Requirements as stated in the User’s Manual and that you have read these instructions and the Manual prior to contacting Microboards Technical

Support with installation or configuration questions!

Do NOT connect your PF-3 Print Factory to your computer until you are prompted to do so by the PF-3 Print Factory Installer

PF-3 Print Factory Installation:

1.Unpack the PF-3 Print Factory and place it in the selected workspace. This space should have enough vertical space to allow for easy loading of media into the input hopper and have enough room behind the PF-3 Print Factory to allow the unloading of rejected discs.

2.Insert the PF-3 Print Factory Installation disk into the CD/DVD ROM drive on your computer. The installer should open automatically.

If the installer does not automatically open, click the Start button and select Run from the Start menu. Click the Browse button and go to the CD/DVD drive, highlight Setup.exe, click the Open button, then click OK.

Please follow all directions on each window before clicking the Next button.

3.You will first be guided through the hardware setup. Do not click the Next button until you have completed each step.

4.After the physical hardware setup is complete, you will be instructed to connect the PF-3 Print Factory to the computer. Once this occurs, Windows will find your new hardware and run through the driver installation process.

5.Windows Vista: Drivers for Vista are pre-installed when the CX-1 Installer is run. By pre-installing the drivers, your PC will install the hardware without intervention once the USB connection is made.

Windows XP: Do not allow the Search the Internet option to attempt to find the drivers for you. Select the option to Install from a list or specific location and click Next. Check the Search Removable Media box and click Next.

Windows 2000: Select the option to Search for a suitable driver, and click Next. Check the CD-ROM Drives Box and click Next. Click the Next button again when you are notified that the driver has been found.

6.If the Microsoft Digital Signature screen appears, click the Yes or Continue Anyway button at the bottom of the screen.

7.Once the drivers for this component have been installed, you will be prompted to install the ink cartridges. Click the Next button when complete.

8.Click the Finish button when complete.

Installation of SureThing CD Labeler will occur next.

9.SureThing CD Labeler Installation

A.Read the Software License and Warranty information and click the I Accept button to continue the installation of SureThing.

B.Click the Next button at the Welcome screen.

C.To install to the default

directory, click Next on the Select Destination Directory screen. If you wish to install to a different location, select that location before clicking Next.

D.Select the option to add a desktop shortcut and the location in which the Start Menu shortcut will be created, or make

no changes to select the default locations. Click Next when the locations are suitable.

E.Click Start on the next screen to install the application.

F.Click Finish once the installation is complete. You will also have the opportunity to register the software on-line.

10.The Microboards Printer Toolbox Installation

The Microboards Toolbox is installed silently during the PF-3 installation. This application is used to monitor the PF-3 Print Factory and for general maintenance functions.

After the installation completes, the Toolbox will start up. You will see an icon appear in the tool tray in the lower right corner of your Windows desktop. To access the Toolbox, double-click the icon circled below.

The Toolbox will also automatically start up after rebooting the PC.

The Installation disc can be used to just re-install the Toolbox, if necessary. Place the CD in your PC’s CD/DVD ROM drive and select the option to reinstall. You will have the option of reinstalling SureThing, the Toolbox, or both at once.

For more information on configuration options, please see the PF-3 Print Factory Configuration Quick Reference Guide on the other side of this page, or refer to the appropriate sections of the User’s Manual.

Installation Troubleshooting Guide:

Hardware not installing on

1. Turn on power to PF-3 Print Factory (back panel)

PC

2.

Reseat USB connection


3.

Installation CD in drive?


Printer not responding

1.

Ink cartridge installed correctly?


2.

Turn on power to Printer (front and rear panels).


In order to guarantee quality results from the PF-3 Print Factory,

ONLY V102C and V101B

INK CARTRIDGES CAN BE USED!

As is true with all printers, the quality of ink cartridge and the quality of the ink within the cartridge will affect your output. To ensure quality results, the PF-3 Print Factory will not operate with any other ink cartridges in place.

The use of refilled ink cartridges will void your warranty!

Please visit our Technical Support website at www.microboards.net

820-00229-01


Page 1
Image 1
MicroBoards Technology PF-3 warranty SureThing CD Labeler Installation, Microboards Printer Toolbox Installation

PF-3 specifications

MicroBoards Technology PF-3 is a state-of-the-art disc publisher designed for high-volume duplication and printing of CDs, DVDs, and Blu-ray discs. Renowned for its reliability and efficiency, the PF-3 is an ideal solution for businesses, media producers, and organizations requiring a dependable and quick method for media replication.

One of the standout features of the PF-3 is its high-speed duplication capability. It is capable of producing up to 50 discs per hour, allowing users to meet tight deadlines without compromising on quality. This speed is particularly beneficial for companies that need to distribute large quantities of media quickly, such as software vendors, film production companies, and educational institutions.

The PF-3 utilizes advanced inkjet printing technology that provides vibrant and high-resolution graphics on the disc surface. With a printing resolution of up to 4800 dpi, users can achieve professional-quality labels that enhance the branding and presentation of their media. The automated disc printing process eliminates the need for manual handling and significantly reduces the chance of error.

Another notable characteristic of the MicroBoards PF-3 is its user-friendly interface. The device is equipped with an intuitive LCD touchscreen that simplifies operation and navigation. Users can easily configure their duplication and printing jobs, monitor progress in real time, and access detailed status reports, ensuring a seamless and productive workflow.

The PF-3 also supports a variety of disc formats, including CD-R, DVD-R, DVD+R, and BD-R, making it a versatile solution for various media types. Additionally, the device includes a built-in 100-disc input hopper, which allows for uninterrupted operation, as users can load multiple discs at once. This feature is especially advantageous for high-volume projects and minimizes downtime.

In terms of connectivity, the PF-3 is equipped with USB and Ethernet ports, facilitating easy integration into existing networks and systems. This capability allows users to control the device remotely, streamlining the production process and enabling better resource management.

Furthermore, the PF-3's durable construction ensures long-lasting performance, making it a reliable investment for any organization that regularly engages in disc duplication. In summary, MicroBoards Technology PF-3 stands out for its speed, print quality, user-friendly interface, versatility, and robust design, making it an essential tool for anyone in need of efficient and professional disc production.