DVD Premium Pro Series | MICROBOARDS TECHNOLOGY, LLC |
Copy Disc to Disc
1.Place the Master Disc into the Reader drive.
Place the blank disc(s) into the Recorder drive(s) and wait 10 seconds for the light(s) on the front of the Recorder(s) to stop blinking. Note that the blanks must be of the same media type as the master; you cannot copy a CD master to DVD’s, for instance.
2.The display reads COPY START? (DISC to DISC).
Copy Start? (DISC to DISC)
3.Press YES. If you have the Auto Run feature set to ON, the duplication will begin when the master is loaded and all drives are loaded with blank media.
4.The drive trays will open on any recorder without blank discs installed. If you do not want to make a copy in those drives, close the tray(s), wait for the drive light to go out, and then press the YES button to start the copy job.
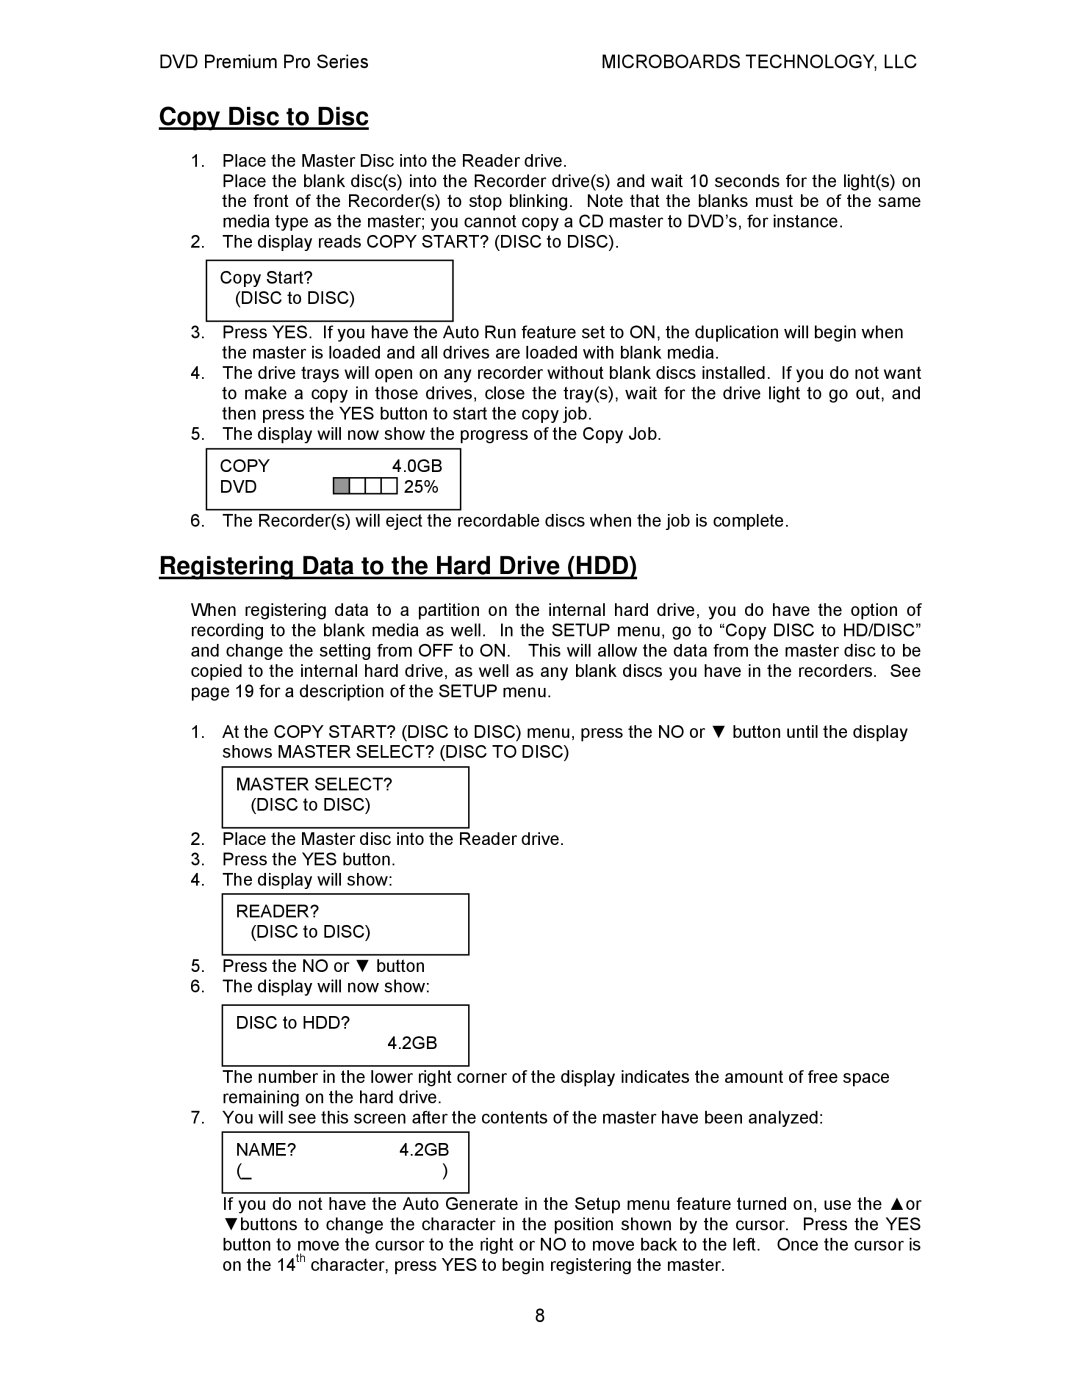
5.The display will now show the progress of the Copy Job.
COPY |
|
|
| 4.0GB | |
DVD |
|
|
|
| 25% |
6. The Recorder(s) will eject the recordable discs when the job is complete.
Registering Data to the Hard Drive (HDD)
When registering data to a partition on the internal hard drive, you do have the option of recording to the blank media as well. In the SETUP menu, go to “Copy DISC to HD/DISC” and change the setting from OFF to ON. This will allow the data from the master disc to be copied to the internal hard drive, as well as any blank discs you have in the recorders. See page 19 for a description of the SETUP menu.
1.At the COPY START? (DISC to DISC) menu, press the NO or ▼ button until the display shows MASTER SELECT? (DISC TO DISC)
MASTER SELECT? (DISC to DISC)
2.Place the Master disc into the Reader drive.
3.Press the YES button.
4.The display will show:
READER? (DISC to DISC)
5.Press the NO or ▼ button
6.The display will now show:
DISC to HDD?
4.2GB
The number in the lower right corner of the display indicates the amount of free space remaining on the hard drive.
7. You will see this screen after the contents of the master have been analyzed:
NAME? | 4.2GB |
(_ | ) |
If you do not have the Auto Generate in the Setup menu feature turned on, use the ▲or ▼buttons to change the character in the position shown by the cursor. Press the YES button to move the cursor to the right or NO to move back to the left. Once the cursor is on the 14th character, press YES to begin registering the master.
8