HP nVIDIA GeForce2 MX (32 MB) Graphics Card Installation Guide
Overview of the Installation Procedure
Installing your HP nVIDIA GeForce2 MX
Graphics Card
WARNING For your safety, never remove the computer’s cover without first removing the power cord, data cables and any connection to a telecommunications network. Always replace the cover before switching on again.
1With the computer turned off, disconnect the power cord and any connection to a telecommunications network, then remove the cover.
2Disconnect the monitor cable from the old graphics card.
3Depending on the computer model, you may need to remove either the screws or the retaining bracket which secures the graphic card in place.
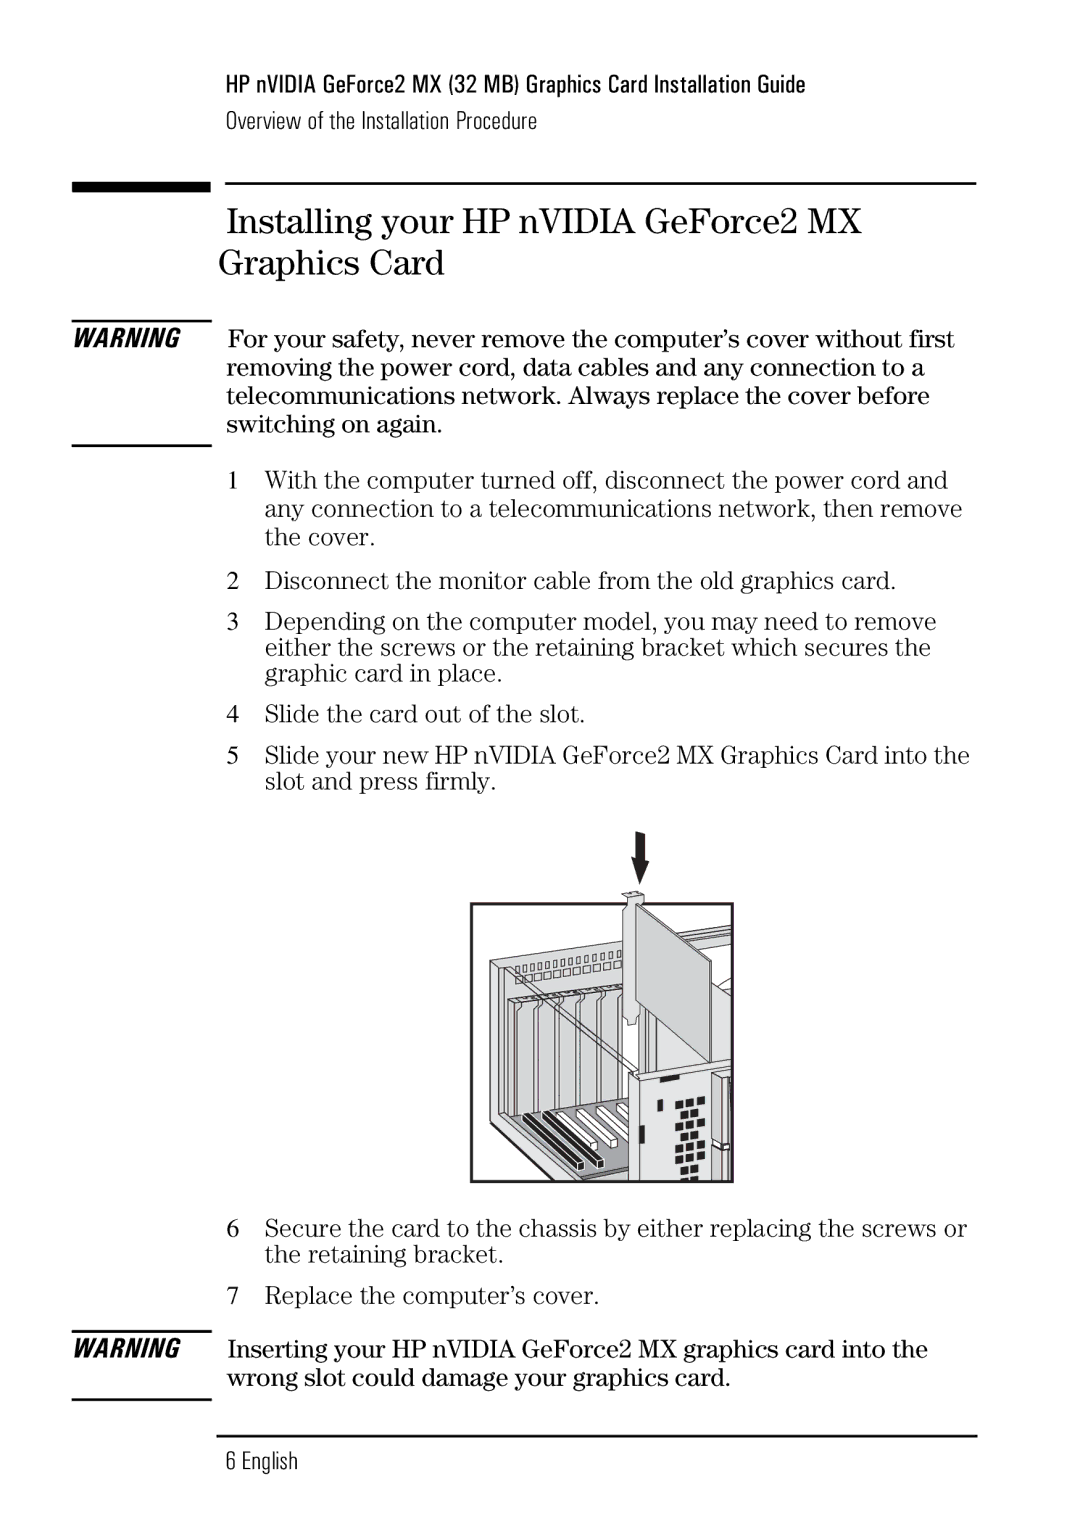
4Slide the card out of the slot.
5Slide your new HP nVIDIA GeForce2 MX Graphics Card into the slot and press firmly.
6Secure the card to the chassis by either replacing the screws or the retaining bracket.
7Replace the computer’s cover.
WARNING Inserting your HP nVIDIA GeForce2 MX graphics card into the wrong slot could damage your graphics card.