
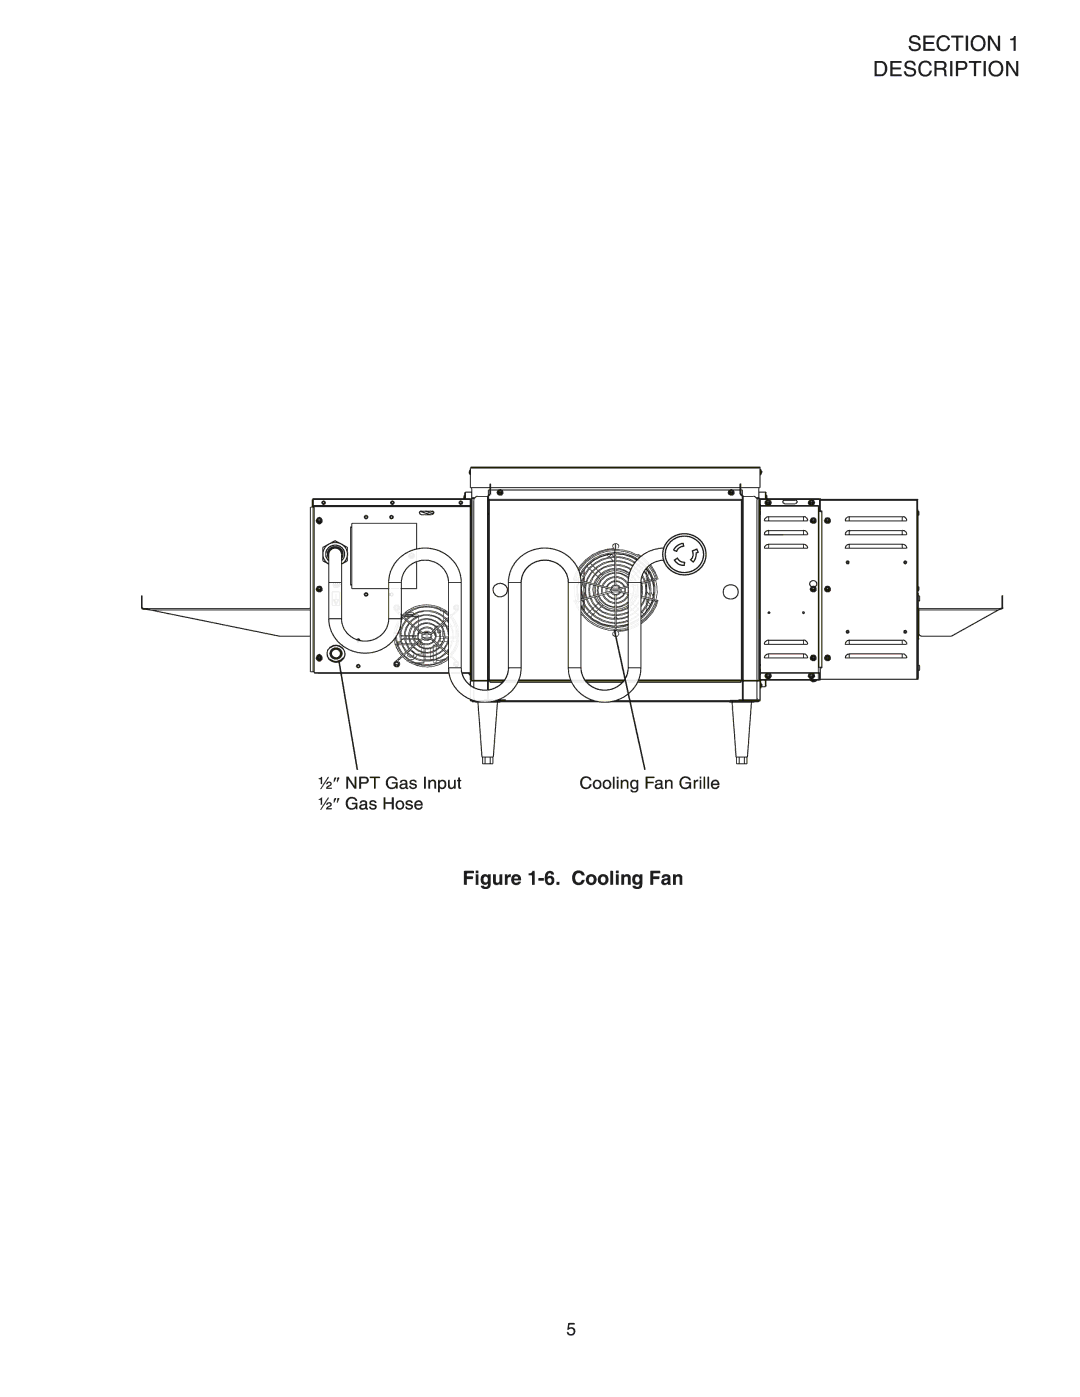
PS520G specifications
The Middleby Marshall PS520G represents a significant leap forward in the world of commercial cooking equipment, specifically designed to meet the demands of high-volume foodservice operations. This innovative conveyor oven is engineered for efficiency, speed, and high-quality results, making it a favorite among pizza parlors, restaurants, and fast-food businesses.One of the standout features of the PS520G is its gas-powered operation. The use of natural gas or propane not only enhances cooking speed but also contributes to lower operational costs when compared to electric models. This advantage allows establishments to serve more customers in less time, thereby maximizing revenue.
The PS520G is equipped with advanced technology that ensures consistent cooking results. Its patented Air Impingement technology circulates heated air within the cooking chamber, ensuring that every item receives even heat distribution. This technology is particularly beneficial for achieving perfectly cooked pizzas, breads, and other baked goods. The ability to cook food quickly while maintaining moisture and flavor is a hallmark of this model.
Another significant characteristic of the PS520G is its versatile cooking capabilities. The unit features adjustable conveyor speed, allowing operators to customize cooking times according to the type of food being prepared. This flexibility is essential in a bustling kitchen environment where different menu items require distinct cooking times.
The construction of the PS520G is robust and designed for durability, with stainless steel exteriors that are not only attractive but also easy to clean. Additionally, the oven's efficient design includes a high-capacity cooking chamber that can accommodate larger items, making it suitable for various food types.
A critical aspect of any commercial kitchen equipment is ease of use, and the PS520G shines in this area as well. The user-friendly digital controls allow for precise temperature settings and monitoring, enabling kitchen staff to maintain high standards in cooking. Moreover, the self-cleaning feature simplifies maintenance, ensuring the oven operates at peak performance with minimal downtime.
In summary, the Middleby Marshall PS520G conveyor oven embodies a perfect blend of technology, efficiency, and versatility. Its gas-powered operation, advanced cooking technologies, and durable construction make it an indispensable asset for any high-volume foodservice operation, driving both productivity and quality in food preparation. With the PS520G, businesses can ensure they are well-equipped to meet the culinary demands of their customers, providing fast and delicious meals consistently.