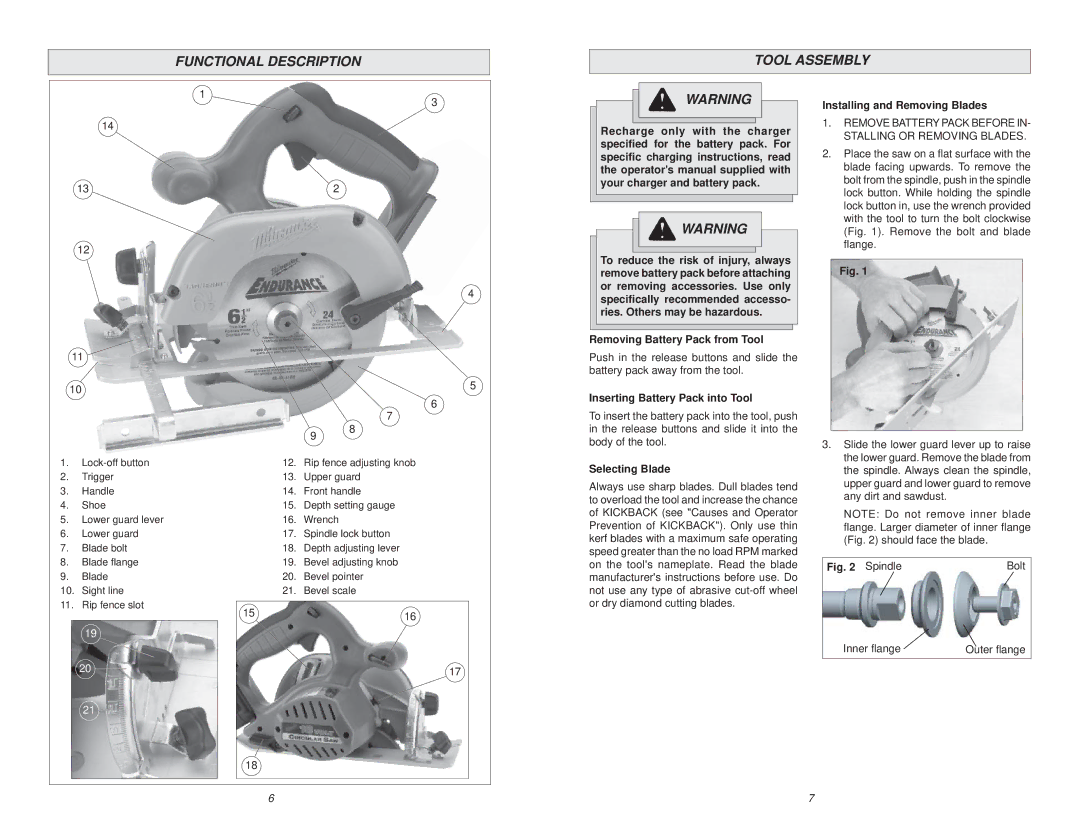
6310-20 specifications
The Milwaukee 6310-20 is a powerful and versatile tool that stands out in the competitive market of heavy-duty rotary hammer drills. Known for its durability, efficiency, and performance, this model has been designed to meet the needs of both professional tradespeople and serious DIY enthusiasts.One of the main features of the Milwaukee 6310-20 is its robust motor, which delivers impressive power and performance. With a 7-amp motor that can generate up to 2.4 joules of impact energy, this rotary hammer drill is capable of handling tough materials like concrete, masonry, and brick with ease. The performance-driven motor is designed to maintain consistent speed and power under load, allowing users to complete tasks more effectively.
Another noteworthy characteristic of the Milwaukee 6310-20 is its dual mode capability. Users can switch between rotary hammer mode for drilling into hard materials and the drill-only mode for more precise drilling tasks. This versatility allows the tool to be used for a wide range of applications, making it an invaluable addition to any toolbox.
The ergonomic design of the Milwaukee 6310-20 also deserves mention. It features a comfortable grip that reduces user fatigue during extended work sessions. The lightweight construction of the tool further enhances its usability, ensuring that users can maneuver it easily in tight spaces without compromising on control.
In terms of technology, the 6310-20 incorporates Milwaukee’s innovative AVS (Anti-Vibration System) that minimizes vibrations, enhancing user comfort and reducing the risk of repetitive strain injuries. Additionally, the tool is equipped with a worldwide renowned electronic overload protection system, which safeguards the motor from damage in case of heavy-duty applications.
Another significant feature is the onboard LED light that illuminates dark work areas, providing better visibility during drilling tasks. This practical addition enhances safety and accuracy, especially when working in low-light conditions.
The Milwaukee 6310-20 is also compatible with various chiseling attachments, enhancing its functionality further. With a durable construction and a reputation for reliability, it remains a popular choice among professionals looking for a powerful and efficient rotary hammer drill. Whether in construction, renovation, or other heavy-duty applications, the 6310-20 continues to demonstrate Milwaukee's commitment to excellence in tool design and performance.

