4 Connecting the AVDS Cables
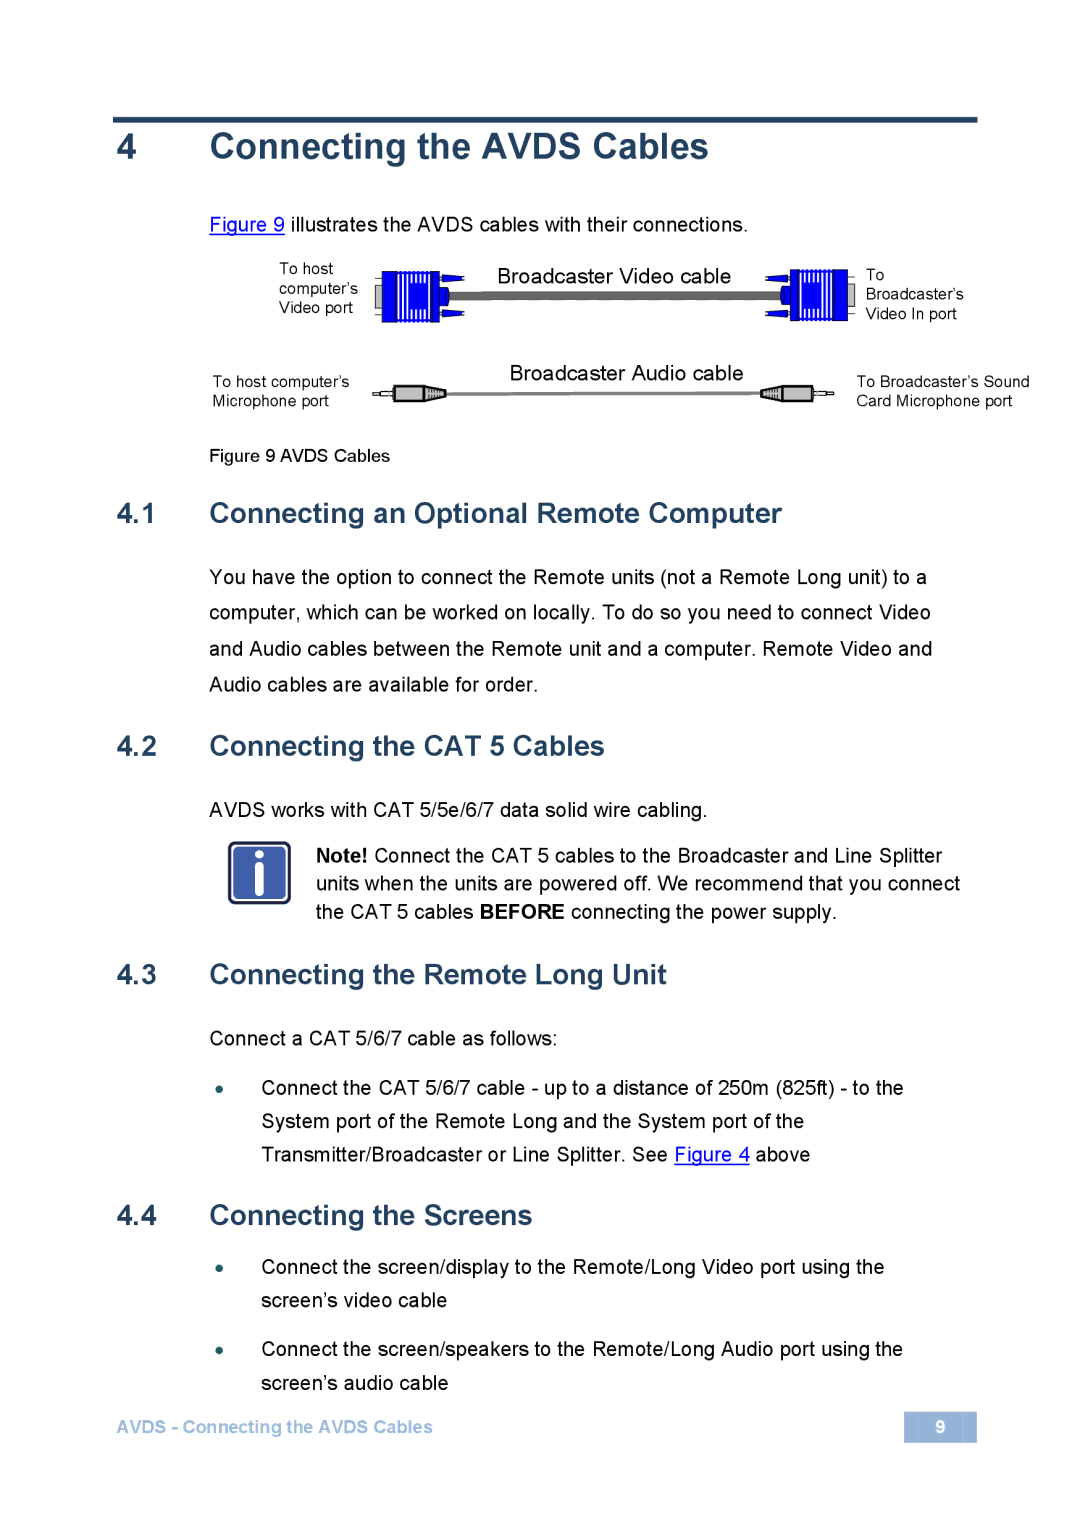
Figure 9 illustrates the AVDS cables with their connections.
To host computer’s Video port
To host computer’s Microphone port
Broadcaster Video cable
Broadcaster Audio cable
To
Broadcaster’s
Video In port
To Broadcaster’s Sound
Card Microphone port
Figure 9 AVDS Cables
4.1Connecting an Optional Remote Computer
You have the option to connect the Remote units (not a Remote Long unit) to a computer, which can be worked on locally. To do so you need to connect Video and Audio cables between the Remote unit and a computer. Remote Video and Audio cables are available for order.
4.2Connecting the CAT 5 Cables
AVDS works with CAT 5/5e/6/7 data solid wire cabling.
i | Note! Connect the CAT 5 cables to the Broadcaster and Line Splitter |
units when the units are powered off. We recommend that you connect | |
| the CAT 5 cables BEFORE connecting the power supply. |
4.3Connecting the Remote Long Unit
Connect a CAT 5/6/7 cable as follows:
•Connect the CAT 5/6/7 cable - up to a distance of 250m (825ft) - to the System port of the Remote Long and the System port of the Transmitter/Broadcaster or Line Splitter. See Figure 4 above
4.4Connecting the Screens
•Connect the screen/display to the Remote/Long Video port using the screen’s video cable
•Connect the screen/speakers to the Remote/Long Audio port using the screen’s audio cable
AVDS - Connecting the AVDS Cables | 9 |
