SELF TIMER
The
•When the
•The print format is set to H when the
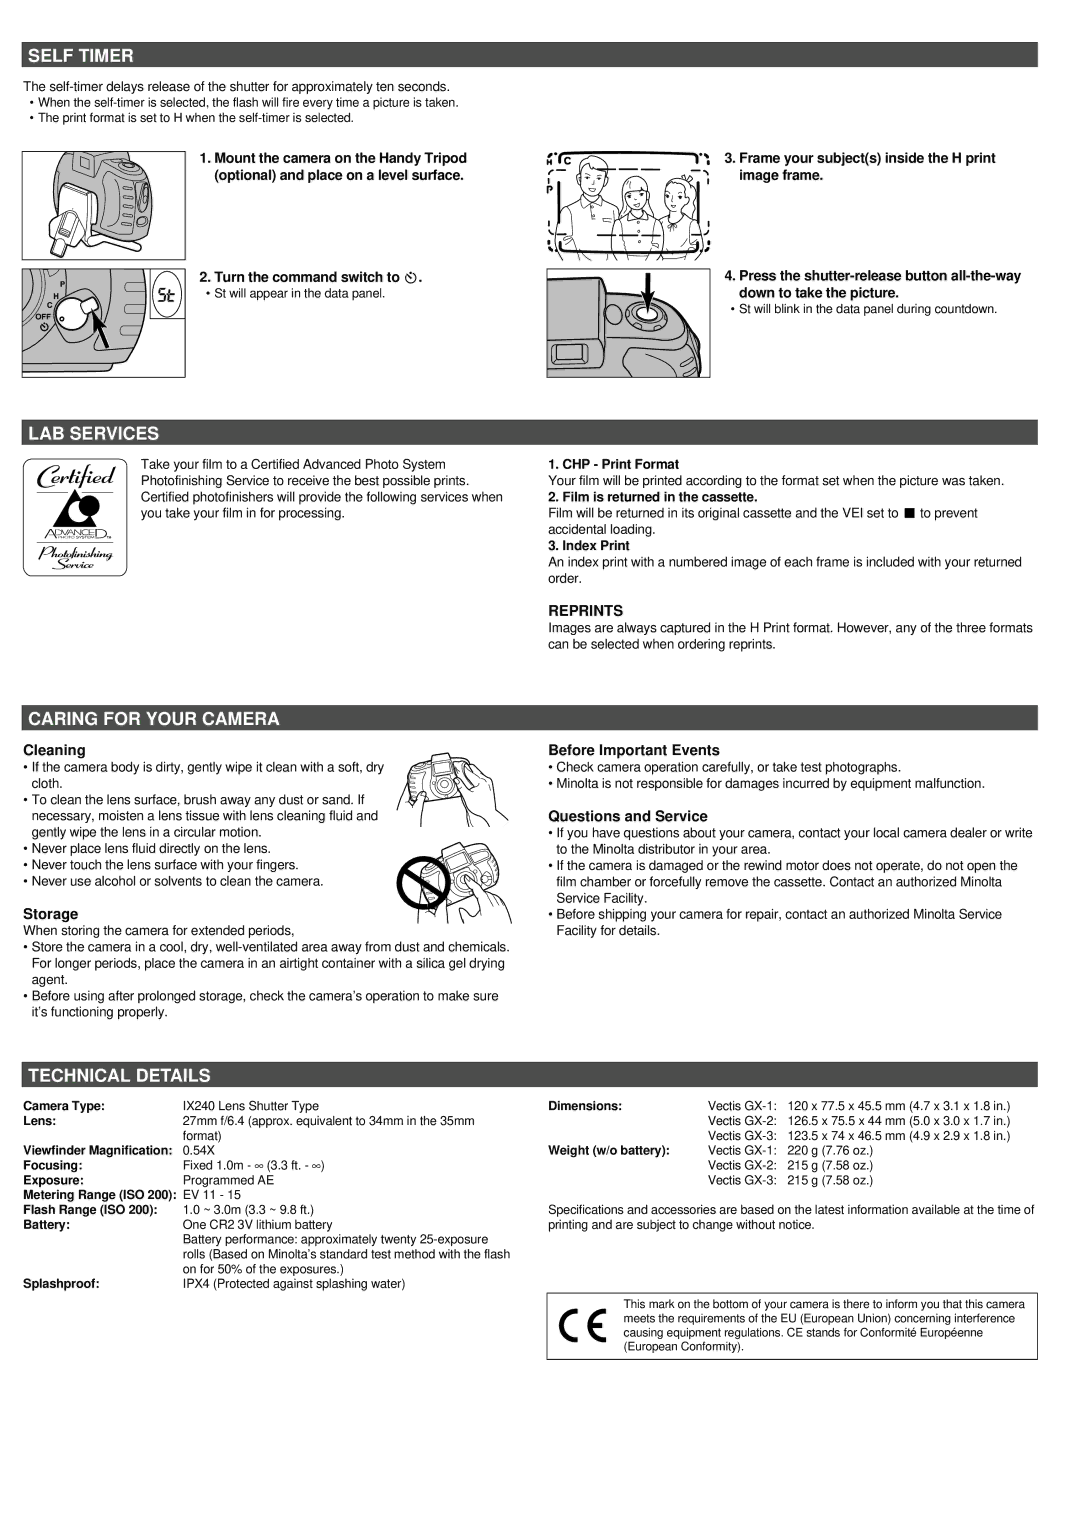
1.Mount the camera on the Handy Tripod (optional) and place on a level surface.
2. Turn the command switch to ![]() .
.
• St will appear in the data panel.
3.Frame your subject(s) inside the H print image frame.
4.Press the
down to take the picture.
• St will blink in the data panel during countdown.
LAB SERVICES
Take your film to a Certified Advanced Photo System Photofinishing Service to receive the best possible prints. Certified photofinishers will provide the following services when you take your film in for processing.
1. CHP - Print Format
Your film will be printed according to the format set when the picture was taken.
2. Film is returned in the cassette.
Film will be returned in its original cassette and the VEI set to ![]() to prevent accidental loading.
to prevent accidental loading.
3. Index Print
An index print with a numbered image of each frame is included with your returned order.
REPRINTS
Images are always captured in the H Print format. However, any of the three formats can be selected when ordering reprints.
CARING FOR YOUR CAMERA
Cleaning
• If the camera body is dirty, gently wipe it clean with a soft, dry cloth.
• To clean the lens surface, brush away any dust or sand. If necessary, moisten a lens tissue with lens cleaning fluid and gently wipe the lens in a circular motion.
• Never place lens fluid directly on the lens.
• Never touch the lens surface with your fingers.
• Never use alcohol or solvents to clean the camera.
Storage
When storing the camera for extended periods,
•Store the camera in a cool, dry,
•Before using after prolonged storage, check the camera’s operation to make sure it’s functioning properly.
Before Important Events
•Check camera operation carefully, or take test photographs.
•Minolta is not responsible for damages incurred by equipment malfunction.
Questions and Service
•If you have questions about your camera, contact your local camera dealer or write to the Minolta distributor in your area.
•If the camera is damaged or the rewind motor does not operate, do not open the film chamber or forcefully remove the cassette. Contact an authorized Minolta Service Facility.
•Before shipping your camera for repair, contact an authorized Minolta Service Facility for details.
TECHNICAL DETAILS
Camera Type: | IX240 Lens Shutter Type |
Lens: | 27mm f/6.4 (approx. equivalent to 34mm in the 35mm |
Viewfinder Magnification: | format) |
0.54X | |
Focusing: | Fixed 1.0m - ∞ (3.3 ft. - ∞ ) |
Exposure: | Programmed AE |
Metering Range (ISO 200): | EV 11 - 15 |
Flash Range (ISO 200): | 1.0 ~ 3.0m (3.3 ~ 9.8 ft.) |
Battery: | One CR2 3V lithium battery |
| Battery performance: approximately twenty |
| rolls (Based on Minolta’s standard test method with the flash |
Splashproof: | on for 50% of the exposures.) |
IPX4 (Protected against splashing water) |
Dimensions:Vectis
Weight (w/o battery): Vectis
Specifications and accessories are based on the latest information available at the time of printing and are subject to change without notice.
This mark on the bottom of your camera is there to inform you that this camera meets the requirements of the EU (European Union) concerning interference causing equipment regulations. CE stands for Conformité Européenne (European Conformity).
