ON-SCREEN DISPLAY
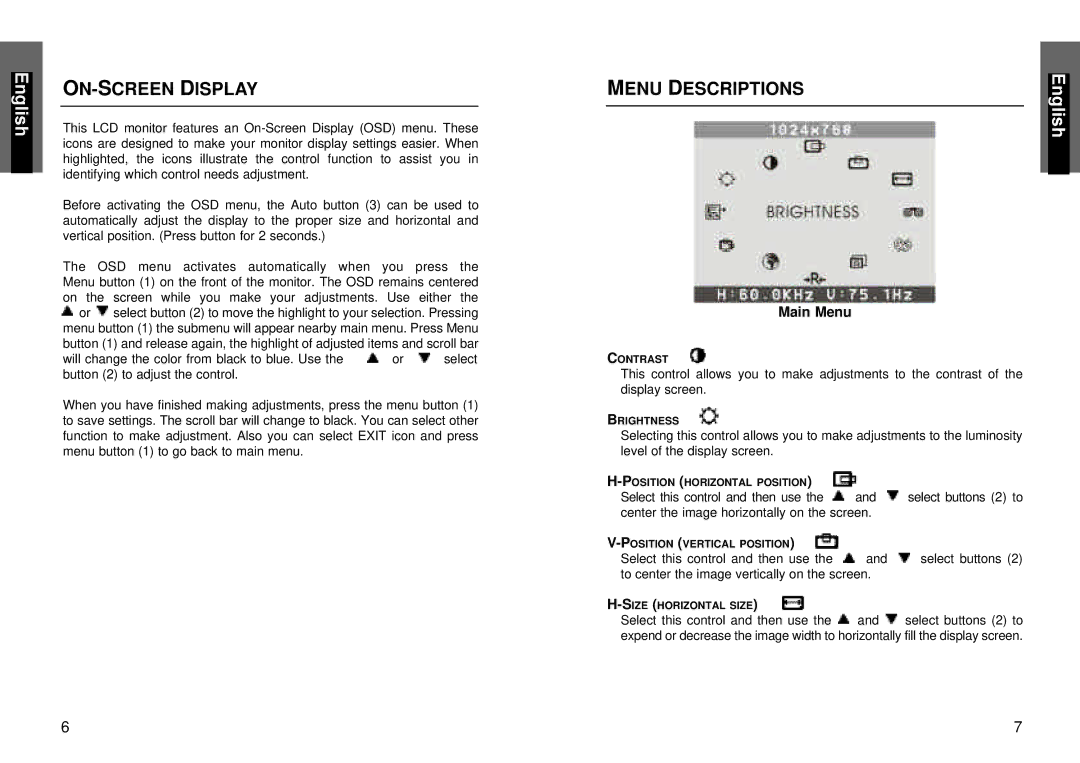
This LCD monitor features an
Before activating the OSD menu, the Auto button (3) can be used to automatically adjust the display to the proper size and horizontal and vertical position. (Press button for 2 seconds.)
The OSD menu activates automatically when you press the Menu button (1) on the front of the monitor. The OSD remains centered
on the | screen while you make your adjustments. Use either the |
or | select button (2) to move the highlight to your selection. Pressing |
menu button (1) the submenu will appear nearby main menu. Press Menu button (1) and release again, the highlight of adjusted items and scroll bar
will change the color from black to blue. Use the | or | select |
button (2) to adjust the control. |
|
|
When you have finished making adjustments, press the menu button (1) to save settings. The scroll bar will change to black. You can select other function to make adjustment. Also you can select EXIT icon and press menu button (1) to go back to main menu.
MENU DESCRIPTIONS
Main Menu
CONTRAST
This control allows you to make adjustments to the contrast of the display screen.
BRIGHTNESS
Selecting this control allows you to make adjustments to the luminosity level of the display screen.
|
| |
Select this control and then use the | and | select buttons (2) to |
center the image horizontally on the screen. |
| |
|
| |
Select this control and then use the | and | select buttons (2) |
to center the image vertically on the screen. |
| |
|
| |
Select this control and then use the | and | select buttons (2) to |
expend or decrease the image width to horizontally fill the display screen.
6 | 7 |
