
CP900DW specifications
The Mitsubishi Electronics CP900DW is a versatile and advanced digital printer designed for a variety of printing applications. Known for its high-quality outputs and user-friendly features, the CP900DW has gained a reputation for excellence among photographers, event organizers, and small businesses.One of the standout features of the CP900DW is its exceptional print quality. Utilizing dye-sublimation technology, this printer delivers vibrant colors and sharp detail in every print. The CP900DW offers a resolution of up to 300 x 600 dpi, ensuring that images are reproduced with stunning clarity and richness. This makes it suitable for printing photos, event passes, and promotional materials where quality is paramount.
The CP900DW is designed for speed and efficiency. It can produce a 4x6-inch photo in approximately 8.4 seconds, making it ideal for high-volume printing environments. Whether it’s for a busy event or a professional setting, the CP900DW helps to keep workflow smooth and productivity high.
In terms of connectivity, the CP900DW is equipped with multiple options to ensure compatibility with various devices. It supports USB and network connectivity, allowing users to print directly from computers, laptops, or even mobile devices. Additionally, it features compatibility with various operating systems, which broadens its usability.
Another notable aspect of the CP900DW is its compact design. This printer is designed to fit seamlessly into any workspace without taking up excessive space. Its lightweight construction also adds to its portability, making it easy to transport for on-the-go printing needs.
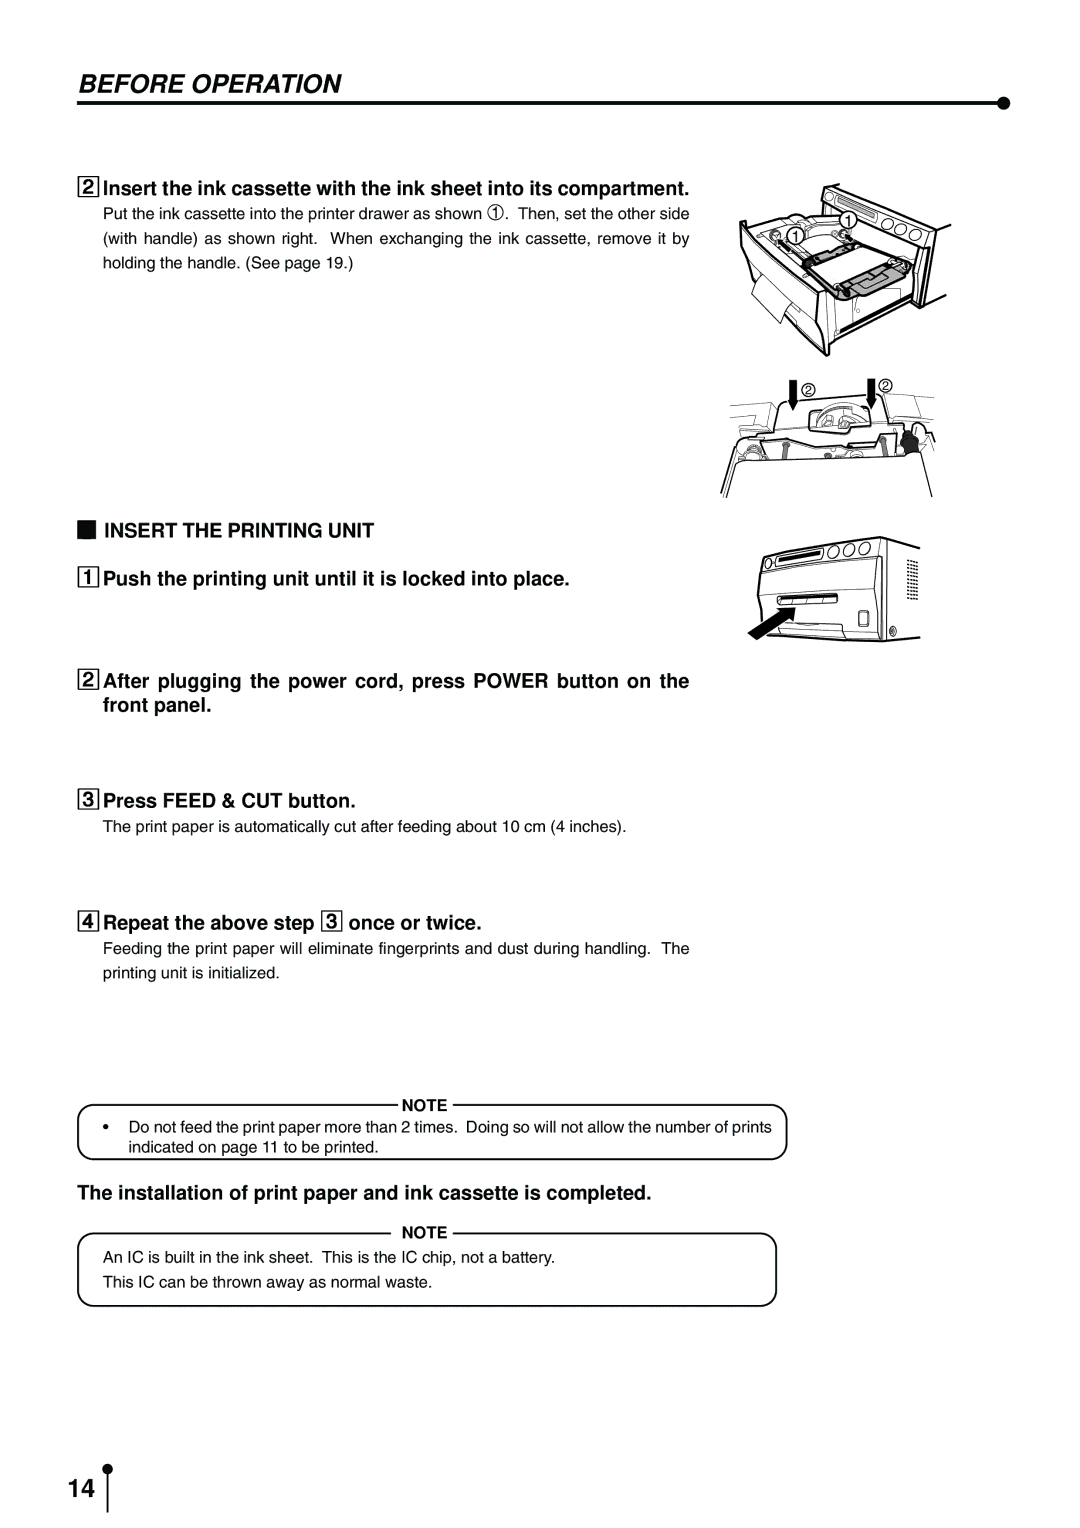
User-friendly features enhance the overall experience of the CP900DW. It comes with an intuitive control panel that allows for easy navigation through various settings and functions. Furthermore, with its easy-to-replace ink ribbon and compact media supplies, changing cartridges is a hassle-free process.
Security features are another important aspect of the CP900DW, especially for businesses that handle sensitive data. The printer incorporates data encryption and secure printing options to safeguard sensitive information, providing peace of mind for users.
In summary, the Mitsubishi Electronics CP900DW combines high-quality output, speed, and versatile connectivity in a compact and user-friendly package. This printer stands out as a reliable solution for anyone in need of professional-grade prints, making it a valuable addition to any photographic or business workflow.