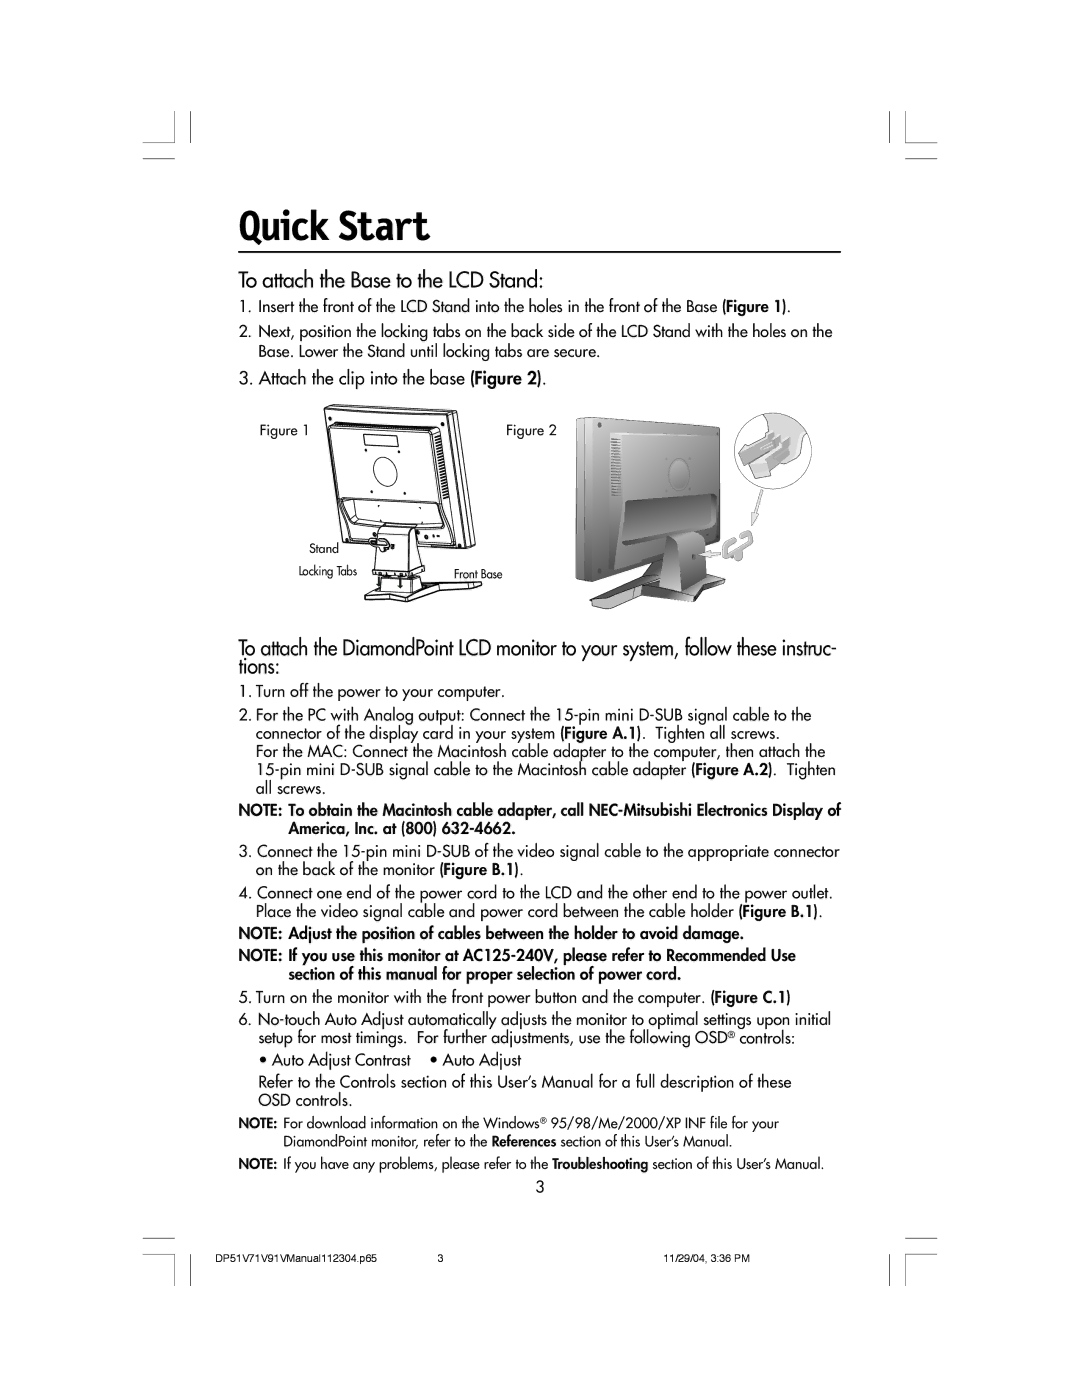
V51LCD, V71LCD, V91LCD specifications
Mitsubishi Electronics has long been a renowned name in the world of visual display technology, and their V series of LCD monitors, namely the V71LCD, V91LCD, and V51LCD, continue to exemplify the cutting-edge advancements in this field. These models are designed to deliver exceptional performance and reliability, making them ideal for a variety of applications, including professional, commercial, and industrial environments.The V71LCD model boasts a 7-inch display that offers superior image quality with vibrant colors and sharp detail. It utilizes Mitsubishi’s proprietary LCD technology, which enhances brightness and contrast, delivering images that are both clear and eye-catching. The monitor also features an expansive viewing angle, ensuring that images are visible from multiple perspectives without color distortion. This makes it suitable for use in environments where multiple viewers need to see the display simultaneously.
The V91LCD, on the other hand, is equipped with a larger 9-inch screen that further amplifies these impressive features. It supports higher resolutions, allowing for even more detailed visuals. This model integrates advanced signal processing technology, which enhances the clarity of moving images, making it an excellent choice for dynamic applications such as video conferencing and digital signage. Additionally, the V91LCD is designed for durability, incorporating robust housing and components that withstand continuous operation in demanding environments.
The V51LCD presents a more compact option with a 5-inch display, making it suitable for applications with limited space. Despite its smaller size, the V51LCD does not compromise on quality. It features Mitsubishi’s innovative backlight technology that not only increases brightness but also prolongs the lifespan of the monitor. This model is ideal for embedded applications, such as control panels and instrumentation, where reliability and clarity are paramount.
All three models in the V series are designed with user-friendly interfaces and a variety of connectivity options, including HDMI, VGA, and composite inputs, ensuring compatibility with numerous devices. They also incorporate energy-efficient technologies to minimize power consumption, aligning with global sustainability efforts.
In summary, the Mitsubishi Electronics V71LCD, V91LCD, and V51LCD stand out with their remarkable image quality, advanced technologies, and robust designs. Whether for professional use or industrial applications, these monitors provide versatility and reliability, making them a vital part of Mitsubishi’s impressive lineup of display solutions.

