XL6U specifications
Mitsubishi Electronics has made significant strides in the field of home entertainment with its cutting-edge XL6U projector. This high-performance projector stands out for its versatility and advanced features, catering to both business and personal use. One of the defining qualities of the XL6U is its impressive brightness, producing up to 6000 ANSI lumens. This powerful output ensures clear and vibrant images even in well-lit environments, making it an excellent choice for conference rooms, classrooms, or home theaters.The XL6U utilizes DLP (Digital Light Processing) technology, which is known for its exceptional color accuracy and sharpness. With a native resolution of 1920x1080, the projector delivers stunning Full HD visuals, bringing every detail to life. This makes it particularly well-suited for displaying high-definition video content, from presentations to film screenings.
Moreover, the XL6U supports both 2D and 3D projection capabilities. This feature enhances user experience by allowing viewers to enjoy immersive 3D films, making it an ideal option for gaming and cinematic experiences. The projector also supports the latest HDMI standards, ensuring compatibility with a variety of media devices such as Blu-ray players, gaming consoles, and streaming devices.
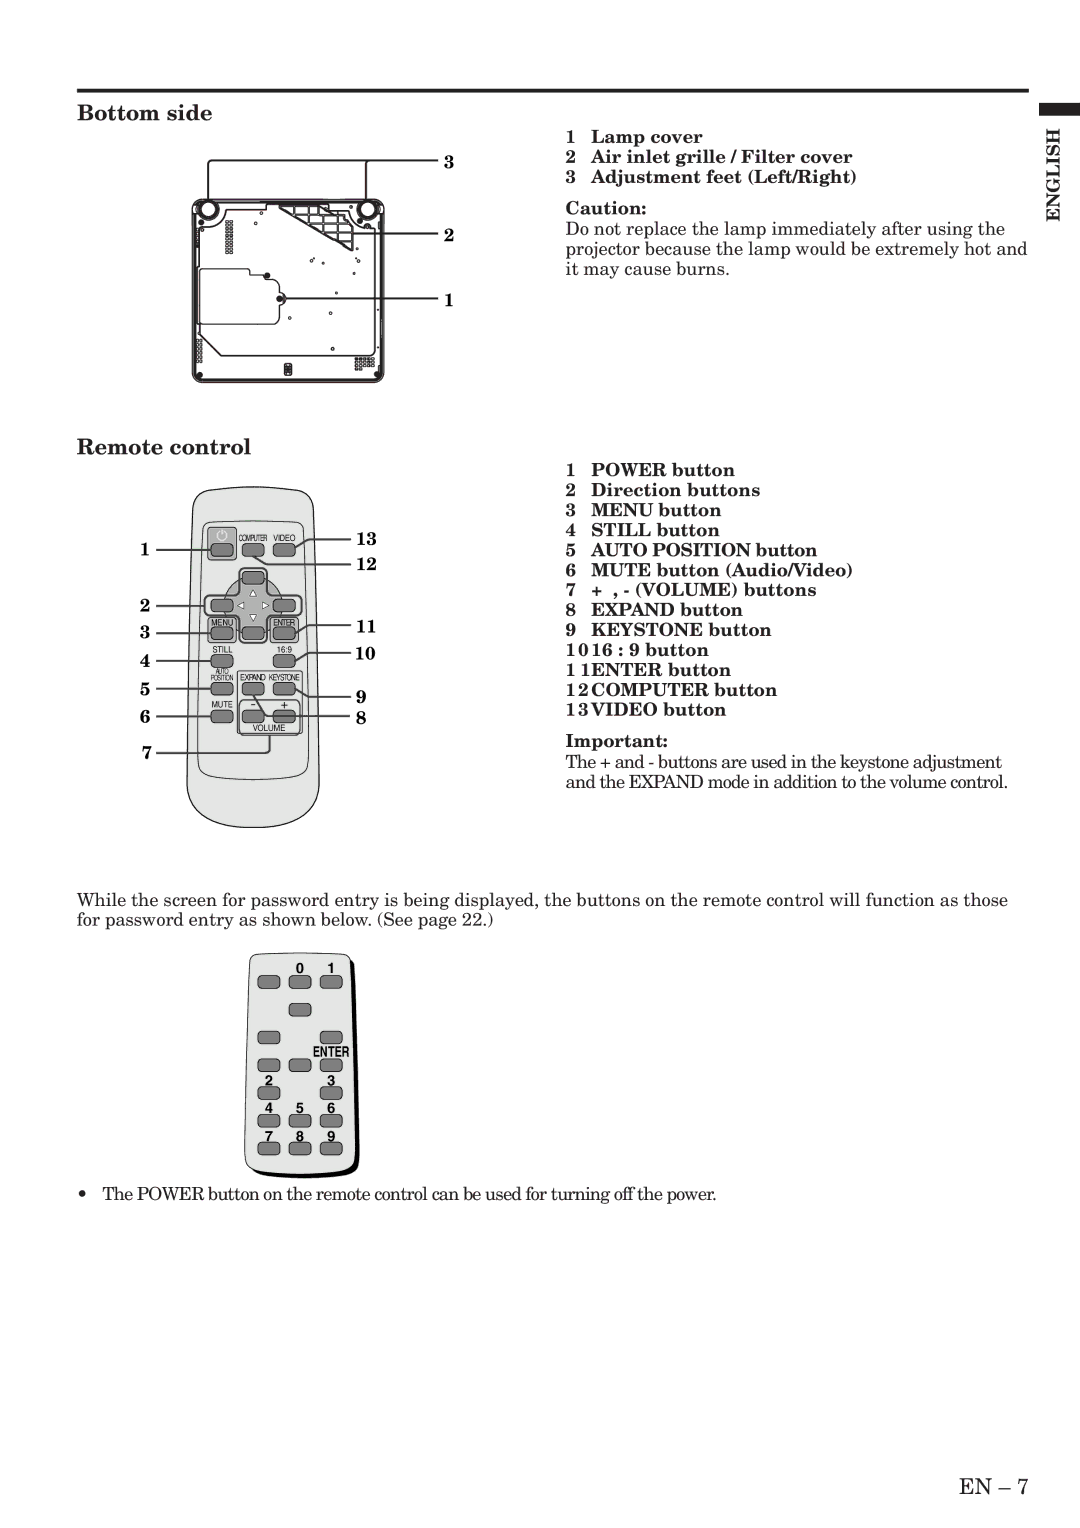
In terms of connectivity, the XL6U offers a broad range of options, including USB, VGA, and HDMI ports. This variety allows for easy integration with existing systems, simplifying setup and usage. Additionally, the projector's built-in speakers produce clear audio, although users have the option to connect external audio systems for improved sound quality.
The XL6U is designed with longevity in mind. Its high-performance lamp provides up to 7500 hours of usage in eco mode, reducing maintenance costs and extending the life of the projector. This durability is complemented by a user-friendly operation interface, enabling both novice and experienced users to navigate its features with ease.
Overall, the Mitsubishi Electronics XL6U is a robust projector combining high brightness, excellent image quality, and versatility in connectivity. It caters to a wide range of applications, from business presentations to home entertainment, making it a smart investment for those seeking a reliable and high-performing projection solution. With its array of advanced technologies and features, the XL6U exemplifies Mitsubishi’s commitment to innovation and quality in the electronics market.

