HOOK-UP GUIDE
Outlet Programming
All PowerSource outlets on the rear panel are programmable via the menu and select buttons on the front panel. To set up each outlet pair, use the front panel MENU and SELECT buttons to choose between SWITCHED ON, SWITCHED ON AFTER DELAY and UNSWITCHED (Always On) independently for each outlet pair. You can change the settings, whenever you like. Using the outlet pair labeled ANALOG FILTER as an example, the following diagrams illustrate how it’s done:
A)Power up the PowerSource: Press the ON/OFF switch one time to power the unit and start the process. Once the PowerSource is on, the display will show the AC line voltage as in Figure 1.
NOTE: The
as SWITCHED ON AFTER DELAY. You can see any outlet pair’s power status by referring to its indicator on the front panel.
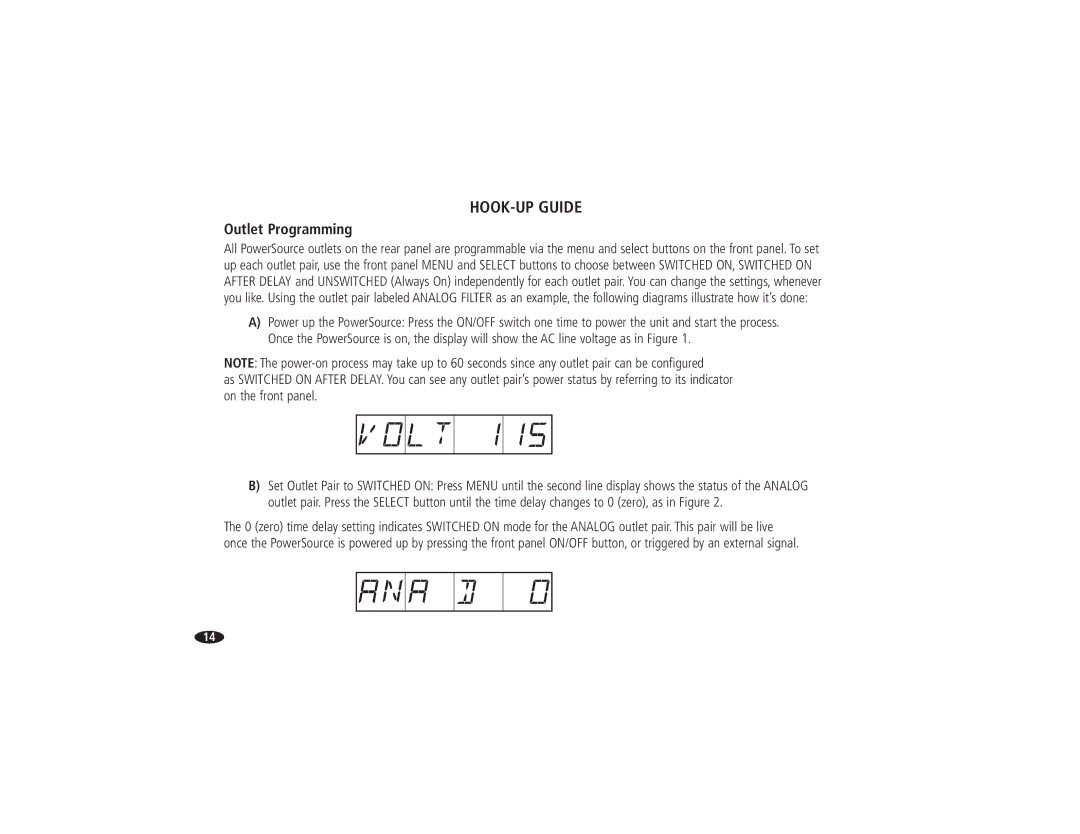
B)Set Outlet Pair to SWITCHED ON: Press MENU until the second line display shows the status of the ANALOG outlet pair. Press the SELECT button until the time delay changes to 0 (zero), as in Figure 2.
The 0 (zero) time delay setting indicates SWITCHED ON mode for the ANALOG outlet pair. This pair will be live once the PowerSource is powered up by pressing the front panel ON/OFF button, or triggered by an external signal.
14