![]() VC71067MUK Rev5_Instruction Book 19/09/2012 13:40 Page 6
VC71067MUK Rev5_Instruction Book 19/09/2012 13:40 Page 6
Standard accessories
|
| 24 |
27 | 26 | 25 |
| ||
|
| 2 |
25 |
| 26 |
Application
Textiles and upholstery
Shelves and hard surfaces
23
23
28
![]()
![]()
![]() 24
24
![]()
![]()
![]() 24
24
Carpets and other textile floor coverings (brushes up on combination floor nozzle)
Settings for heavy dirt and smooth floors (brushes down on combination floor nozzle)
Tools and accessories
Combination floor nozzle (23)
This nozzle is suitable for general purpose cleaning on a wide variety of floor coverings.
Turbo nozzle (28) (certain models only)
This nozzle is suitable for cleaning and rejuvenating cut pile carpets and is ideal for picking up stubborn dirt and pet and human hairs.
Cleaning the turbo nozzle
(certain models only)
The turbo nozzle (28) should be regularly cleaned and any hairs or fibres wrapped around the brush bar removed to maintain optimum performance.
Upholstery nozzle (25)
This nozzle is ideal for textiles, carpet, upholstery and stairs etc.
Dusting brush (26)
This tool is ideal for vacuuming pelmets and delicate objects and surfaces. This attachment clips on to the upholstery nozzle (25).
Crevice tool (27)
This tool is ideal for awkward places, corners, and behind radiators etc.
Safety cut-out
If the cleaner overheats, a motor protection thermostat will automatically switch the motor off. If this happens, switch the cleaner off, unplug from the power supply and leave the cleaner to cool for at least 60 minutes. Check the airways for blockages, empty the dust canister and clean the filters before restarting.
Maintenance - Filters
The guarantee may be invalidated if the motor is damaged due to: using the appliance without the filters installed; not cleaning the filters; or not replacing damaged filters.
Cleaning the dust canister filter (19)
To maintain suction, the dust canister filter must be cleaned each time the dust canister (5) is emptied.
1.Follow steps
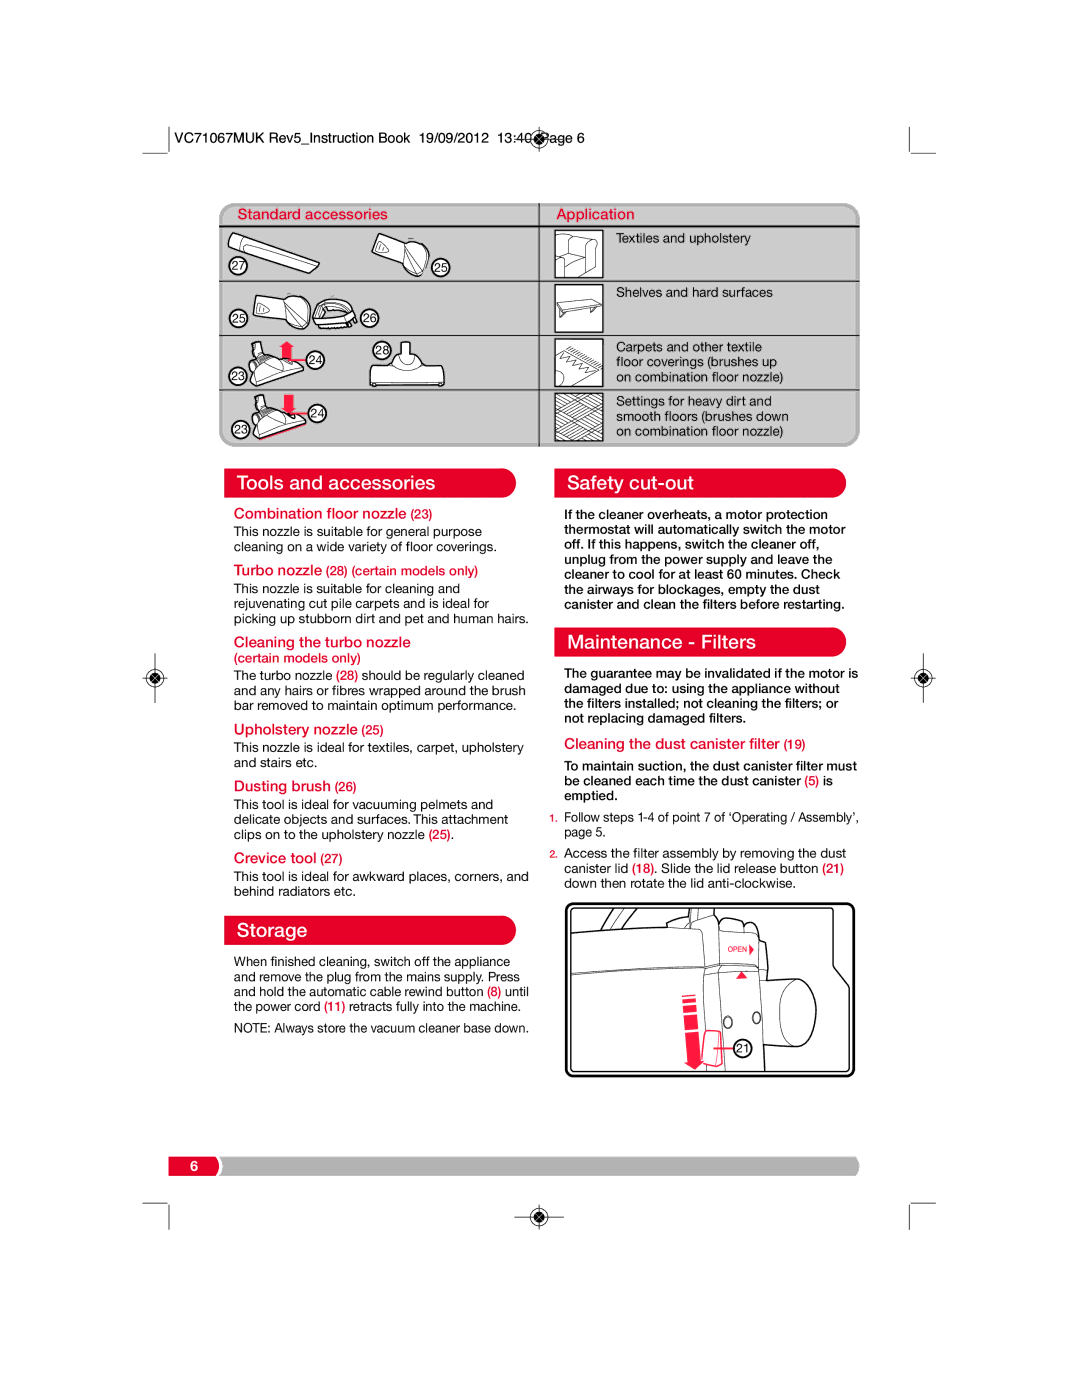
2.Access the filter assembly by removing the dust canister lid (18). Slide the lid release button (21) down then rotate the lid
Storage
When finished cleaning, switch off the appliance and remove the plug from the mains supply. Press and hold the automatic cable rewind button (8) until the power cord (11) retracts fully into the machine.
NOTE: Always store the vacuum cleaner base down.
21
6
