Turning the Radio On or Off
1.Rotate the On/Off/Volume Control knob clockwise. You will hear the
2.Rotate the On/Off/Volume Control knob counterclockwise until you hear a click and both the display and the LED indicators turn off.
Adjusting the Volume
1.Turn the On/Off/Volume Control knob clockwise to increase the volume, or counterclockwise to decrease the volume.
Selecting a Radio Channel
1. Press the ![]() or
or ![]() button to select the desired channel.
button to select the desired channel.
Sending a Call
1.Turn radio on and select appropriate channel.
2.Press PTT button, hold the microphone 1 to 2 inches (2.5 to 5 cm) from your mouth, and speak clearly into it.
3.Release PTT button to listen.
Receiving a Call
1.Turn radio on and adjust volume to the desired level.
2.Select desired channel.
3.To respond to an incoming call, press PTT button, hold the microphone 1 to 2 inches (2.5 to 5 cm) from your mouth, and speak clearly into it.
Starting or Stopping Scan
1.Press the preprogrammed Scan button to start scan. The green LED indictor blinks during scan operation. Or, select a channel that has been prepro- grammed to start Auto Scan.
2.Press the Scan button again to stop scan. Or, select a channel that has not been preprogrammed to stop Auto Scan.
Deleting a Nuisance Channel During Scanning
1.While radio is on a nuisance channel, hold down preprogrammed Nuisance Delete button until you hear a tone.
2.Release Nuisance Delete button.
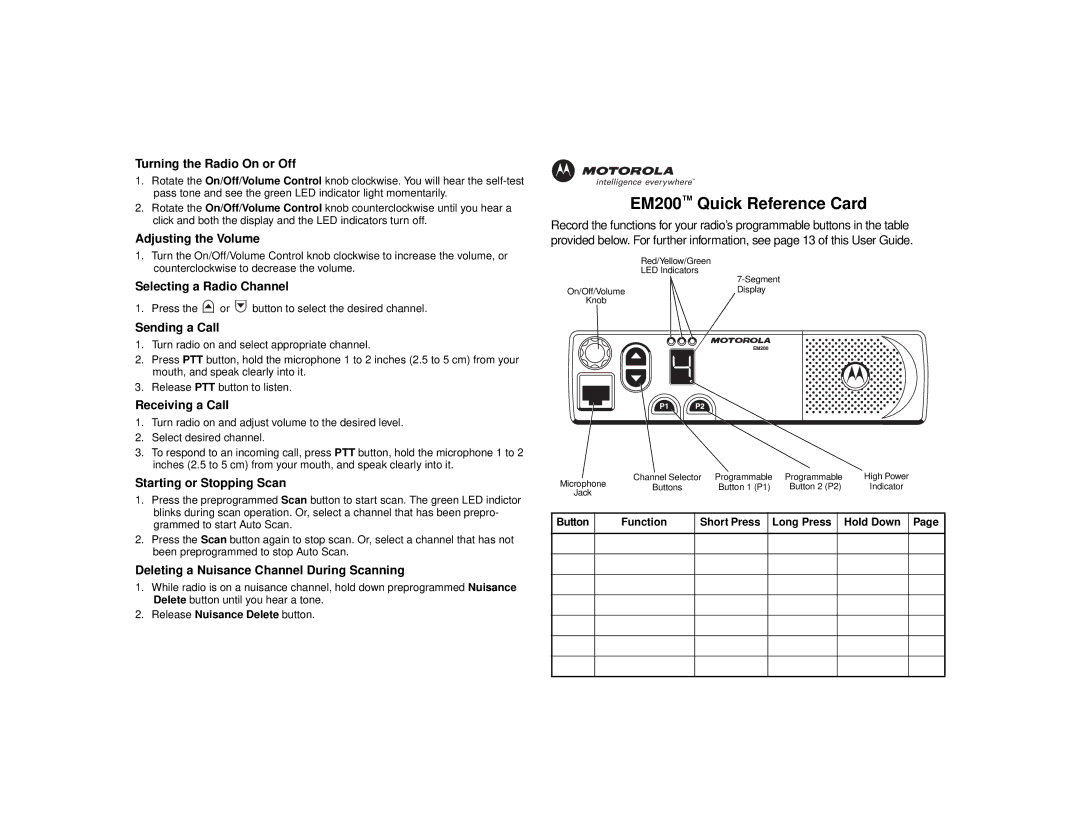
EM200™ Quick Reference Card
Record the functions for your radio’s programmable buttons in the table provided below. For further information, see page 13 of this User Guide.
Red/Yellow/Green
LED Indicators
On/Off/Volume![]() Display
Display
Knob
E![]()
![]()
Microphone | Channel Selector Programmable Programmable | High Power | ||||||
Buttons | Button 1 (P1) | Button 2 (P2) | Indicator | |||||
Jack |
|
|
|
|
|
|
| |
|
|
|
|
|
|
|
| |
Button |
| Function | Short Press |
| Long Press |
| Hold Down | Page |
|
|
|
|
|
|
|
|
|
|
|
|
|
|
|
|
|
|
|
|
|
|
|
|
|
|
|
|
|
|
|
|
|
|
|
|
|
|
|
|
|
|
|
|
|
|
|
|
|
|
|
|
|
|
|
|
|
|
|
|
|
|
|
|
|
|
|
|
|
|
|
|
