Recording tracks
Recording the first track
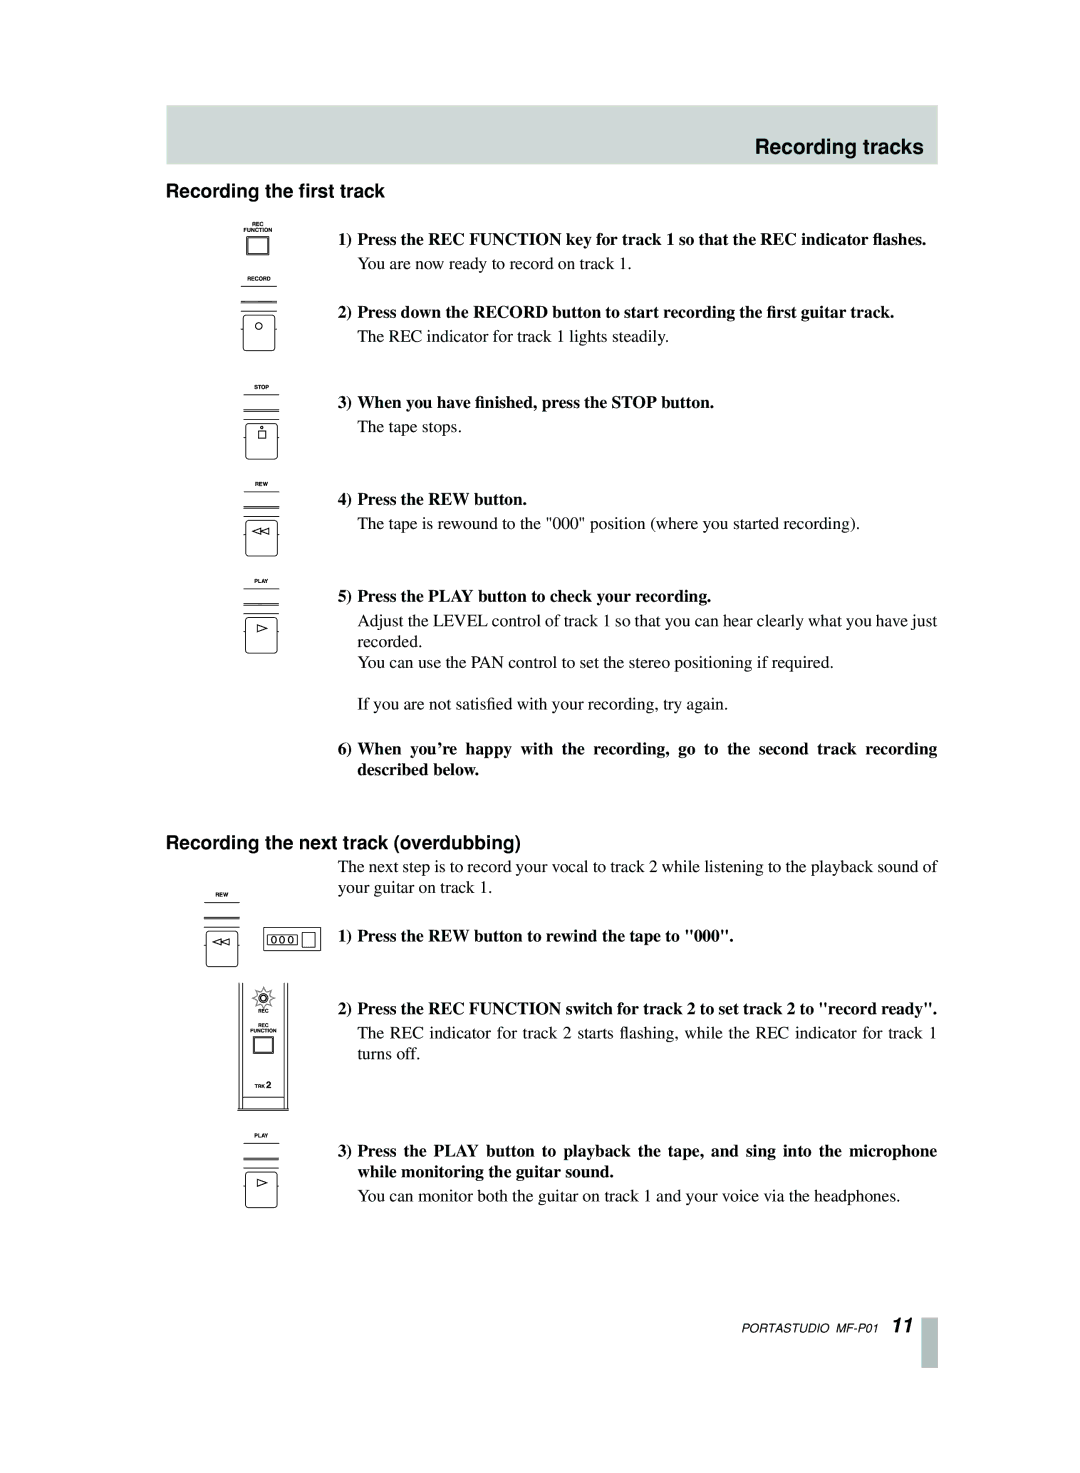
1) Press the REC FUNCTION key for track 1 so that the REC indicator flashes.
You are now ready to record on track 1.
2)Press down the RECORD button to start recording the first guitar track. The REC indicator for track 1 lights steadily.
3)When you have finished, press the STOP button.
The tape stops.
4)Press the REW button.
The tape is rewound to the "000" position (where you started recording).
5)Press the PLAY button to check your recording.
Adjust the LEVEL control of track 1 so that you can hear clearly what you have just recorded.
You can use the PAN control to set the stereo positioning if required. If you are not satisfied with your recording, try again.
6)When you’re happy with the recording, go to the second track recording described below.
Recording the next track (overdubbing)
The next step is to record your vocal to track 2 while listening to the playback sound of your guitar on track 1.
1) Press the REW button to rewind the tape to "000".
2) Press the REC FUNCTION switch for track 2 to set track 2 to "record ready".
The REC indicator for track 2 starts flashing, while the REC indicator for track 1 turns off.
3)Press the PLAY button to playback the tape, and sing into the microphone while monitoring the guitar sound.
You can monitor both the guitar on track 1 and your voice via the headphones.
PORTASTUDIO
