SMC_HomeCafe_IB_revise 7/8/04 10:09 AM Page 5
H O M E C A F É ™ C O F F E E M A K E R
F E A T U R E S A N D B E N E F I T S
❍ Pressure Brewing Technology – The Home Café™ coffeemaker is different from your regular | ||||
coffeemaker because it uses | ||||
leading coffeehouses. Pressure brewing creates a perfectly balanced cup of coffee by forcing a | ||||
precise amount of water through the coffee pod consistently producing a high quality single serving of | ||||
coffee in about a minute. |
|
|
| |
❍ Variety of Blends, Flavors and Roasts – Personalize your coffee experience by using a | ||||
variety of Folgers® and Millstone® coffee pods. |
|
|
| |
❍ Specialty Pods Compatible (Coming soon) – Your coffeemaker comes with a specialty Pod | ||||
Holder for use with Lattes, Cappuccinos and Mochas. Make sure to keep it in a safe place for future | ||||
use. Go to |
| |||
❍ Mug/Cup Size Flexibility – Choose to brew | 7 oz., | 9 oz. and | 14 oz. in your favorite | |
cup, mug or travel mug. |
|
|
| |
❍ Adjustable Brew Strength – Personalize your coffee experience by using one or two pods in the | ||||
|
| |||
❍ Removable Cup Platform – Place it on the coffeemaker base and avoid splashing when using a | ||||
7 oz. or | 9 oz. mug size. |
|
|
|
❍ Removable Water Reservoir – Allows you to brew multiple cups of coffee without refilling the | ||||
reservoir. Removable for easy cleaning. |
|
|
| |
P R E P A R I N G Y O U R H O M E C A F É ™
C O F F E E M A K E R B E F O R E F I R S T U S E
1.Wash Water Reservoir in warm soapy water. Rinse thoroughly.
2.After unlocking the coffeemaker lid by pushing the lid handle to the back position (Picture 2), remove the Pod Holder and Splash Guard. Wash the Pod Holder, Splash Guard, Drip Tray Grid, Drip Tray, Water Reservoir Lid and Cup Platform (top rack only dishwasher safe).
3.Replace the above parts in the coffeemaker and close the lid by pulling the handle forward to the lock position (picture 5)
4.To clean the inside of your coffeemaker:
❍Fill the Water Reservoir with water. (Picture 1)
❍Place a mug on the coffeemaker large enough to fill 14oz. capacity. (Picture 4)
❍Close the lid and pull the
❍Push the ![]() Brew Button and allow water to cycle through the unit and into
Brew Button and allow water to cycle through the unit and into
the cup. The noise heard is that of the normal function and operation of the | 1 |
unit. When the indicator light goes out, you may remove the mug, dispose the water from the mug and water reservoir and follow “Using Your Home Café™ Coffeemaker” instructions. (Picture 6)
5. Your unit is now ready to brew.
❍ Removable |
❍ On/Off Brew Indicator Light – Lets you know when the coffeemaker is on. |
❍ Removable Drip Tray & Grid – For easy use and cleaning. |
❍ |
❍ Cord Storage – Push the cord into the base to safely store excess cord and keep your countertop |
neat. |
❍ Brushed Aluminum Accents – SSP23 and SSP25 only. |
❍ Travel Mug included – SSP23 and SSP25 only. |
U S I N G H O M E C A F É ™ C O F F E E P O D S
Your Home Café™ coffeemaker has been designed to use versatile,
To prepare coffee using coffee pods, place the pod or pods with your favorite coffee type or blend inside the appropriate pod holder and brew your coffee as explained in the following section of this instruction manual. For best results, make sure to position the pod with the flat side up.
U S I N G Y O U R H O M E C A F É ™
C O F F E E M A K E R
Make sure you have completed the “Preparing Your Home Café ™ Coffeemaker for Use” steps.
1. | Remove and fill the Water Reservoir with water and replace it in the unit. | ||
| (Picture 1) |
|
|
2. | Plug in the unit. |
| |
3. | Unlock the lid by pushing the Lid Handle toward the back of the unit. (Picture 2) | ||
4. | Lift the lid to the fully open position. (Picture 3) | ||
5. | Insert a Folgers® or Millstone® coffee pod with the flat side up into the Pod | ||
| Holder. For a 14 oz. cup of coffee or stronger coffee, place two pods in the | ||
| deeper side of the | ||
6. | Place your travel mug on the Drip Tray Grid. If using a cup, place it on the | ||
| Cup Platform. To use the Cup Platform, remove the Drip Tray Grid. Place the | ||
| Cup Platform on the coffeemaker Base and position the Drip Tray Grid on top | ||
| of the Cup Platform. Place the cup on the Cup Platform. (Picture 4) | ||
7. | Close the lid and pull the | ||
| locks. (Picture 5) |
| |
8. | Push the Brew Button corresponding to the amount of coffee you want to brew | ||
| ( 7 oz., | 9 oz., | 14 oz.). The Brew Button Indicator Light will blink while |
2
3
4
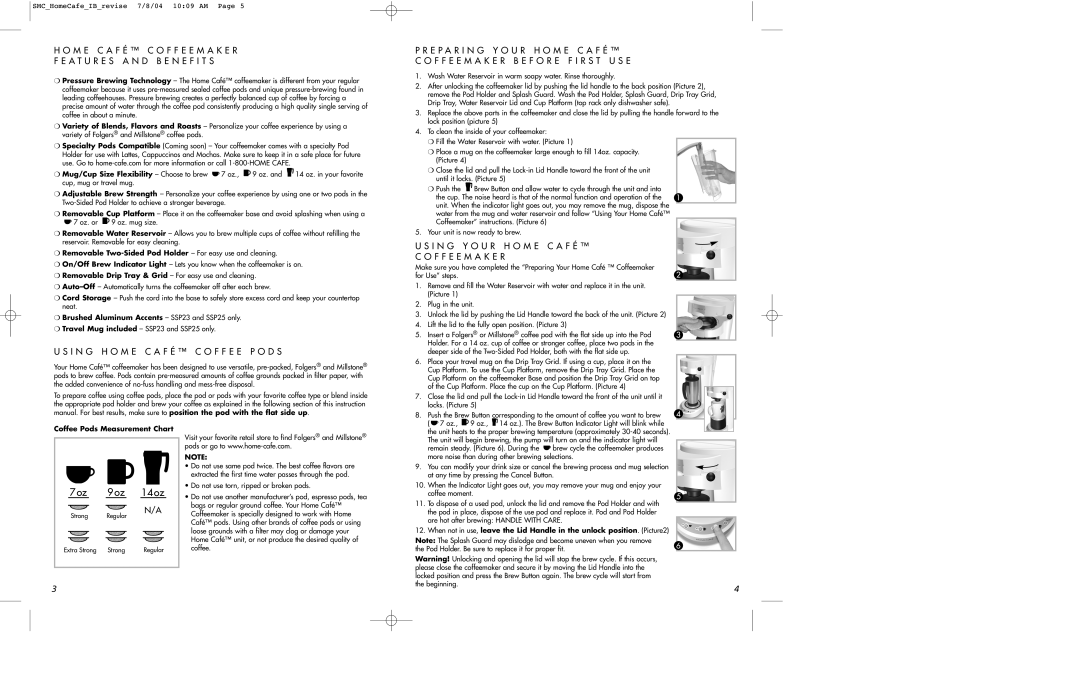
Coffee Pods Measurement Chart
7 oz 9 oz 14 oz
Visit your favorite retail store to find Folgers® and Millstone® pods or go to
NOTE:
• Do not use same pod twice. The best coffee flavors are |
extracted the first time water passes through the pod. |
• Do not use torn, ripped or broken pods. |
• Do not use another manufacturer’s pod, espresso pods, tea |
bags or regular ground coffee. Your Home Café™ |
| the unit heats to the proper brewing temperature (approximately | |
| The unit will begin brewing, the pump will turn on and the indicator light will | |
| remain steady. (Picture 6). During the | brew cycle the coffeemaker produces |
| more noise than during other brewing selections. | |
9. | You can modify your drink size or cancel the brewing process and mug selection | |
| at any time by pressing the Cancel Button. | |
10. | When the Indicator Light goes out, you may remove your mug and enjoy your | |
| coffee moment. |
|
11. | To dispose of a used pod, unlock the lid and remove the Pod Holder and with | |
5
Strong Regular
N/A
Coffeemaker is specially designed to work with Home |
Café™ pods. Using other brands of coffee pods or using |
loose grounds with a filter may clog or damage your |
Home Café™ unit, or not produce the desired quality of |
the pod in place, dispose of the use pod and replace it. Pod and Pod Holder |
are hot after brewing: HANDLE WITH CARE. |
12. When not in use, leave the Lid Handle in the unlock position. (Picture2) |
Note: The Splash Guard may dislodge and become uneven when you remove
Extra Strong | Strong | Regular |
coffee. |
the Pod Holder. Be sure to replace it for proper fit.
3
Warning! Unlocking and opening the lid will stop the brew cycle. If this occurs, please close the coffeemaker and secure it by moving the Lid Handle into the locked position and press the Brew Button again. The brew cycle will start from the beginning.
6
4