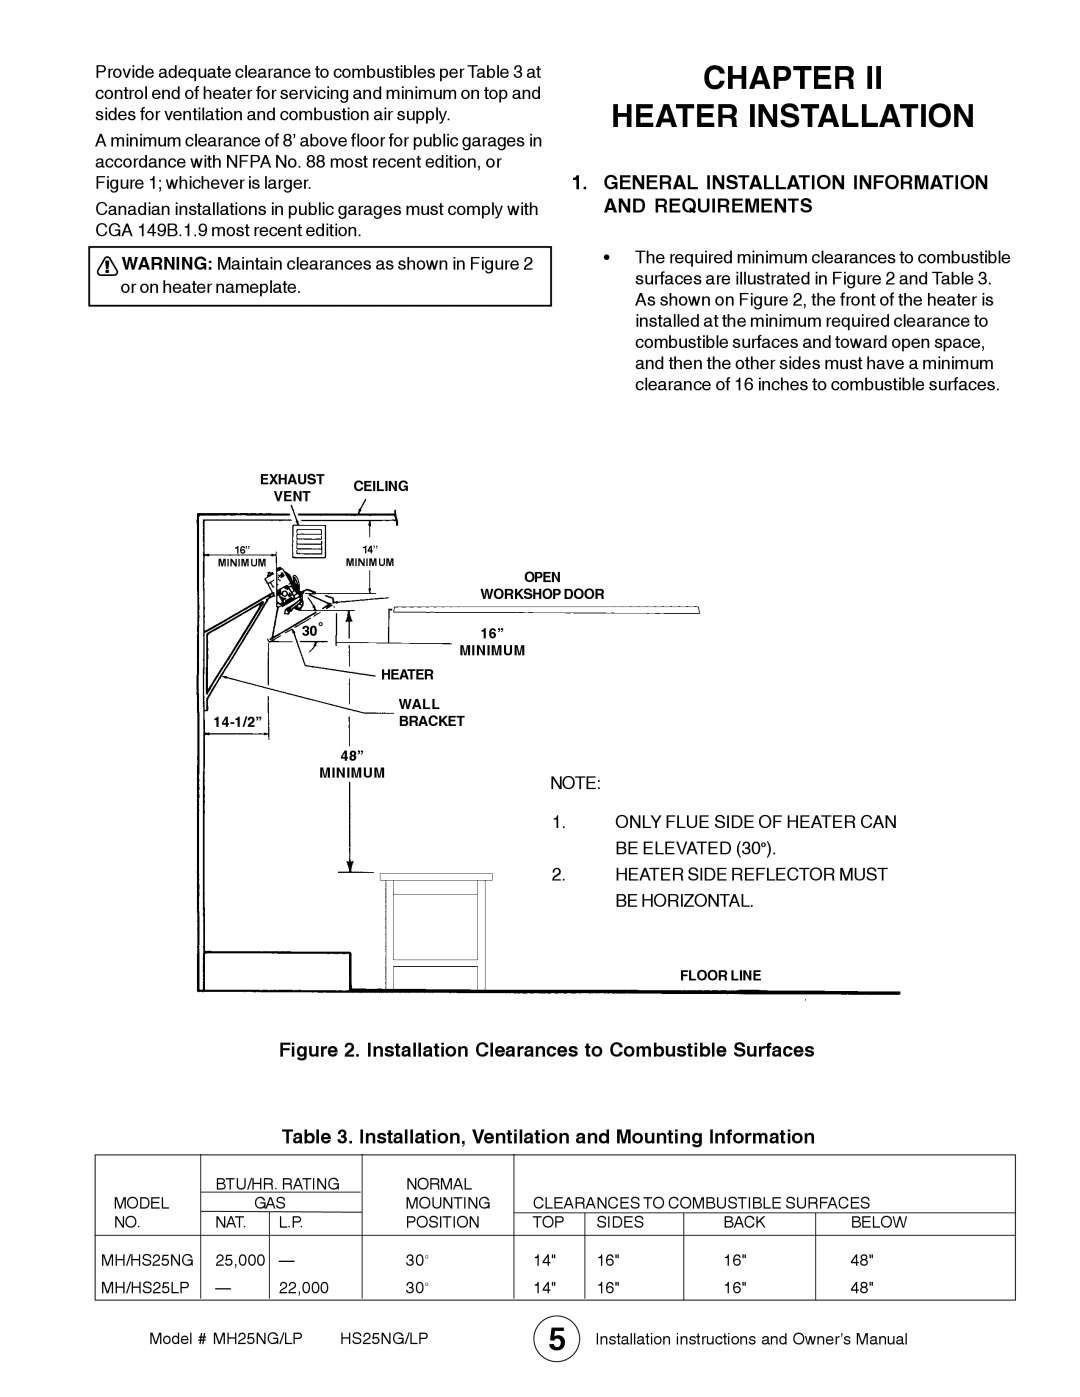
MH25LP / MH25NG specifications
The Mr. Heater MH25LP and MH25NG portable heaters are designed for anyone looking to efficiently heat small to medium-sized spaces, whether indoors or outdoors. These heaters are known for their reliability and effectiveness, making them popular choices for residential use, outdoor activities, and emergency heating scenarios.The MH25LP is the propane model, while the MH25NG utilizes natural gas, providing versatility in fuel options to cater to different preferences and availability. Each unit is fitted with essential safety features, including an oxygen depletion sensor and an accidental tip-over shutdown system, ensuring peace of mind during use.
One of the main features of the Mr. Heater MH25 series is its impressive heating capacity. The units can produce up to 25,000 BTU per hour, sufficient for heating spaces up to 600 square feet, making them ideal for workshops, garages, cabins, and various outdoor activities. The adjustable heat settings allow users to customize the temperature to suit their comfort level, maximizing efficiency and reducing fuel consumption.
The design of the MH25 heaters emphasizes user convenience. Both models are lightweight and portable, which allows for easy transportation from one location to another. They come equipped with comfortable carrying handles, enhancing their usability for outdoor events, camping trips, or simply moving from room to room.
Another significant feature of the Mr. Heater MH25 series is the sophisticated combustion technology employed. The heaters utilize a radiant heating system that effectively warms objects and people in the room rather than just the air, leading to faster heating times and a more comfortable environment. Additionally, the units are designed with a sturdy and durable construction that ensures longevity, withstanding the rigors of outdoor use.
The units are also designed to operate quietly, making them an excellent choice for environments where noise levels need to be kept to a minimum, such as in personal workshops or while camping.
Overall, the Mr. Heater MH25LP and MH25NG are powerful, safe, and portable heating solutions that provide reliable warmth and comfort in various settings. Their combination of efficient heating, portable design, and safety features makes them an essential tool for anyone needing reliable heating solutions. Whether for everyday use or special events, these heaters stand out as dependable options to keep warm.

