FS2/FS2SP CONCRETE SAW — OPERATION
Saw Alignment
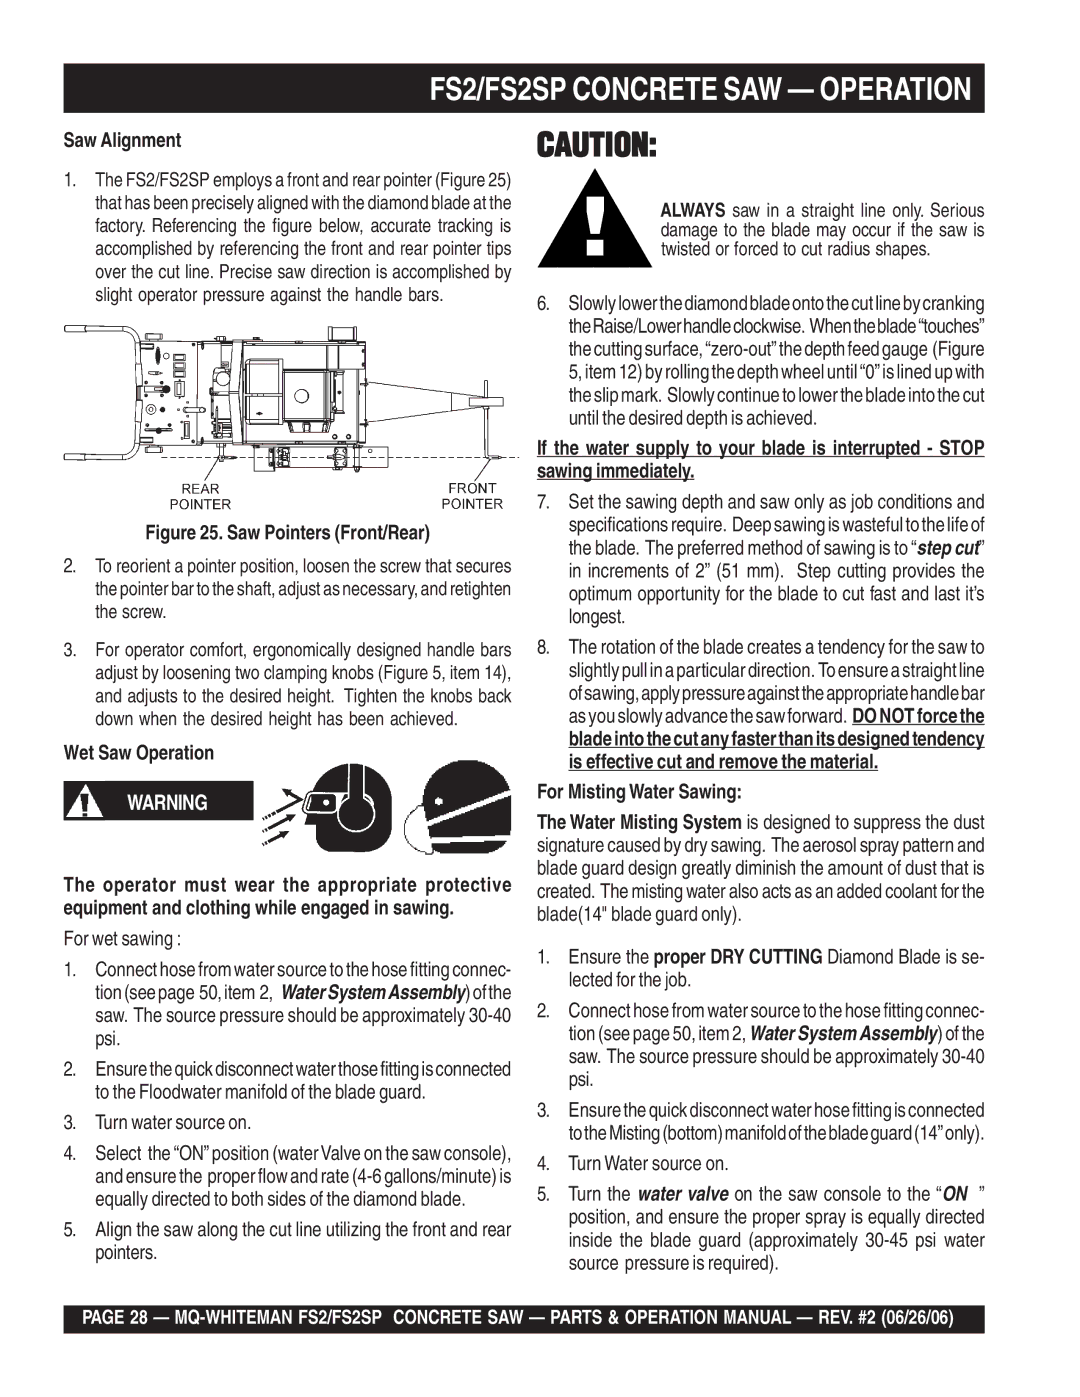
1.The FS2/FS2SP employs a front and rear pointer (Figure 25) that has been precisely aligned with the diamond blade at the factory. Referencing the figure below, accurate tracking is accomplished by referencing the front and rear pointer tips over the cut line. Precise saw direction is accomplished by slight operator pressure against the handle bars.
Figure 25. Saw Pointers (Front/Rear)
2.To reorient a pointer position, loosen the screw that secures the pointer bar to the shaft, adjust as necessary, and retighten the screw.
3.For operator comfort, ergonomically designed handle bars adjust by loosening two clamping knobs (Figure 5, item 14), and adjusts to the desired height. Tighten the knobs back down when the desired height has been achieved.
Wet Saw Operation
WARNING
The operator must wear the appropriate protective equipment and clothing while engaged in sawing.
For wet sawing :
1.Connect hose from water source to the hose fitting connec- tion (seepage 50,item 2, WaterSystemAssembly)ofthe saw. The source pressure should be approximately
2.Ensurethequickdisconnectwaterthosefittingisconnected to the Floodwater manifold of the blade guard.
3.Turn water source on.
4.Select the “ON” position (water Valve on the saw console), and ensure the proper flow and rate
5.Align the saw along the cut line utilizing the front and rear pointers.
CAUTION:
ALWAYS saw in a straight line only. Serious damage to the blade may occur if the saw is twisted or forced to cut radius shapes.
6.Slowlylowerthediamond bladeontothecutlineby cranking theRaise/Lowerhandleclockwise. Whentheblade“touches” the cutting surface,
If the water supply to your blade is interrupted - STOP sawing immediately.
7.Set the sawing depth and saw only as job conditions and specifications require. Deep sawing is wasteful to the life of the blade. The preferred method of sawing is to “step cut” in increments of 2” (51 mm). Step cutting provides the optimum opportunity for the blade to cut fast and last it’s longest.
8.The rotation of the blade creates a tendency for the saw to slightly pull in a particular direction. To ensure a straight line ofsawing,applypressureagainsttheappropriatehandlebar as you slowly advance the saw forward. DONOTforcethe bladeintothecutanyfasterthanitsdesignedtendency is effective cut and remove the material.
For Misting Water Sawing:
The Water Misting System is designed to suppress the dust signature caused by dry sawing. The aerosol spray pattern and blade guard design greatly diminish the amount of dust that is created. The misting water also acts as an added coolant for the blade(14" blade guard only).
1.Ensure the proper DRY CUTTING Diamond Blade is se- lected for the job.
2.Connect hose from water source to the hose fitting connec- tion (see page 50, item 2, Water System Assembly) of the saw. The source pressure should be approximately
3.Ensure the quick disconnect water hose fitting is connected totheMisting(bottom)manifoldofthebladeguard(14”only).
4.Turn Water source on.
5.Turn the water valve on the saw console to the “ON ” position, and ensure the proper spray is equally directed inside the blade guard (approximately
PAGE 28 —