MAINTENANCE
Leveling Adjustment
This procedure levels the table so that it is perpendicular to the blade and flush against the rails.
1.Remove rubber caps B and C on the right side of the table. Loosen the exposed lock nuts using a socket wrench. Next, use a flat screwdriver to turn the shaft of the rollers clockwise. See Figure 26. This will lower the horizontal rollers to allow room for adjusting the flat rollers.
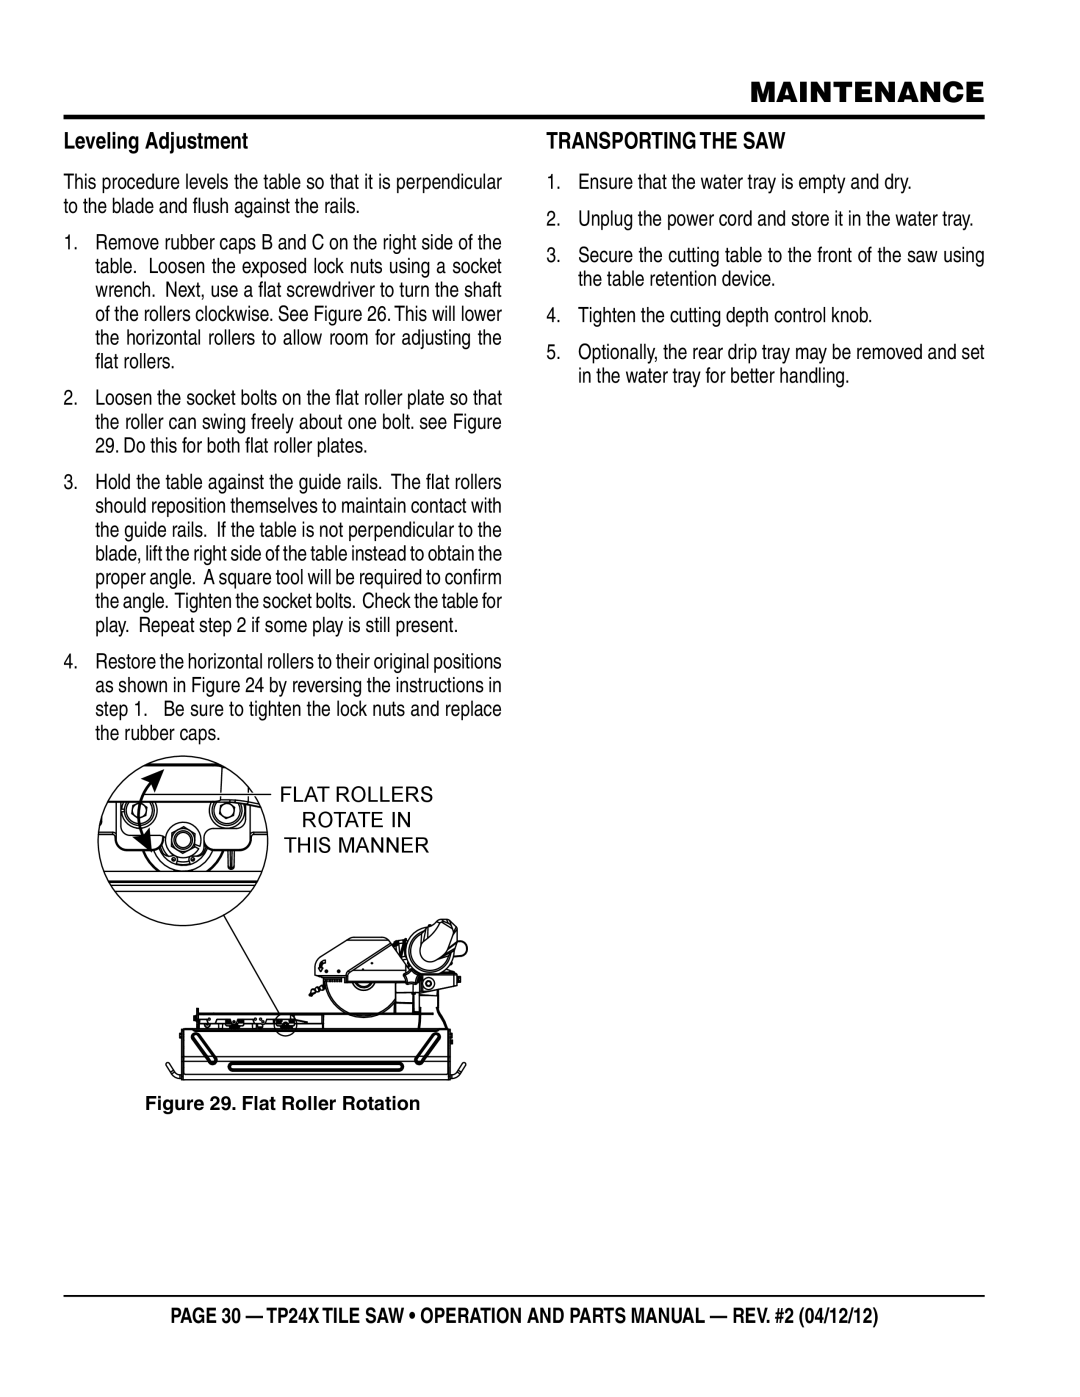
2.Loosen the socket bolts on the flat roller plate so that the roller can swing freely about one bolt. see Figure 29. Do this for both flat roller plates.
3.Hold the table against the guide rails. The flat rollers should reposition themselves to maintain contact with the guide rails. If the table is not perpendicular to the blade, lift the right side of the table instead to obtain the proper angle. A square tool will be required to confirm the angle. Tighten the socket bolts. Check the table for play. Repeat step 2 if some play is still present.
4.Restore the horizontal rollers to their original positions as shown in Figure 24 by reversing the instructions in step 1. Be sure to tighten the lock nuts and replace the rubber caps.
![]()
![]()
![]()
![]() FLAT ROLLERS
FLAT ROLLERS
ROTATE IN THIS MANNER
Transporting the saw
1.Ensure that the water tray is empty and dry.
2.Unplug the power cord and store it in the water tray.
3.Secure the cutting table to the front of the saw using the table retention device.
4.Tighten the cutting depth control knob.
5.Optionally, the rear drip tray may be removed and set in the water tray for better handling.
Figure 29. Flat Roller Rotation
page 30 — TP24X TILE SAW • operation and parts manual — rev. #2 (04/12/12)
