sawing guides
2.After the template base is positioned for the desired rip cut, place material flat against either side of the template base at the desired measurement.
Using the Rip Guide
1.Set the rip guide (Figure 12) at the desired location on the ruler guide and tighten the threaded knob. Make sure that the rip guide is firmly tightened to avoid slippage. The rip guide can be used for 45° and 90° cuts.
2.After the rip guide is positioned, for the desired cut, place material flat against the rip guide and ruler guide.
3.Now you are ready to make your cut.
Performing Diagonal Cuts
1.Place the corner of the material in the open slot of the measurement rail and adjust the template base to fit the correct tile size.
2.Line up the material being cut with the appropriate
3.Now you are ready to make your cut.
Performing Miter Cuts
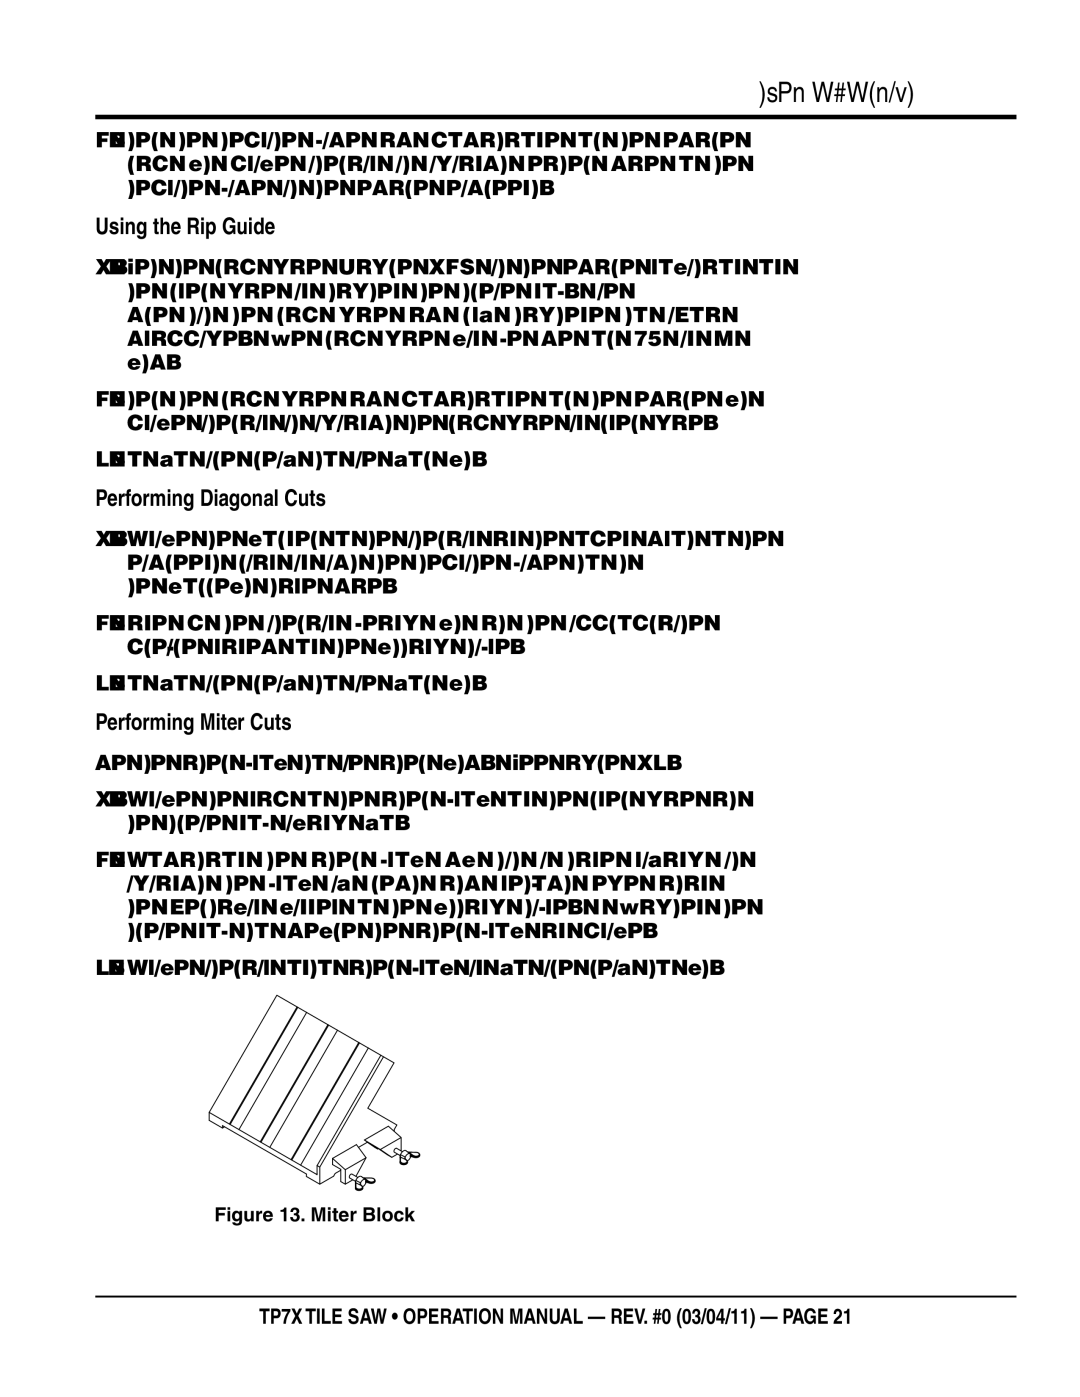
Use the miter block to make miter cuts. See Figure 13.
1.Place the lip of the miter block on the ruler guide with the threaded knob facing you.
2.Position the miter block such that a tile laying flat against the block may rest its
3.Place material onto miter block and you are ready to cut.
Figure 13. Miter Block
TP7X TILE SAW • operation manual — rev. #0 (03/04/11) — page 21
