GDS20P, Arlington GDS20N specifications
Napoleon Fireplaces is renowned for its commitment to innovation and quality, and the Arlington GDS20N and GDS20P gas fireplaces are prime examples of this dedication. These models not only serve as functional heating solutions but also enhance the aesthetic ambiance of any room.The Arlington GDS20N (natural gas) and GDS20P (propane) offer classic elegance combined with modern technology. One of the standout features of these fireplaces is their realistic flame presentation. Both models utilize Napoleon's advanced fuel-saving technology, which ensures an efficient burn while producing vibrant flames that mimic a traditional wood-burning fireplace.
The heat output of the GDS20 series is impressive, providing a maximum of 30,000 BTUs, which can efficiently warm larger spaces while maintaining energy efficiency. The built-in ceramic glass provides excellent heat retention and offers an unobstructed view of the flames, adding to the warmth and comfort of your home.
The design of the Arlington fireplaces includes a clean face, allowing for a minimalist aesthetic that can seamlessly fit into any interior decor style. The large viewing area and customizable media options, including glass and stones, let homeowners personalize their fireplaces to match their taste. Additionally, the option for a remote control allows for easy operation, making it more user-friendly.
Another important technological feature is the patented PHAZZER burner system. This advanced burner creates a sophisticated flame pattern and enhances the overall efficiency of the fireplace. Furthermore, the GDS20N and GDS20P fireplaces are equipped with a safety pilot system that ensures safe operation by detecting any issues in the gas supply.
Installation of the Arlington units is straightforward, thanks to their built-in convenience features such as the top or rear venting capability. This flexibility allows for various installation setups, whether in a new build or a remodel.
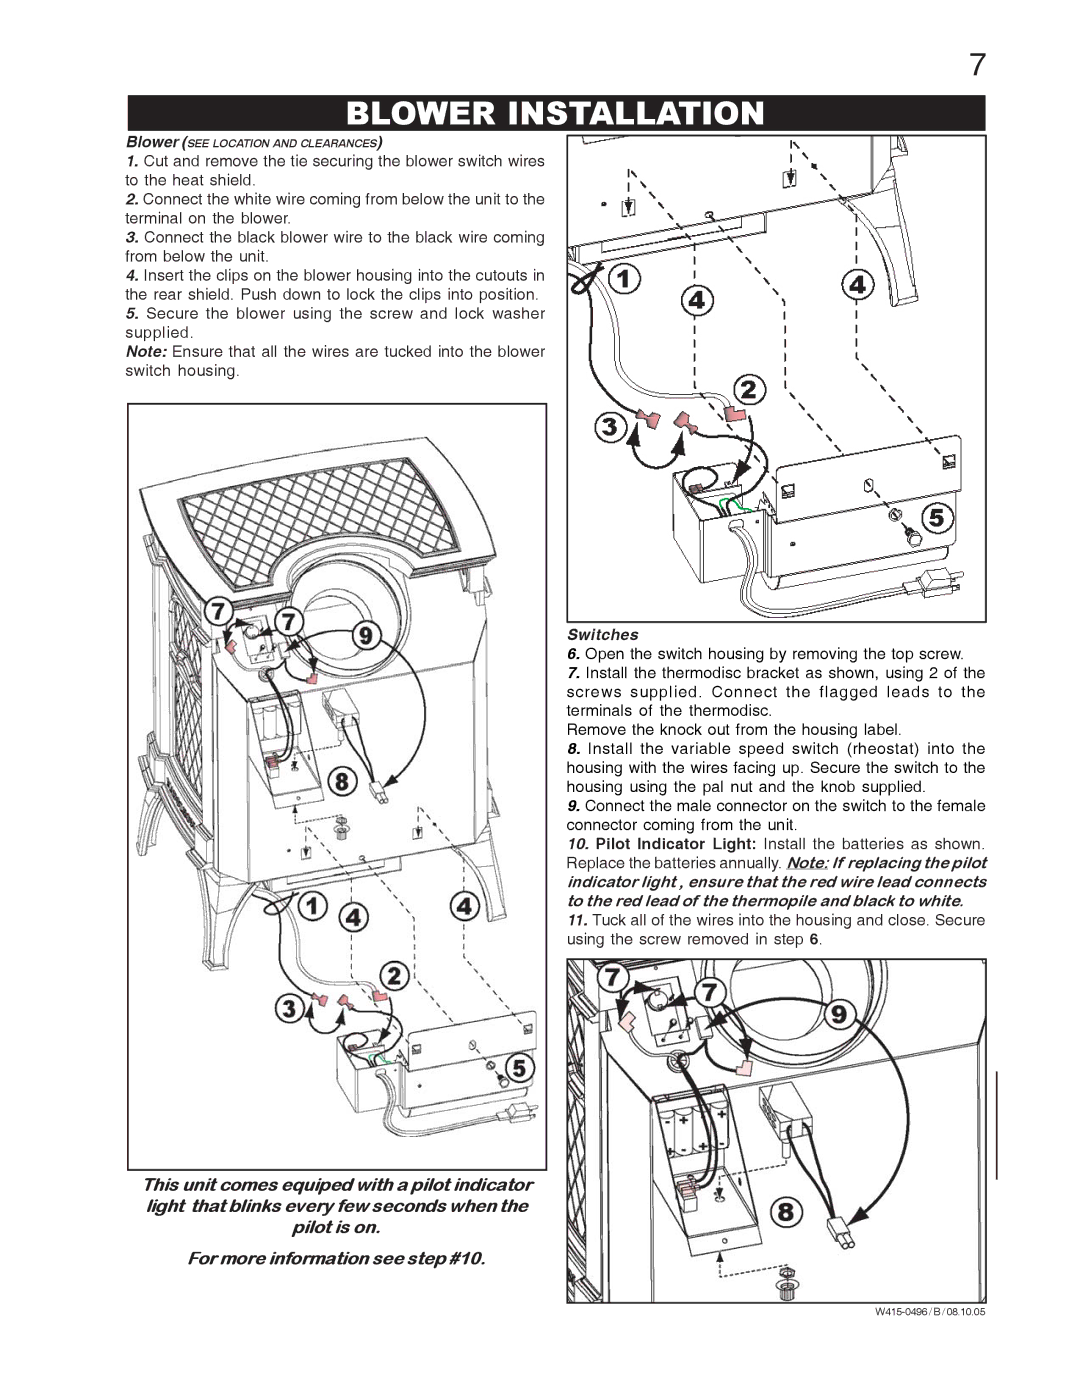
Lastly, homeowners can take advantage of the optional fan kits to boost heat circulation, ensuring that warmth is evenly distributed throughout the room. The Arlington GDS20N and GDS20P gas fireplaces exemplify a perfect blend of style, performance, and safety, making them an excellent choice for anyone looking to add both elegance and functionality to their living space.

