Manuals
/
NEC
/
Car Audio and Video
/
Car Satellite TV System
NEC
M60
user manual
M40/M46
Models:
M60
M40
1
1
41
41
Download
41 pages
16.89 Kb
1
2
3
4
5
6
7
8
Troubleshooting
Specs
Install
Power Indicator
Wireless Remote Control
Attaching Mounting Accessories
Setup
Adjust the sound
Schedule Setting
Handling the remote control
Page 1
Image 1
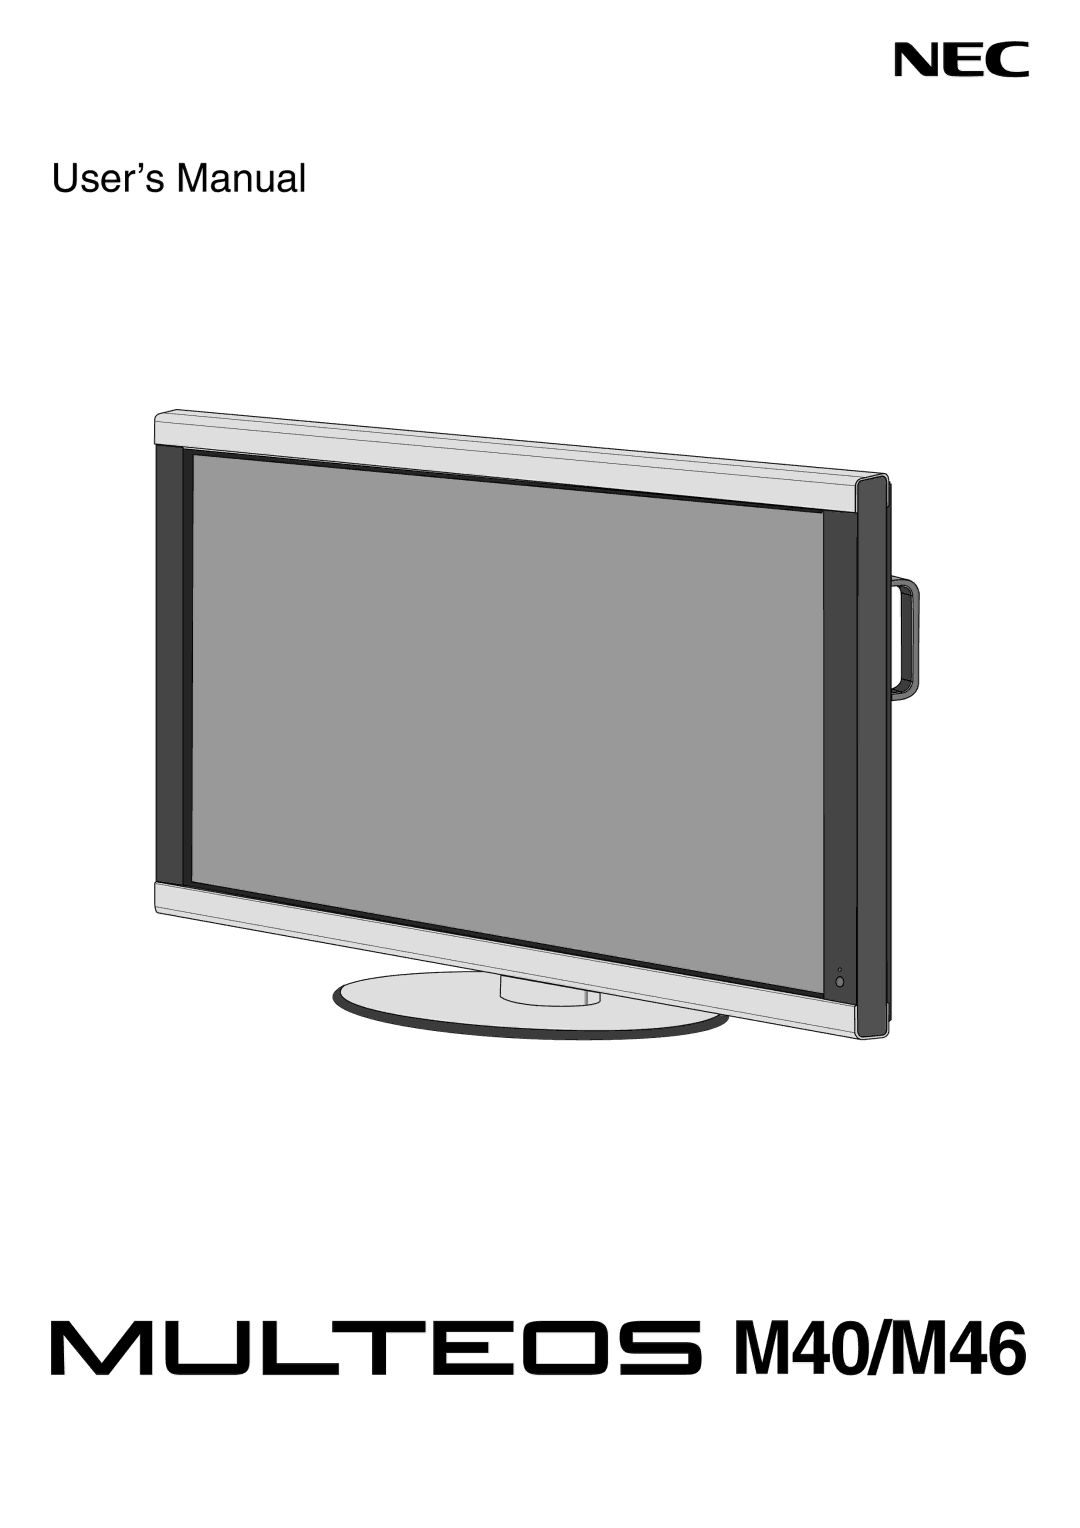
UserÕs Manual
M40/M46
Page 1
Page 2
Page 1
Image 1
Page 1
Page 2
Contents
M40/M46
TV Tunner
Index
FCC Information
Canadian Department of Communications Compliance Statement
English-1
Declaration
Important Information
Disposing of your old NEC product
Declaration of the Manufacturer
Safety Precautions, Maintenance & Recommended Use
Contents
Control Panel
Parts Name and Functions
Terminal Panel
Wireless Remote Control
Handling the remote control
Operating Range for the Remote Control
Installation
Attach Mounting Accessories
Attaching Mounting Accessories
Stand Removal
English-10
Ventilation Requirements
Main Power Switch Cover
Prevent Tipping
English-11
Determine the installation location
Setup
Install the remote control batteries
Connect the supplied power cord
Adjust the sound
Switch on the power of all the attached external equipment
Adjust the screen See pages 24
Adjust the image See
Connections
Connecting a Personal Computer
Before making connections
Connect the LCD Monitor to a Personal Computer
Connect the LCD Monitor to Macintosh
Connecting to a Macintosh Computer
English-15
Connect the LCD Monitor to a Computer with a Digital Output
Connecting with Digital Interface Equipment
English-16
Connect the LCD Monitor to a DVD Player
Connecting a DVD Player with component out
English-17
RCA
Connecting a DVD Player with Scart out
Connecting a DVD Player with Hdmi out
English-18
Scart
Connect the LCD Monitor to a Stereo Amplifier
Connecting to a Stereo Amplifier
English-19
Precautions when connecting the antenna
Connecting to a TV
VHF300-Ohm antenna / UHF antenna
English-20
Basic Operation
Power on and OFF Modes
English-21
Using Power Management
Power Indicator
Picture Mode
Information OSM
English-23
OSM On-Screen-Manager Controls
English-24
English-25
English-26
English-27
English-28
English-29
Schedule Setting
Recommendations
Image Sticking of LCD Panel
English-30
Connect PC and M40/M46
English-31
English-32
Connection
English-33
English-34
Features
Troubleshooting
Product Specifications
Specifications M40
English-36
English-37
Specifications M46
English-38
Pin Assignment
Energy Saving
Manufacturer’s Recycling and Energy Information
Weee Mark European Directive 2002/96/EC
Top
Page
Image
Contents