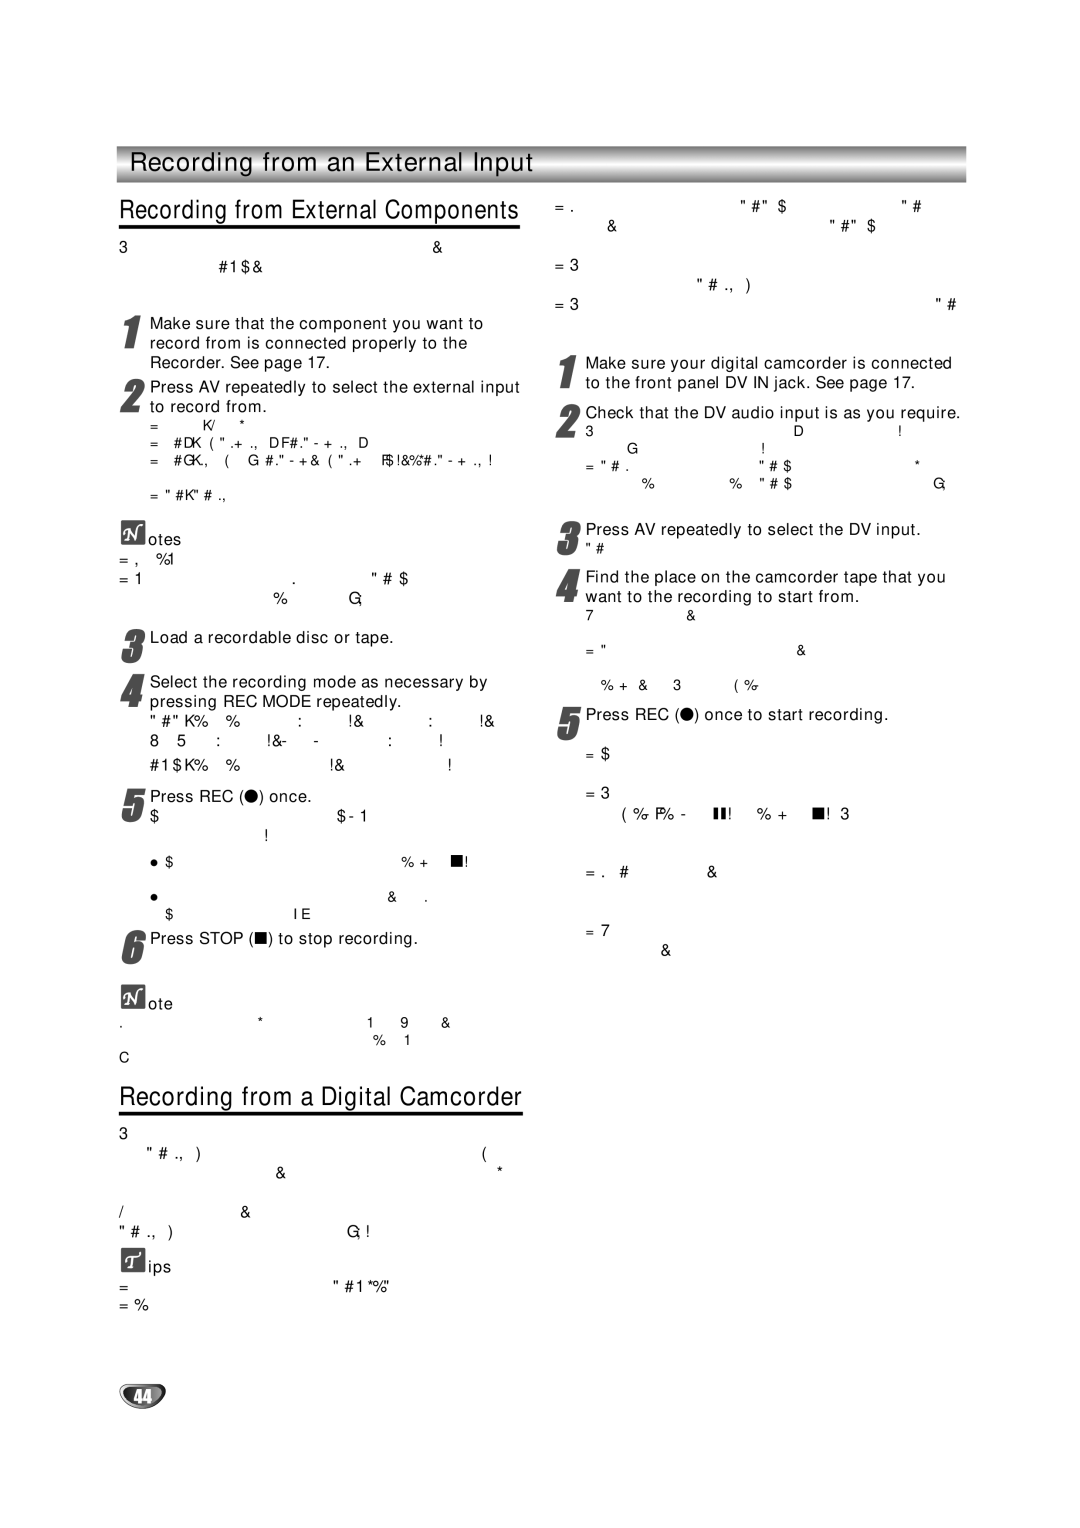
Recording from an External Input

Recording from External Components

You can record from an external component, such as a camcorder or VCR, connected to any of the recorder’s external inputs.

1 Make sure that the component you want to record from is connected properly to the Recorder. See page 17.

2to record from.

Tuner: Built-in tuner

AV1: AUDIO IN 1 / VIDEO IN 1 mounted on back panel

AV2: INPUT 2 (VIDEO, AUDIO (L/R), S-VIDEO IN) mounted on front panel

DV: DV IN mounted on front panelPress AV repeatedly to select the external input

otes

NTSC signal cannot be recorded.

Check that the Audio In settings DV Record Audio are as you want them. See page 25.

3Load a recordable disc or tape.

Select the recording mode as necessary by

4 pressing REC MODE repeatedly.

DVD: SP (Standard Quality), LP (Low Quality), XP(High Quality), EP (Extended Quality)

VCR: SP (Standard Play), LP (Long Play)

5Recording will start. (The REC indicator lights in the display window.)Press REC (z) once.

Recording continues until you press STOP (x) or the disc or tape is full.

To record for a fixed length of time, see Instant Timer Recording on page 40.

6Press STOP (x) to stop recording.

ote

If your source is copy-protected using CopyGuard, you will not be able to record it using this recorder. See Copyright on page 9 for more details.

Recording from a Digital Camcorder

You can record from a digital camcorder connected to the DV IN jack on the front panel of this recorder. Using the recorder’s remote, you can control both the cam- corder and this recorder.

Before recording, make sure that the audio input for the DV IN jack is set up (see page 25).

ips

The source signal must be DVC-SD format.

Some camcorders cannot be controlled using this recorder’s remote.

If you connect a second DVD Recorder using a DV cable, you cannot control the second DVD Recorder from this one.

You can’t control this unit remotely from a component connected to the DV IN jack.

You can’t record date and time information from a DV cassette.

1to the front panel DV IN jack. See page 17.Make sure your digital camcorder is connected

Check that the DV audio input is as you require.

2 You can choose between Audio 1 (original audio) and Audio 2 (overdubbed audio).

• DV Input is set from the DV Record Audio in sub-menu of the Setup menu. See DV Record Audio on page 25 for more information.

Press AV repeatedly to select the DV input.

3 DV appears in the display window.

4want to the recording to start from.

For best results, pause playback at the point from which you want to record.

Depending on your camcorder, you can use this

recorder’s remote to control the camcorder using the STOP, PLAY and PAUSE functions.Find the place on the camcorder tape that you

5Press REC (z) once to start recording.

Recording is automatically stopped if the recorder detects no signal.

You can pause or stop the recording by pressing PAUSE/STEP (X) or STOP (x). You cannot control the camcorder from this remote control during recording.

In Video mode, the final frame of the recording may remain displayed on screen for a while after recording stops.

For timer recording to work properly on this recorder, the digital camcorder must also be switched on and in operating.

44

Page 44
Image 44
NEC NDRV-60 owner manual Recording from an External Input

NDRV-60 specifications

The NEC NDRV-60 is a state-of-the-art network video recorder designed for modern surveillance needs. With a robust architecture, it offers reliability and performance suitable for both small and medium-sized installations. The NDRV-60 stands out in the crowded market of network video recorders due to its impressive features, cutting-edge technology, and user-friendly interface.

One of the main features of the NDRV-60 is its capability to support multiple camera connections. It can handle up to 60 IP camera channels, making it an ideal choice for businesses, educational institutions, and large facilities that require extensive surveillance coverage. This flexibility allows users to integrate cameras from various manufacturers, ensuring the system can adapt to different environments and requirements.

The NDRV-60 is built with advanced video encoding technologies that support high-definition video streams. It offers H.265, H.264, and MJPEG encoding formats, maximizing storage efficiency while maintaining high-quality images. This means that users can store longer video sequences without compromising on video clarity, an essential aspect of effective surveillance.

In terms of storage, the NDRV-60 provides ample options, supporting multiple hard drives with RAID configurations for redundancy and data protection. This ensures that footage is safe and can be retrieved even in the event of a drive failure. The system also features cloud storage integration, allowing users to have an additional backup of critical video data.

The NDRV-60 is equipped with a user-friendly graphical interface that simplifies navigation and setup. Users can easily configure camera settings, set up recording schedules, and access archived footage with just a few clicks. Remote access capabilities are also a noteworthy feature, enabling users to monitor their surveillance systems from anywhere through mobile devices or web browsers.

Additionally, the NDRV-60 incorporates advanced analytics features, such as motion detection and tamper alerts, enhancing situational awareness. These features help to minimize false alarms and ensure that users are notified of any suspicious activity in real-time.

Overall, the NEC NDRV-60 combines versatility, advanced technology, and ease of use, making it a reliable choice for those looking to enhance their security measures. Its comprehensive features ensure that users can tailor their surveillance to meet specific needs, providing peace of mind through effective monitoring solutions. Whether for commercial, educational, or public safety applications, the NDRV-60 sets a high standard in the field of network video recording.