Part Names of the Remote Control

NOTE: If you are using a Macintosh computer, you can click either the CANCEL (right-click) or ENTER (left-click) button to activate the mouse.


1


2

OFF


ON

4

POWER

3

VIDEO


AUTO ADJ.

5

S-VIDEO RGB

8

6


7


MENU

9


10 SELECT

11

N


E


E


L

12


E


A


T


C


R

C

N


PJ


13

14

PICTURE

ASPECT

15


16

HELP

FREEZE PIC-MUTE

18


19


MAGNIFY


17


VOLUME

20

9.MENU Button

Displays the menu for various settings and adjustments.

10.SELECT GHFE (Mouse) Button

When you are in the Computer mode, these buttons work as a com- puter mouse.

When you are in the Projector mode, which is indicated by lighting the PJ button. See page E-21.

GH : Use these buttons to select the menu of the item you wish to adjust.

FE : Use these buttons to change the level of a selected menu item. A press of the E button executes the selection. When no menus appear, these buttons work as a volume control.

When an image is magnified, the SELECT GHFE button moves the image.

11. ENTER (Left Click) Button

When you are in the Computer mode, this button works as the mouse left button. When this button is pressed and held for a minimum of 2 seconds, the drag mode is set. When you are in the Projector mode, which is indicated by lighting the PJ button: Use this button to enter your menu selection. It works the same way as the ENTER button on the cabinet. See page E-7.

12. CANCEL (Right Click) Button

When you are in the Computer mode, this button works as the mouse right button. When you are in the Projector mode, which is indicated by lighting the PJ button: It works the same way as the CANCEL button on the cabinet. See page E-7.

13. PJ Button

Press this button to switch the SELECT, CANCEL, and ENTER but- tons between the Projector mode (lit red) and the Computer mode. Press this button or any one of the POWER ON/OFF, MENU, AS- PECT, HELP, MAGNIFY, buttons to switch to the Projector mode and the PJ button lights red. To switch back to the Computer mode, press the PJ button again. See page E-21.

14. PICTURE Button

Press this button to display the Picture adjustement screen such as Brightness, Contrast, Sharpness, Color and Hue. See page E-26.

1.Infrared Transmitter

Direct the remote control toward the remote sensor on the projector cabinet.

2.LED

Flashes when any button is pressed.

3.POWER ON Button

When the main power is on, you can use this button to turn your projector on.

NOTE: To turn on the projector, press and hold the POWER ON button for a minimum of two seconds.

4.POWER OFF Button

You can use this button to turn your projector off.

NOTE: To turn off the projector, press the POWER OFF button twice.

5.VIDEO Button

Press this button to select a video source from a VCR, DVD player, laser disc player or document camera.

6.S-VIDEO Button

Press this button to select an S-Video source from a VCR.

7.RGB Button

Press this button to select RGB input.

8.AUTO ADJ. Button

Use this button to adjust an RGB source for an optimal picture. See page E-20.

15. ASPECT Button

Press this button to display the Aspect Ratio select screen. See page E-27.

16. HELP Button

Provides the set information.

17. FREEZE Button

This button will freeze a picture. Press again to resume motion.

18. PIC-MUTE Button

This button turns off the image and sound for a short period of time. Press again to restore the image and sound.

19. MAGNIFY (+)(–) Button

Use this button to adjust the image size up to 400%.

The image is magnified about the center of the screen. See page E- 22.

20. VOLUME (+)(–) Button

Press (+) to increase the volume and (–) to decrease it.

NOTE: The default is the Computer mode, which allows you to use the SELECT, CANCEL, and ENTER buttons as your computer mouse. When the POWER ON/ OFF, MENU, ASPECT, HELP, or MAGNIFY button is pressed, the PJ button lights red to indicate that you are in the Projector mode. If no buttons are pressed within 60 seconds, the light goes out and the Projector mode is canceled.

E-9

Page 9
Image 9
NEC VT465 manual Part Names of the Remote Control

VT465 specifications

The NEC VT465 is a versatile and robust data and video projector, highly regarded for its advanced features and exceptional performance in a variety of settings. Designed primarily for educational institutions and business environments, the VT465 combines state-of-the-art technology with user-friendly functionality, making it an ideal choice for presentations, lectures, and collaborative work.

One of the standout features of the VT465 is its impressive brightness level of 3000 ANSI lumens. This significant brightness ensures that images remain clear and vibrant even in well-lit rooms, making it suitable for both small classrooms and larger conference rooms. The native XGA resolution (1024x768) provides sharp text and detailed images, essential for displaying intricate presentations or graphics.

In terms of connectivity, the VT465 offers multiple input options, including HDMI, VGA, and composite video, along with audio inputs. This versatility allows users to connect various devices, such as laptops, tablets, and video players, ensuring that presentations can be seamlessly integrated regardless of the source. Additionally, the presence of a built-in 10-watt speaker enhances the audio experience, providing clear sound for multimedia presentations without requiring external speakers.

The VT465 incorporates advanced DLP technology, known for its reliability and long lifespan. DLP projectors are less prone to color degradation over time, ensuring consistent image quality. The use of a high-quality RGB LED light source also contributes to an extended lamp life, reducing maintenance costs and downtime associated with frequent lamp replacements.

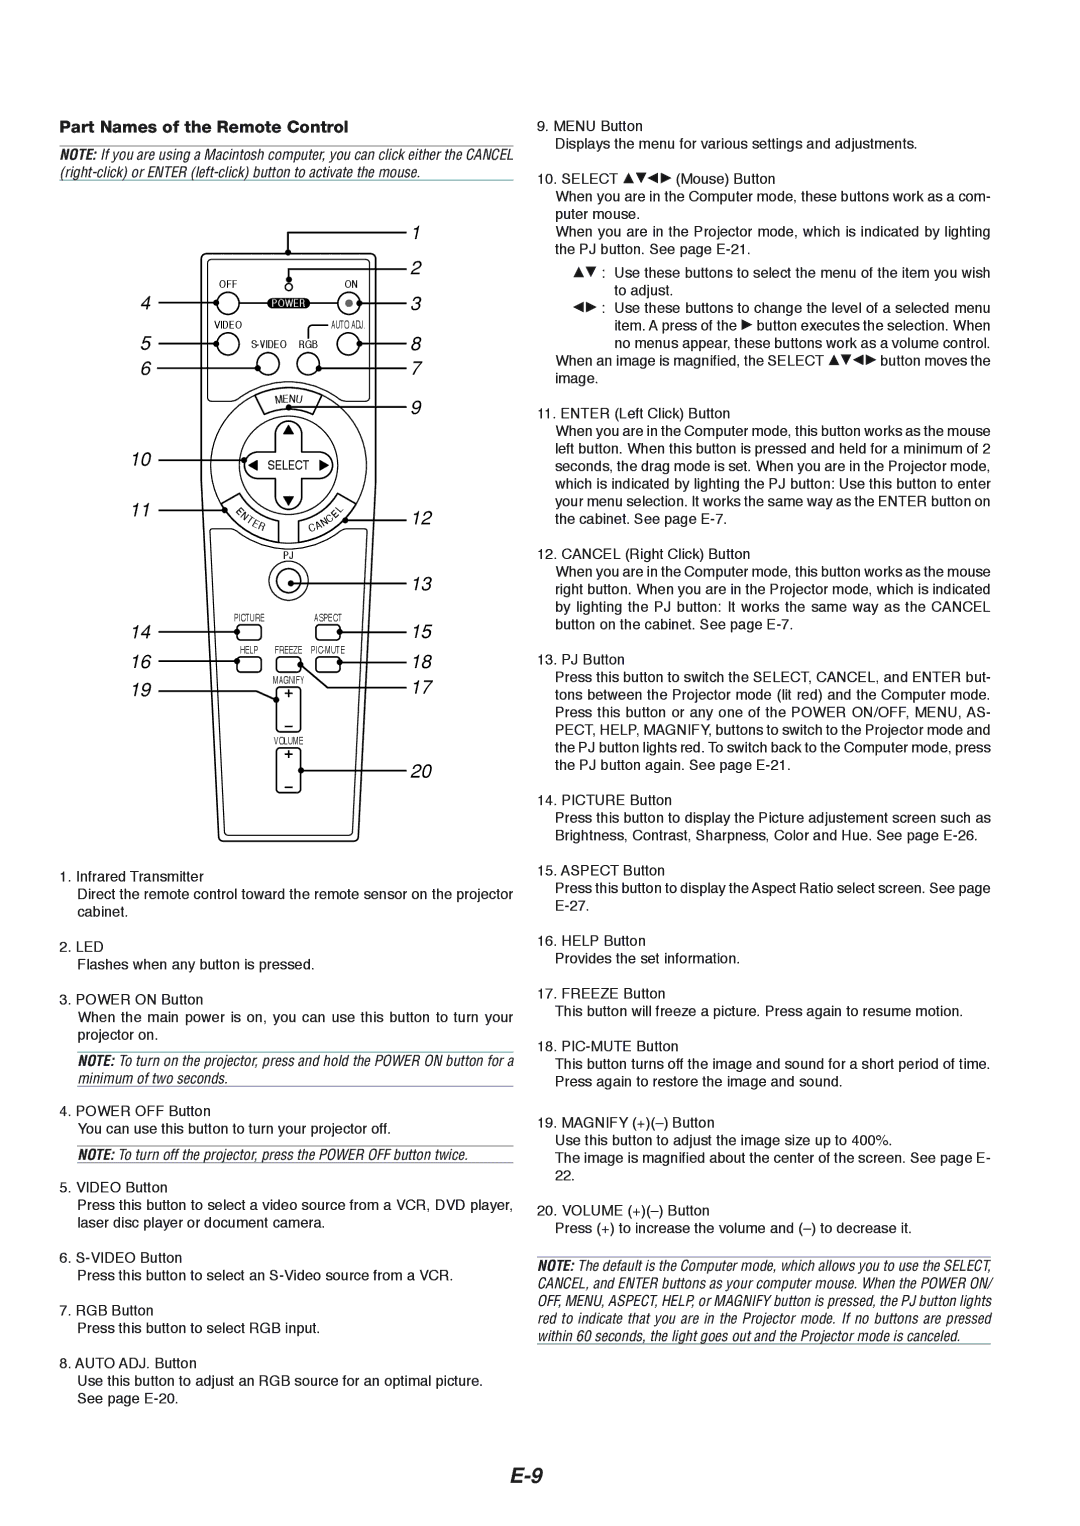
Furthermore, the projector features a user-friendly interface and an intuitive remote control, allowing for easy navigation of settings and options. Its compact and lightweight design ensures portability, making it convenient for users who need to transport the projector between different locations.

In terms of eco-friendliness, the VT465 includes features to reduce energy consumption. An automatic brightness adjustment function helps optimize power use, while the projector can enter standby mode when not in use, further conserving energy.

In conclusion, the NEC VT465 projector combines powerful performance with versatile features, making it an excellent choice for educational and professional settings. With its high brightness, multiple connectivity options, advanced DLP technology, and user-friendly design, the VT465 meets the diverse needs of users seeking a reliable presentation solution.