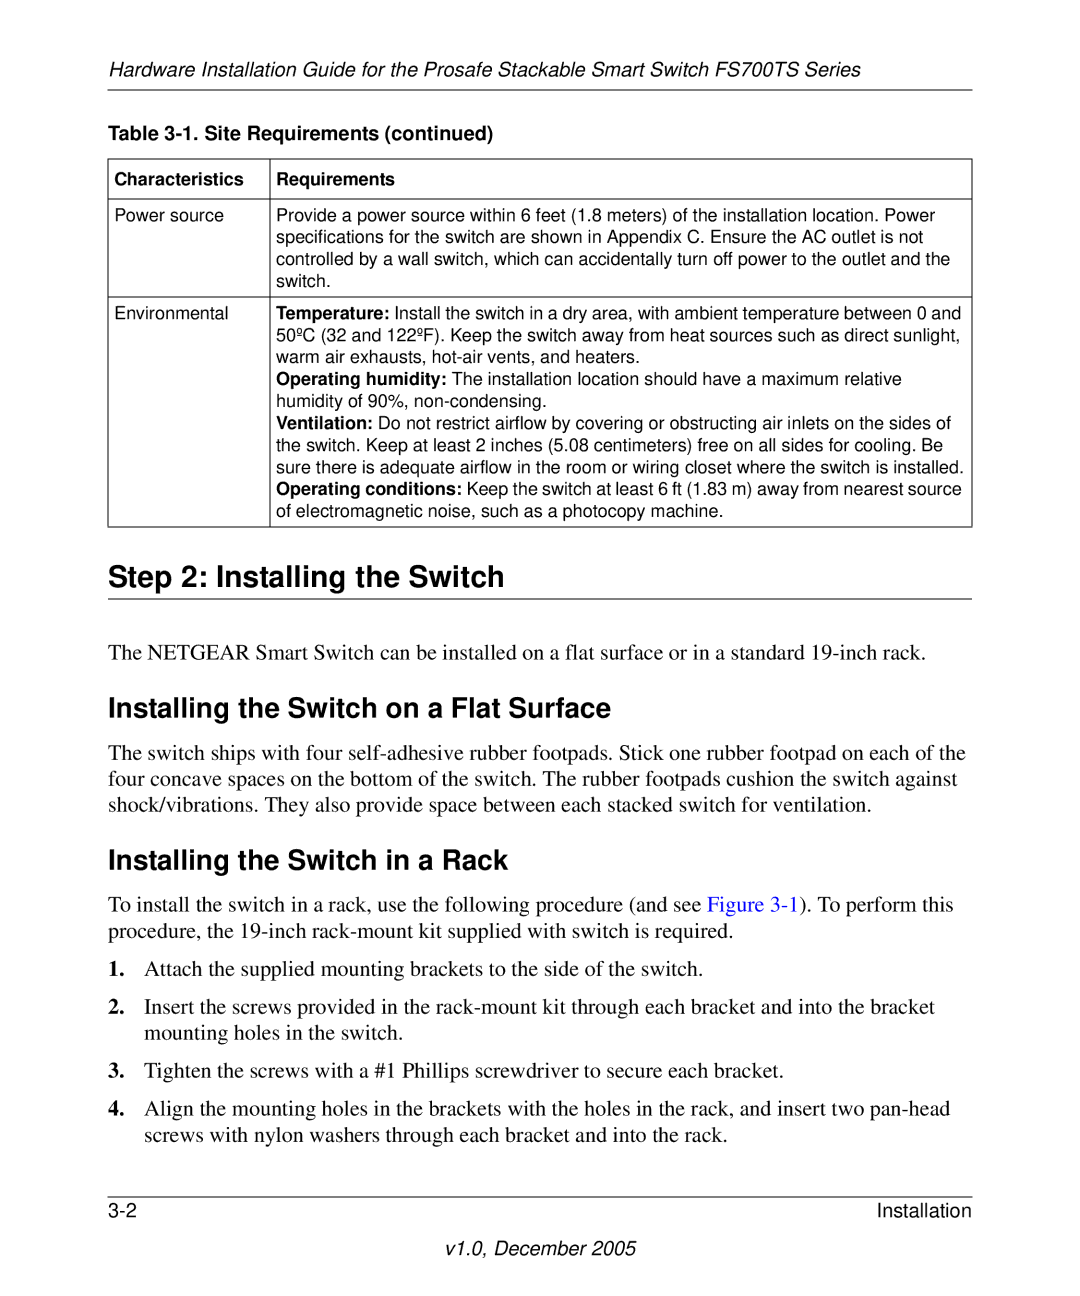
FS700TS specifications
The NETGEAR FS700TS is a reliable and efficient switch designed for small to medium-sized businesses that require robust network solutions. This product is part of NETGEAR’s FS series, well-known for delivering cost-effective Ethernet switching technologies. The FS700TS is specifically engineered to enhance network performance, security, and manageability.One of the key features of the FS700TS is its 24-port capacity. This gives organizations ample room to connect various devices, ensuring that all networked equipment can communicate seamlessly. Each port supports auto-sensing, which allows for automatic detection of the connected devices, making setup incredibly straightforward. This plug-and-play design eliminates the need for complex configurations, enabling businesses to deploy their networks without extensive IT resources.
The FS700TS is equipped with Layer 2 switching capabilities, providing enhanced data handling processes. It supports features like VLAN tagging, allowing for the segmentation of network traffic for improved performance and security. The ability to create virtual LANs improves network efficiency by minimizing broadcast traffic and enabling a more organized networking environment.
Another standout characteristic of the NETGEAR FS700TS is its Quality of Service (QoS) capabilities. This feature ensures that critical data traffic, such as voice over IP or video conferencing, is prioritized, leading to a better overall user experience. By allocating bandwidth dynamically, FS700TS helps prevent lag and delays in communication.
Power consumption is also a notable factor with the FS700TS. It is designed with energy efficiency in mind, aligning with the Energy Star standards. This commitment to reducing power usage not only lowers operational costs for businesses but also contributes positively to environmental sustainability efforts.
In terms of build quality, the FS700TS features a sturdy metal chassis, ensuring durability in various environments. Its compact design allows for flexible placement in network racks, saving valuable space in server rooms or offices.
Overall, the NETGEAR FS700TS provides a solid combination of performance, manageability, and scalability. Its advanced features, such as VLAN support, QoS, and energy efficiency, make it an excellent choice for businesses looking to enhance their networking capabilities without overspending. With the reliability that NETGEAR is known for, the FS700TS is poised to meet the demands of modern networking needs effectively.

