4Run the Setup Wizard to Connect to the Internet
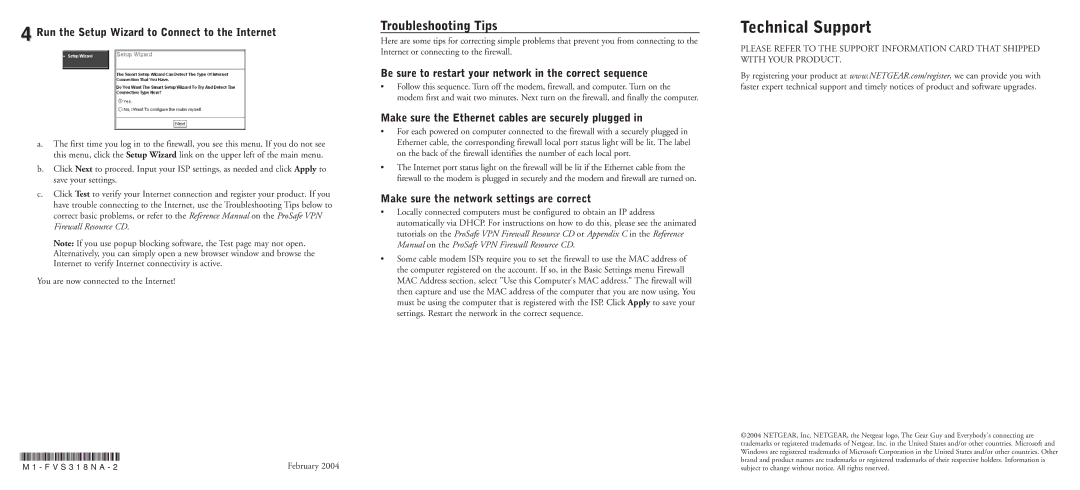
a.The first time you log in to the firewall, you see this menu. If you do not see this menu, click the Setup Wizard link on the upper left of the main menu.
b.Click Next to proceed. Input your ISP settings, as needed and click Apply to save your settings.
c.Click Test to verify your Internet connection and register your product. If you have trouble connecting to the Internet, use the Troubleshooting Tips below to correct basic problems, or refer to the Reference Manual on the ProSafe VPN Firewall Resource CD.
Note: If you use popup blocking software, the Test page may not open. Alternatively, you can simply open a new browser window and browse the Internet to verify Internet connectivity is active.
You are now connected to the Internet!
Troubleshooting Tips
Here are some tips for correcting simple problems that prevent you from connecting to the Internet or connecting to the firewall.
Be sure to restart your network in the correct sequence
•Follow this sequence. Turn off the modem, firewall, and computer. Turn on the modem first and wait two minutes. Next turn on the firewall, and finally the computer.
Make sure the Ethernet cables are securely plugged in
•For each powered on computer connected to the firewall with a securely plugged in Ethernet cable, the corresponding firewall local port status light will be lit. The label on the back of the firewall identifies the number of each local port.
•The Internet port status light on the firewall will be lit if the Ethernet cable from the firewall to the modem is plugged in securely and the modem and firewall are turned on.
Make sure the network settings are correct
•Locally connected computers must be configured to obtain an IP address automatically via DHCP. For instructions on how to do this, please see the animated tutorials on the ProSafe VPN Firewall Resource CD or Appendix C in the Reference Manual on the ProSafe VPN Firewall Resource CD.
•Some cable modem ISPs require you to set the firewall to use the MAC address of the computer registered on the account. If so, in the Basic Settings menu Firewall MAC Address section, select "Use this Computer's MAC address." The firewall will then capture and use the MAC address of the computer that you are now using. You must be using the computer that is registered with the ISP. Click Apply to save your settings. Restart the network in the correct sequence.
Technical Support
PLEASE REFER TO THE SUPPORT INFORMATION CARD THAT SHIPPED WITH YOUR PRODUCT.
By registering your product at www.NETGEAR.com/register, we can provide you with faster expert technical support and timely notices of product and software upgrades.
| |
M 1 - F V S 3 1 8 N A - 2 | February 2004 |
©2004 NETGEAR, Inc. NETGEAR, the Netgear logo, The Gear Guy and Everybody's connecting are trademarks or registered trademarks of Netgear, Inc. in the United States and/or other countries. Microsoft and Windows are registered trademarks of Microsoft Corporation in the United States and/or other countries. Other brand and product names are trademarks or registered trademarks of their respective holders. Information is subject to change without notice. All rights reserved.
