802.11b Wireless Ethernet Bridge ME101
Installation Guide
Follow these quick steps to install your bridge.
Note: Before you begin, have your wireless network set up and working.
1 Set up the ME101 Wireless Ethernet Bridge
a. Unpack the box and verify the contents.
ME101 Wireless |
|
Ethernet Bridge | Gaming console or other |
|
f.Connect the power adapter to the wireless bridge and plug
the power adapter in to a power outlet. The Power ![]() and
and
Wireless ![]() lights should light up.
lights should light up.
g.After the Wireless light ![]() lights up, turn on the
lights up, turn on the
Connecting multiple devices
e.Connect the ME101 Wireless Bridge to a hub using the provided Ethernet cable. Then, connect the powered down game console(s) and the powered down
2 Install the ME101 Configuration Utility
Note: To run the configuration utility, you must have the bridge connected to a computer with Windows® 98, Me, 2000, or XP — either directly or through a hub. If you have a Macintosh® computer, please refer to the User’s Guide on the ME101 Resource CD for configu- ration instructions.
a.Insert the ME101 Resource CD in a networked computer’s
The NETGEAR software installation utility should start up automatically.
b.Click Install Utility.
c.Follow the instructions on screen to install the ME101 Configuration Utility.
d.Click Finish.
e.Restart the computer.
Power adapter
Cat 5 crossover Ethernet cable
Resource CD for Wireless
Ethernet Bridge, Installation guide, Support information card, Warranty card
Cable or
DSL modem
Wireless Router
MR814
PC
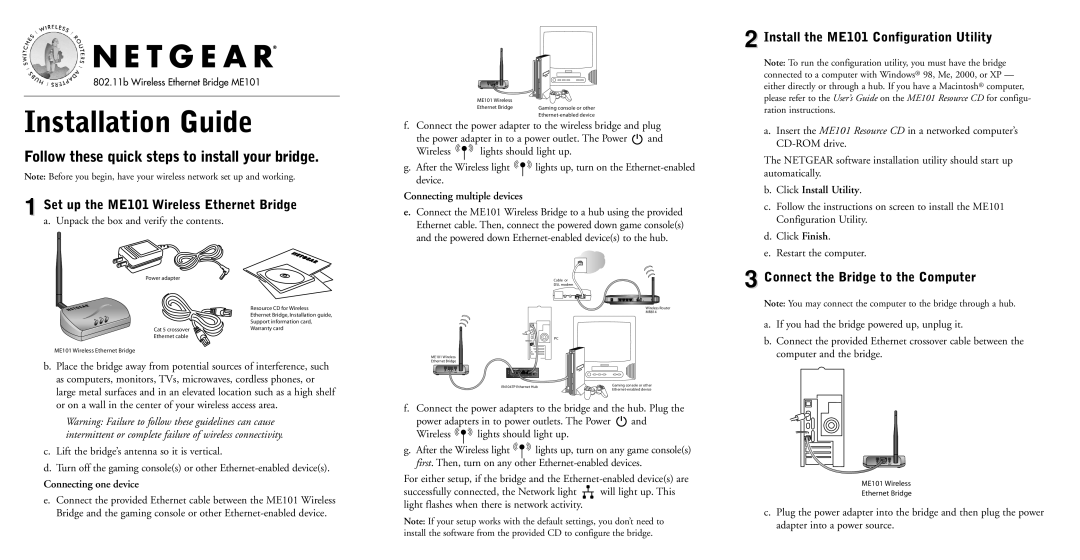
3 Connect the Bridge to the Computer
Note: You may connect the computer to the bridge through a hub.
a. | If you had the bridge powered up, unplug it. |
b. | Connect the provided Ethernet crossover cable between the |
ME101 Wireless Ethernet Bridge
b.Place the bridge away from potential sources of interference, such as computers, monitors, TVs, microwaves, cordless phones, or large metal surfaces and in an elevated location such as a high shelf or on a wall in the center of your wireless access area.
Warning: Failure to follow these guidelines can cause intermittent or complete failure of wireless connectivity.
c.Lift the bridge’s antenna so it is vertical.
d.Turn off the gaming console(s) or other
Connecting one device
e.Connect the provided Ethernet cable between the ME101 Wireless Bridge and the gaming console or other
ME101 Wireless
Ethernet Bridge
EN104TP Ethernet Hub | Gaming console or other |
|
f.Connect the power adapters to the bridge and the hub. Plug the
power adapters in to power outlets. The Power ![]() and
and
Wireless ![]() lights should light up.
lights should light up.
g.After the Wireless light ![]() lights up, turn on any game console(s) first. Then, turn on any other
lights up, turn on any game console(s) first. Then, turn on any other
For either setup, if the bridge and the
successfully connected, the Network light ![]() will light up. This light flashes when there is network activity.
will light up. This light flashes when there is network activity.
Note: If your setup works with the default settings, you don’t need to
computer and the bridge. |
ME101 Wireless
Ethernet Bridge
c.Plug the power adapter into the bridge and then plug the power adapter into a power source.
install the software from the provided CD to configure the bridge.