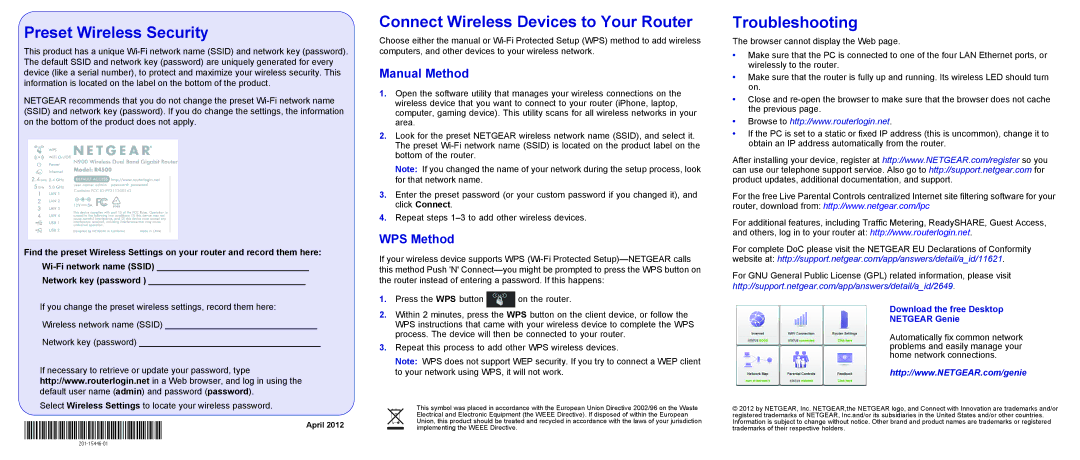
Preset Wireless Security

This product has a unique Wi-Fi network name (SSID) and network key (password). The default SSID and network key (password) are uniquely generated for every device (like a serial number), to protect and maximize your wireless security. This information is located on the label on the bottom of the product.

NETGEAR recommends that you do not change the preset Wi-Fi network name (SSID) and network key (password). If you do change the settings, the information on the bottom of the product does not apply.

Find the preset Wireless Settings on your router and record them here: Wi-Fi network name (SSID) _______________________________

Network key (password ) ________________________________

If you change the preset wireless settings, record them here:

Wireless network name (SSID) _______________________________

Network key (password) _____________________________________

If necessary to retrieve or update your password, type http://www.routerlogin.net in a Web browser, and log in using the default user name (admin) and password (password).

Select Wireless Settings to locate your wireless password.

April 2012

Connect Wireless Devices to Your Router

Choose either the manual or Wi-Fi Protected Setup (WPS) method to add wireless computers, and other devices to your wireless network.

Manual Method

1.Open the software utility that manages your wireless connections on the wireless device that you want to connect to your router (iPhone, laptop, computer, gaming device). This utility scans for all wireless networks in your area.

2.Look for the preset NETGEAR wireless network name (SSID), and select it. The preset Wi-Fi network name (SSID) is located on the product label on the bottom of the router.

Note: If you changed the name of your network during the setup process, look for that network name.

3.Enter the preset password (or your custom password if you changed it), and click Connect.

4.Repeat steps 1–3 to add other wireless devices.

WPS Method

If your wireless device supports WPS (Wi-Fi Protected Setup)—NETGEAR calls this method Push 'N' Connect—you might be prompted to press the WPS button on the router instead of entering a password. If this happens:

1.Press the WPS button on the router.

2.Within 2 minutes, press the WPS button on the client device, or follow the WPS instructions that came with your wireless device to complete the WPS process. The device will then be connected to your router.

3.Repeat this process to add other WPS wireless devices.

Note: WPS does not support WEP security. If you try to connect a WEP client to your network using WPS, it will not work.

This symbol was placed in accordance with the European Union Directive 2002/96 on the Waste Electrical and Electronic Equipment (the WEEE Directive). If disposed of within the European Union, this product should be treated and recycled in accordance with the laws of your jurisdiction implementing the WEEE Directive.

Troubleshooting

The browser cannot display the Web page.

Make sure that the PC is connected to one of the four LAN Ethernet ports, or wirelessly to the router.

Make sure that the router is fully up and running. Its wireless LED should turn on.

Close and re-open the browser to make sure that the browser does not cache the previous page.

Browse to http://www.routerlogin.net.

If the PC is set to a static or fixed IP address (this is uncommon), change it to obtain an IP address automatically from the router.

After installing your device, register at http://www.NETGEAR.com/register so you can use our telephone support service. Also go to http://support.netgear.com for product updates, additional documentation, and support.

For the free Live Parental Controls centralized Internet site filtering software for your router, download from:￿http://www.netgear.com/lpc￿

For additional features, including Traffic Metering, ReadySHARE, Guest Access, and others, log in to your router at: http://www.routerlogin.net.

For complete DoC please visit the NETGEAR EU Declarations of Conformity website at: http://support.netgear.com/app/answers/detail/a_id/11621.

For GNU General Public License (GPL) related information, please visit

http://support.netgear.com/app/answers/detail/a_id/2649.

Download the free Desktop

NETGEAR Genie

Automatically fix common network problems and easily manage your home network connections.

http://www.NETGEAR.com/genie

© 2012 by NETGEAR, Inc. NETGEAR,the NETGEAR logo, and Connect with Innovation are trademarks and/or registered trademarks of NETGEAR, Inc.and/or its subsidiaries in the United States and/or other countries. Information is subject to change without notice. Other brand and product names are trademarks or registered trademarks of their respective holders.

Page 2
Image 2
NETGEAR R4500 manual Preset Wireless Security, Connect Wireless Devices to Your Router, Troubleshooting, Manual Method

R4500 specifications

The NETGEAR R4500 is a high-performance dual-band wireless router designed to meet the demands of modern households and small offices. It offers an impressive combination of features, technologies, and characteristics that ensure fast, reliable internet connectivity for multiple devices.

One of the standout features of the R4500 is its dual-band capability, which supports both 2.4GHz and 5GHz frequency bands. This allows users to connect multiple devices with minimal interference, as the 5GHz band is ideal for high-speed activities such as gaming and streaming, while the 2.4GHz band covers a broader area and is perfect for general browsing.

Equipped with simultaneous dual-band throughput of up to 450 Mbps on 2.4GHz and up to 1300 Mbps on 5GHz, the R4500 ensures that users experience high-speed internet access without interruptions. Its advanced 802.11n wireless technology also enhances range and performance, making it suitable for larger homes or offices.

The NETGEAR R4500 features a powerful dual-core processor, which boosts overall performance and enhances multitasking capabilities. This ensures seamless streaming, gaming, and browsing experiences, even when multiple devices are connected at once.

For added convenience, the R4500 is equipped with four Gigabit Ethernet ports, allowing for wired connections to devices such as gaming consoles, smart TVs, and computers. This feature is particularly beneficial for users seeking a stable and fast internet connection for bandwidth-intensive tasks.

Another notable characteristic of the R4500 is its support for NETGEAR's ReadySHARE technology, which enables users to share USB storage devices over the network. This makes it easy to access files from various devices and helps streamline file sharing in the home or office environment.

Security is a critical consideration for NETGEAR, and the R4500 addresses this with robust features such as WPA/WPA2 encryption, a built-in firewall, and VPN support. These features help protect users' data and privacy while ensuring a secure online experience.

Overall, the NETGEAR R4500 is a versatile and high-performance router that caters to the needs of users who demand both speed and reliability. With its combination of advanced technologies, solid performance, and user-friendly features, the R4500 is a noteworthy option for anyone looking to enhance their home or office network.