Start Here
Congratulations on your purchase of a NETGEAR™ Model RT338 ISDN Router.
This document provides instructions to get you connected to an ISDN Internet service line using the NETGEAR Model RT338 router and your personal computer. The document is only a quick reference guide. For more detailed information about installation and configuration, refer to Model RT338 ISDN Router Installation Guide included on the Model RT338 Resources CD.
Product Illustration
Front Panel
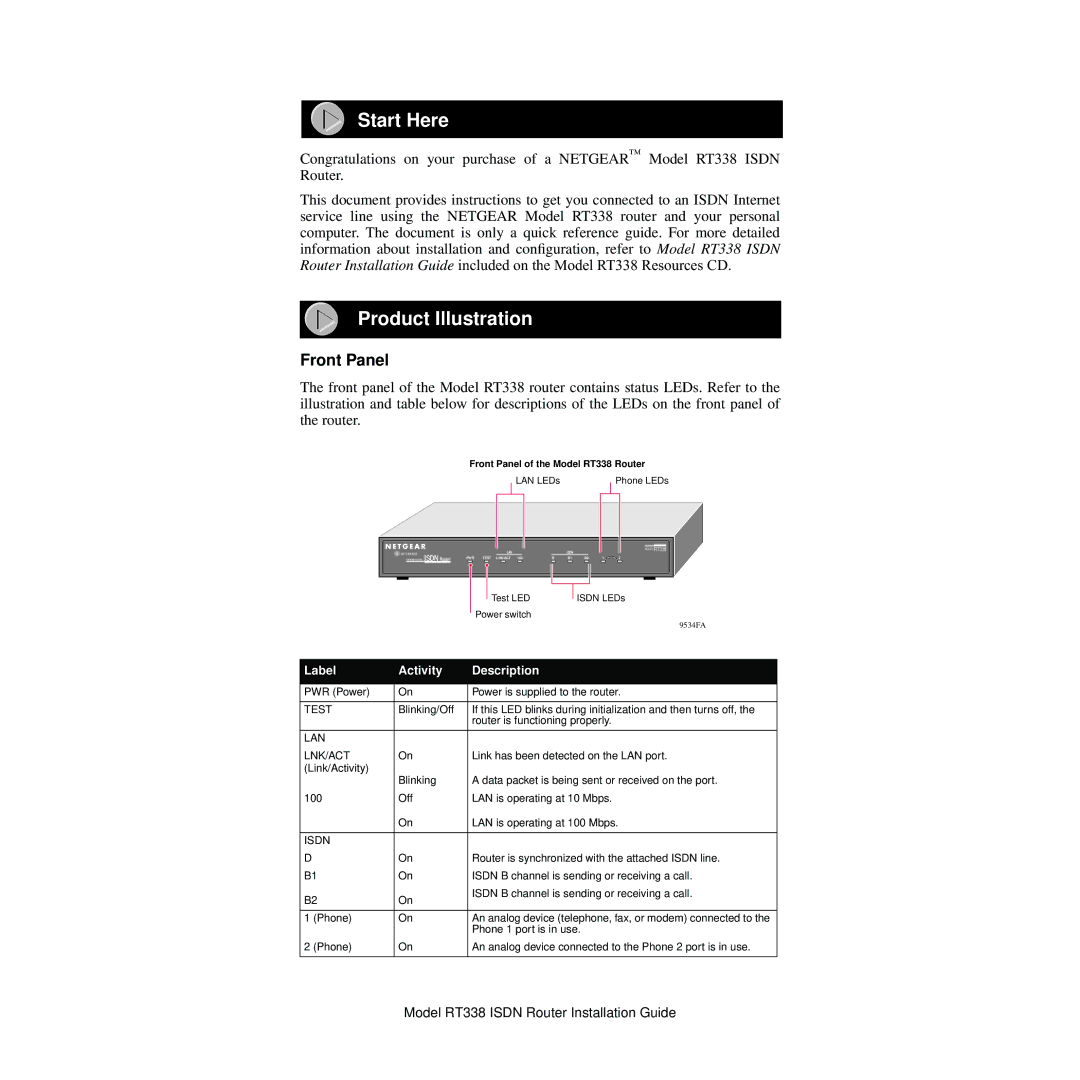
The front panel of the Model RT338 router contains status LEDs. Refer to the illustration and table below for descriptions of the LEDs on the front panel of the router.
Front Panel of the Model RT338 Router
LAN LEDs
Phone LEDs
| LAN |
| ISDN |
|
|
|
PWR | TEST LNK/ACT 100 | D | B1 | B2 | 1 | 2 |
MODEL RT338
Test LED
Power switch
ISDN LEDs
9534FA
Label | Activity | Description |
|
|
|
PWR (Power) | On | Power is supplied to the router. |
|
|
|
TEST | Blinking/Off | If this LED blinks during initialization and then turns off, the |
|
| router is functioning properly. |
|
|
|
LAN |
|
|
LNK/ACT | On | Link has been detected on the LAN port. |
(Link/Activity) | Blinking | A data packet is being sent or received on the port. |
| ||
100 | Off | LAN is operating at 10 Mbps. |
| On | LAN is operating at 100 Mbps. |
|
|
|
ISDN |
|
|
D | On | Router is synchronized with the attached ISDN line. |
B1 | On | ISDN B channel is sending or receiving a call. |
B2 | On | ISDN B channel is sending or receiving a call. |
| ||
|
|
|
1 (Phone) | On | An analog device (telephone, fax, or modem) connected to the |
|
| Phone 1 port is in use. |
2 (Phone) | On | An analog device connected to the Phone 2 port is in use. |
|
|
|
Model RT338 ISDN Router Installation Guide
