Easy Setup 6-3
The following steps will get you up and running quickly:
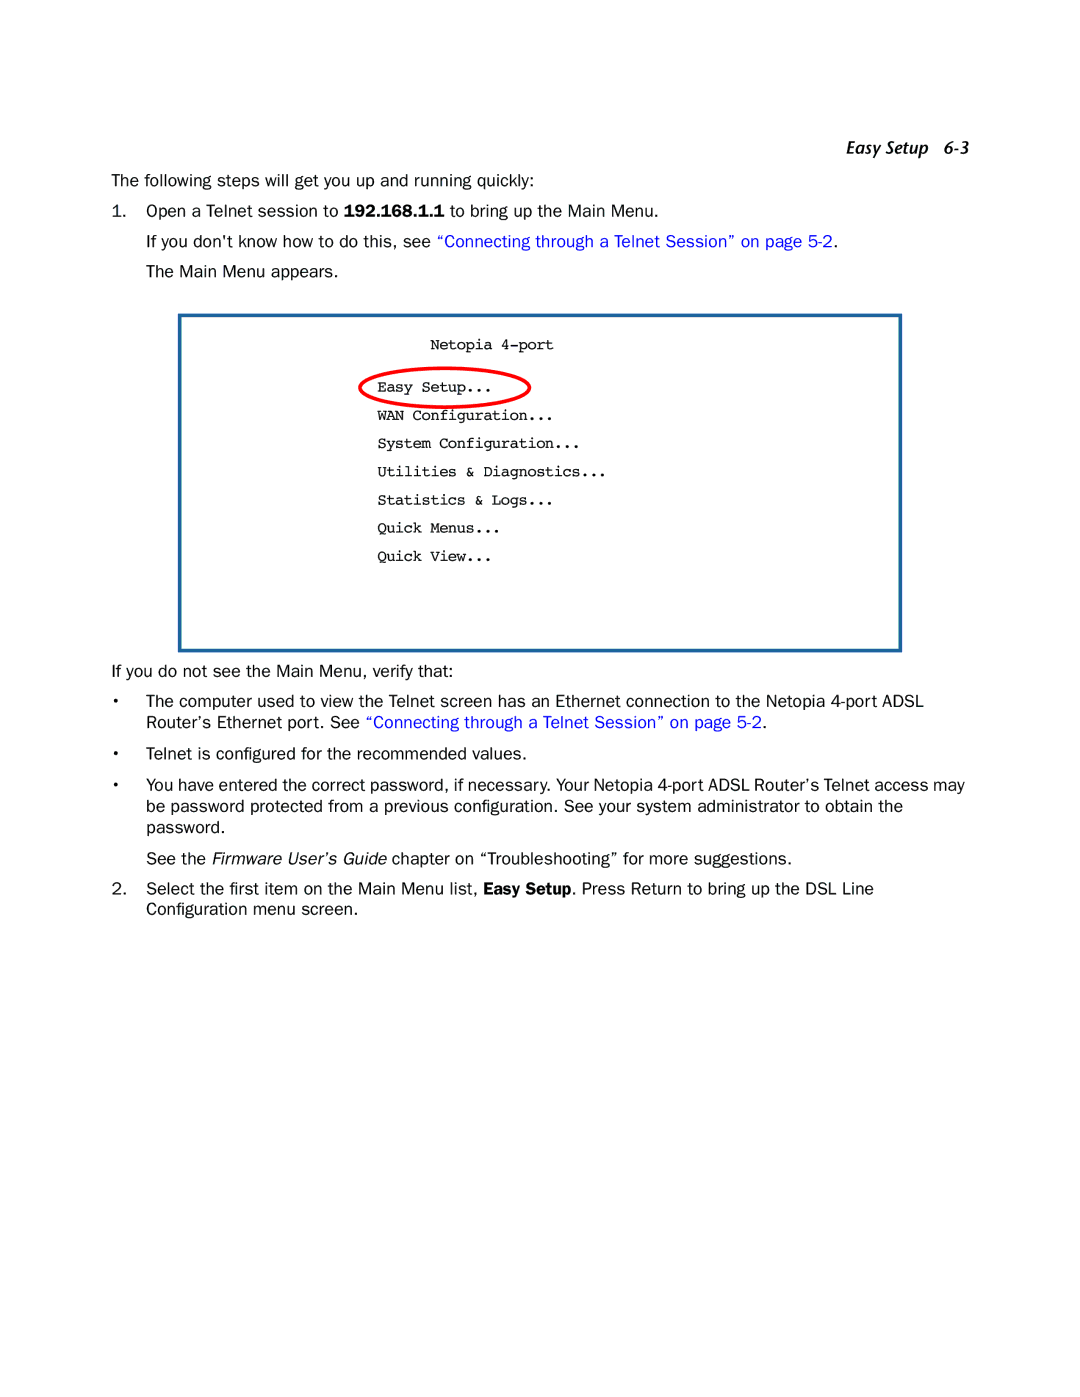
1.Open a Telnet session to 192.168.1.1 to bring up the Main Menu.
If you don't know how to do this, see “Connecting through a Telnet Session” on page
Netopia
Easy Setup...
WAN Configuration...
System Configuration...
Utilities & Diagnostics...
Statistics & Logs...
Quick Menus...
Quick View...
If you do not see the Main Menu, verify that:
•The computer used to view the Telnet screen has an Ethernet connection to the Netopia
•Telnet is configured for the recommended values.
•You have entered the correct password, if necessary. Your Netopia
See the Firmware User’s Guide chapter on “Troubleshooting” for more suggestions.
2.Select the first item on the Main Menu list, Easy Setup. Press Return to bring up the DSL Line Configuration menu screen.