6-8 Getting Started Guide
4. Easy Setup Security Configuration
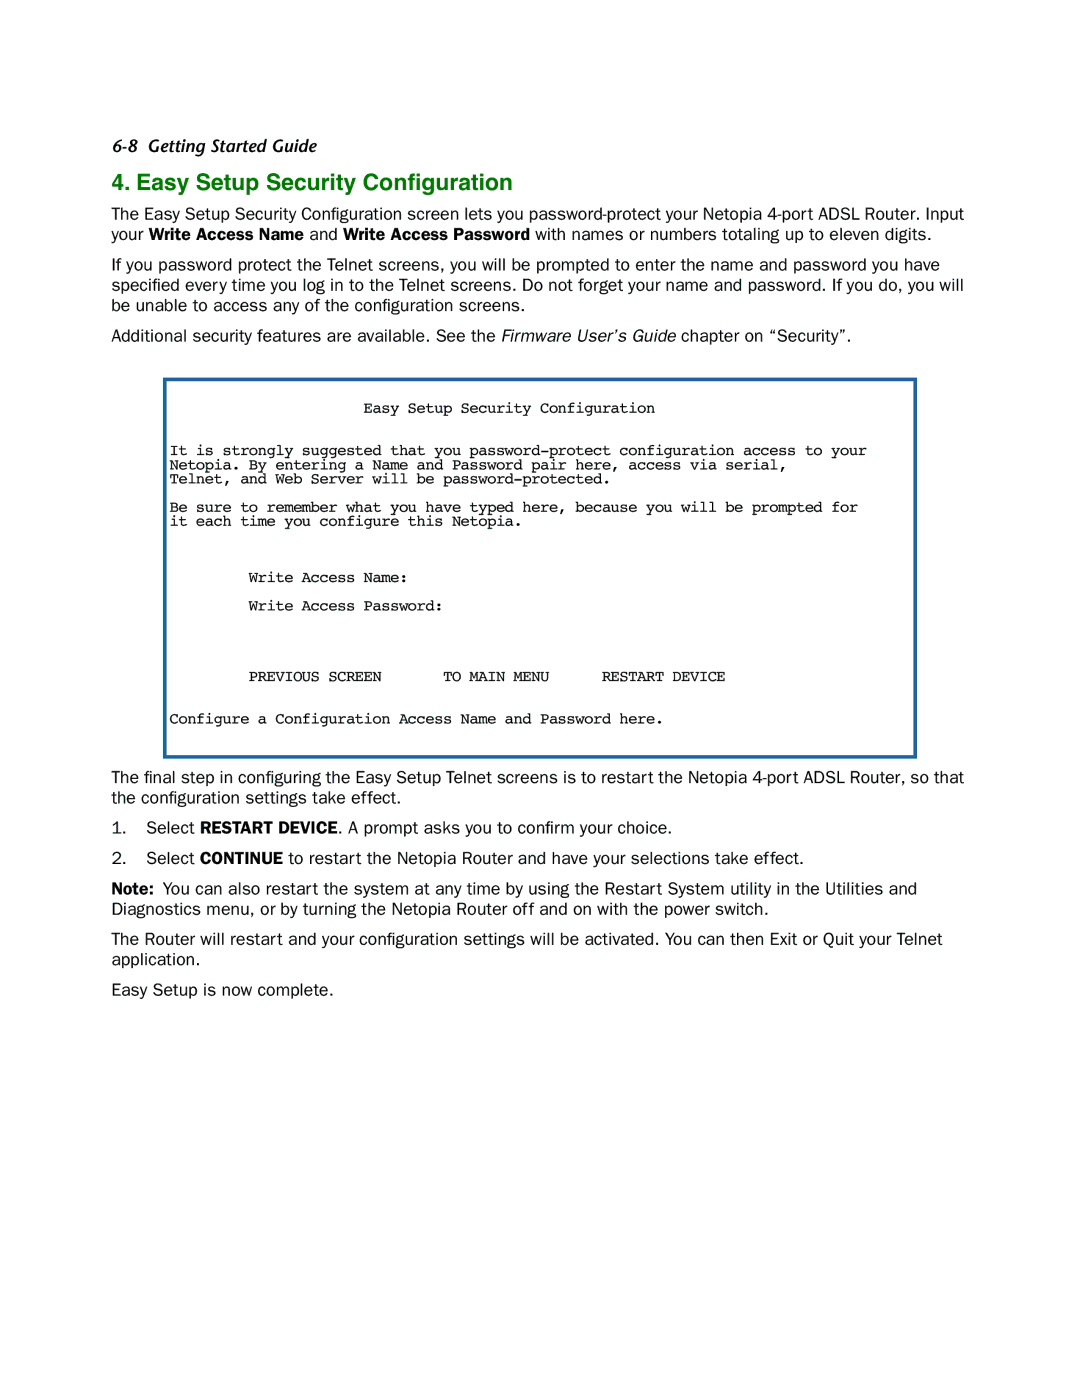
The Easy Setup Security Configuration screen lets you
If you password protect the Telnet screens, you will be prompted to enter the name and password you have specified every time you log in to the Telnet screens. Do not forget your name and password. If you do, you will be unable to access any of the configuration screens.
Additional security features are available. See the Firmware User’s Guide chapter on “Security”.
Easy Setup Security Configuration
It is strongly suggested that you
Be sure to remember what you have typed here, because you will be prompted for it each time you configure this Netopia.
Write Access Name:
Write Access Password:
PREVIOUS SCREEN | TO MAIN MENU | RESTART DEVICE |
Configure a Configuration Access Name and Password here.
The final step in configuring the Easy Setup Telnet screens is to restart the Netopia
1.Select RESTART DEVICE. A prompt asks you to confirm your choice.
2.Select CONTINUE to restart the Netopia Router and have your selections take effect.
Note: You can also restart the system at any time by using the Restart System utility in the Utilities and Diagnostics menu, or by turning the Netopia Router off and on with the power switch.
The Router will restart and your configuration settings will be activated. You can then Exit or Quit your Telnet application.
Easy Setup is now complete.
