3.Lift heater by each bottom corner and place the round part of the tear drop punch out over each screw head. Gently push down until the body of the screw is at the end of the slot.
NOTE: Make sure unit is level.
4.Now you are ready to hook up the gas line. The Model 1110 allows for a rear or bottom connection for the gas line. See “Gas Connection” on page 17 for details.
CLEANING INFORMATION:
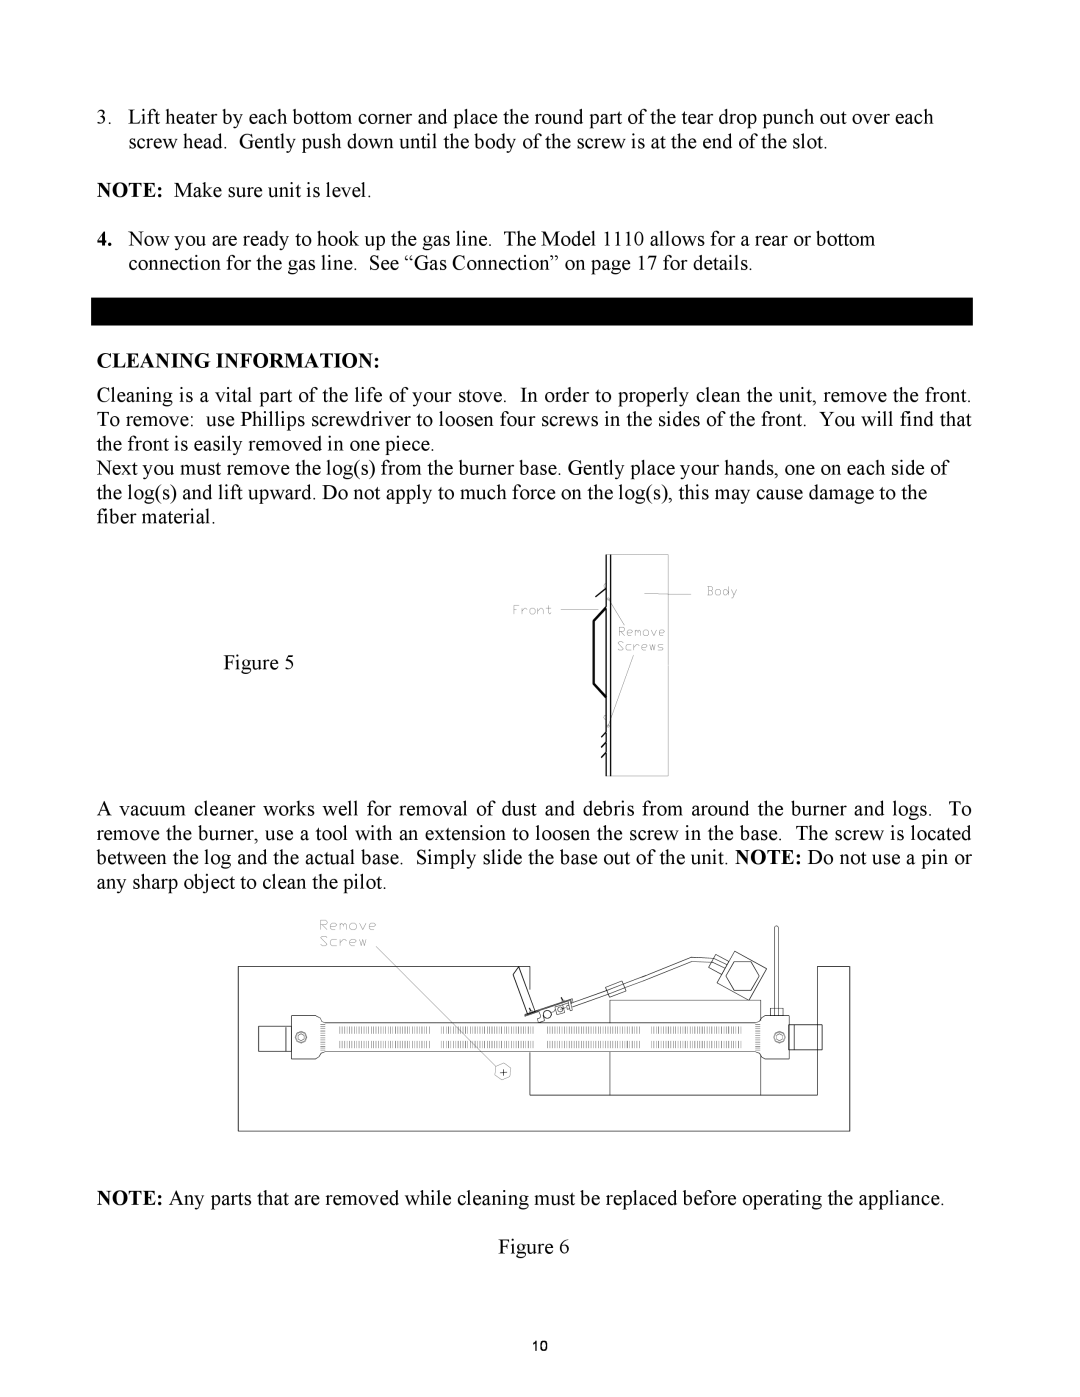
Cleaning is a vital part of the life of your stove. In order to properly clean the unit, remove the front. To remove: use Phillips screwdriver to loosen four screws in the sides of the front. You will find that the front is easily removed in one piece.
Next you must remove the log(s) from the burner base. Gently place your hands, one on each side of the log(s) and lift upward. Do not apply to much force on the log(s), this may cause damage to the fiber material.
Figure 5
A vacuum cleaner works well for removal of dust and debris from around the burner and logs. To remove the burner, use a tool with an extension to loosen the screw in the base. The screw is located between the log and the actual base. Simply slide the base out of the unit. NOTE: Do not use a pin or any sharp object to clean the pilot.
NOTE: Any parts that are removed while cleaning must be replaced before operating the appliance.
Figure 6
10
