relative angles between these positions cannot be changed, the starting point can be adjusted by screws (3, Fig.6). If you loosen them, you can rotate the
You can raise the unit for unobstructed view without taking the helmet off. To do so press (and hold) the button (2, Fig.6) and rotate the unit until you hear a click.
All other operations with the unit mounted on a helmet are identical to those with the headgear.
6.15Mounting on a rifle
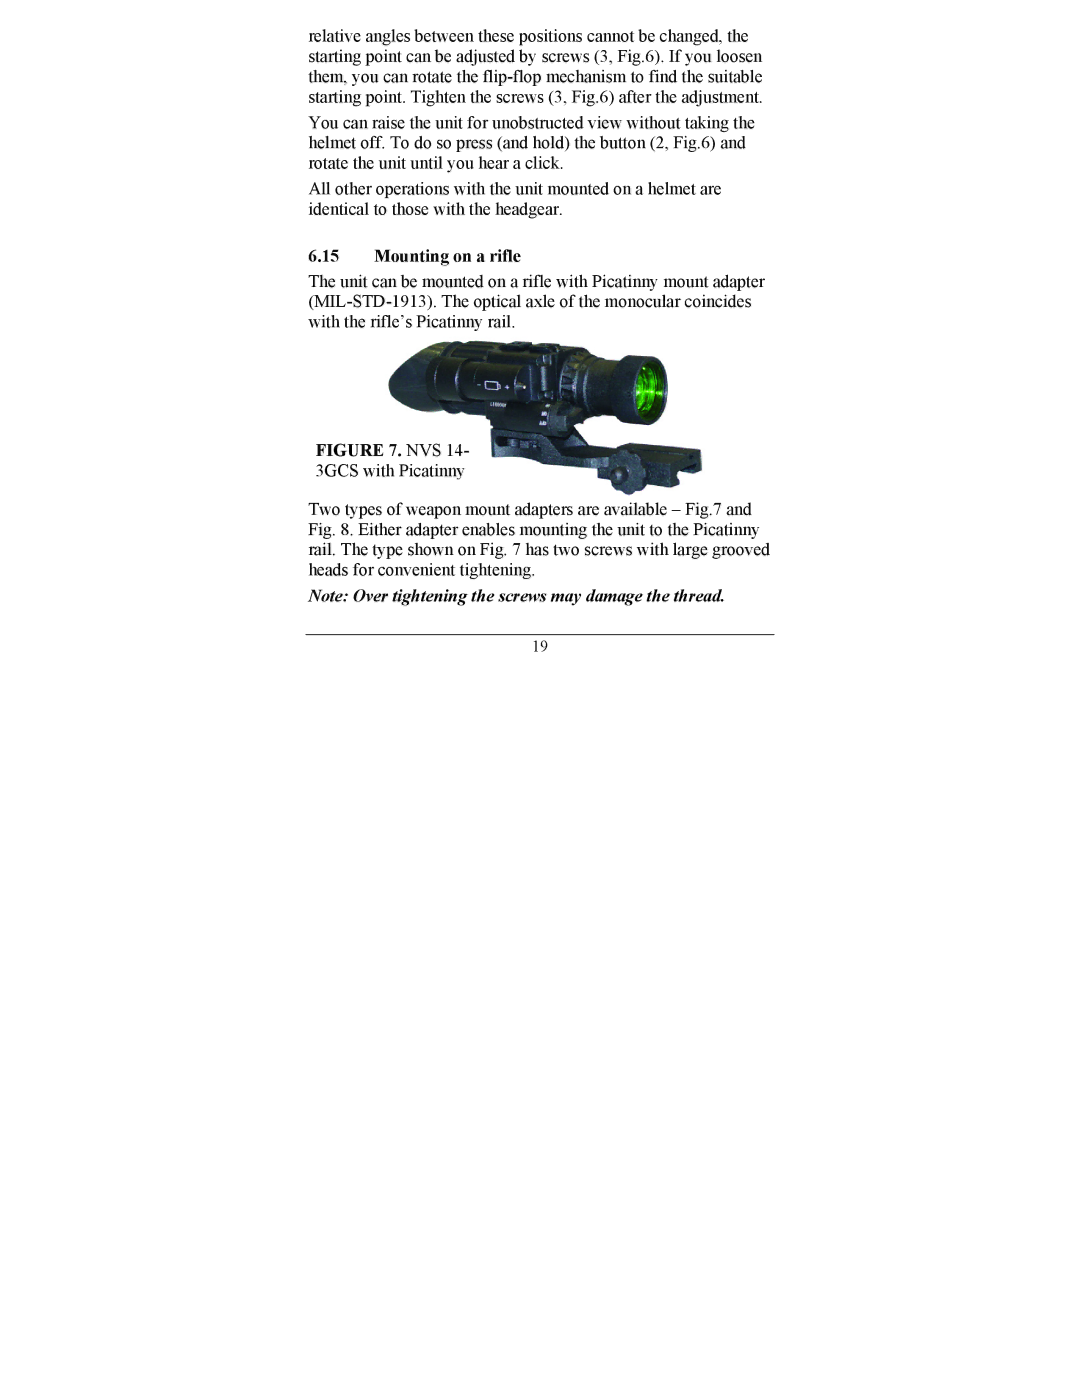
The unit can be mounted on a rifle with Picatinny mount adapter
FIGURE 7. NVS 14- 3GCS with Picatinny
Two types of weapon mount adapters are available – Fig.7 and Fig. 8. Either adapter enables mounting the unit to the Picatinny rail. The type shown on Fig. 7 has two screws with large grooved heads for convenient tightening.
Note: Over tightening the screws may damage the thread.
19
