Digital Camera
Product Documentation
Quick Start Guide
Guide to Digital Photography
How to Read This Manual
Do not look at the sun through the view- finder
For Your Safety
Do not immerse in or expose to water
Iii
Keep dry
Caring for the Camera and Battery
Batteries
D2X
Items prohibited by law from being copied or reproduced
Vii
Table of Contents
Voice Memos 145
More About Playback 135
174
153
Technical Notes 239
Connections 229
Trademark Information
Xii
This chapter is divided into the following sec- tions
Getting Started
Overview
Getting to Know the Camera
About This Manual
Overview
Take Test Shots
Life-Long Learning
Camera Body
Getting to Know the Camera
Camera Controls and Displays
LCD Illuminators
Camera Body
Speaker and Microphone
Top Control Panel
Number of shots in bracketing
85-94
Number of intervals for
124
Rear Control Panel
179
Voice memo recording indicator
188
147
Viewfinder Display
Focusing Screens
Mm 0.31˝ reference circle for
Focus indicator
Image quality and size
Command Dials
White balance
Sensitivity ISO equivalency
Flash settings
Choose a flash sync mode for optional Speedlight
Exposure
Multi Selector
Multi selector is used for the following operations
Multi Selector
First Steps
Attach the Camera Strap
Getting the Camera Ready for Use
Insert the Battery
Removing the Battery
EN-EL4 Rechargeable Li-ion Batteries
Basic Setup
Introduction-First Steps
Clock Battery
Attach a Lens
Detaching the Lens
Protect the Camera from Dirt and Dust
Insert a Memory Card
Insert a memory card
No Memory Card
Format
Removing Memory Cards
Memory Cards
Basic Photography and Playback
Basic Photography
Basic Playback
Basic Photography
Taking Your First Photographs
There are six basic steps to taking photographs
Battery Indicator
Charged Battery Partially Discharged
Ready the Camera
Icon Control View
Check the number of exposures remaining
That can be taken at current settings. When
Exposure-count display in the top con
This number reaches zero, Icon will
Option Default
Adjust Camera Settings
Control
Top control panel Panel
Clicks into place pointing to
Single-area
Viewfinder Focus
Frame a Photograph
Viewfinder display
Focus
Indicator
Check Exposure
Shutter Speed and Camera Shake
Do Not Photograph Strong Light Sources
Take the Photograph
Rotate Tall
Image Review
Viewing Photographs
Basic Playback
Viewing Additional Photographs
Delete
Page
Details
Taking Photographs
Will this be a single photo, or a series of photos?
What is more important, shutter speed or aperture?
How will this photograph be used?
What lighting is available?
Recent Settings
Using Camera Menus
Choosing a Menu
Basic Menu Operations
To modify settings for an item in the current menu
Making a Selection
Exiting the Menus
High-Speed Frame Advance
High-Speed Crop
Hi-Speed Crop Menu
Option
Busy
FUNC. Button
Single Frame, Continuous, Self-Timer, or Mirror Up
Choosing a Shooting Mode
Mode
Off
Memory Buffer
Buffer Size
D2-Maximum Shots
Image Quality
Image Quality and Size
Making Effective Use of Memory
Description
Qual Button
Image Quality Menu
Rear panel Viewfinder
Rear control panel
Jpeg Compression Menu
Quality varies with scene recorded
File Names
Raw Compression Menu
Image Size
Following options are available for NEF RAW images
Hi-speed crop Off Hi-speed crop On
Image Size Menu
Highlight Image size in the shooting menu
Press the multi selector to
Memory Card Capacity and Image Quality/Size
Large-Capacity Memory Cards
Number of Exposures Remaining
Reacting Faster to Light
Sensitivity ISO Equivalency
ISO Menu
ISO Button
High ISO NR
HI-1/HI-2
B1-ISO Auto
B2-ISO Step Value
White Balance
Approximate Color Option temperature Description
Keeping Colors True
Source before shooting. The following options are available
WB Button
White Balance Menu
Studio Strobe Lighting
E5-Auto BKT Set
Color Temperature
Fine-Tuning White Balance
Mired
Fine-Tuning and Color Temperature
Choosing a Color Temperature
White Balance Presets
Preset White Balance
Recording New Values with the Camera
Copying Values from Existing Photographs
Measuring a Value for White Balance
Object. Use when subject is under same lighting as camera
Exposure Mode
Rear control panel Viewfinder Top control panel
Selecting a White Balance Preset
To set white balance to a preset value
Selecting a White Balance Preset the WB Button
Entering a Comment
Taking Photographs-White Balance
Nikon Capture
Shooting Menu Settings
Image Adjustment
Making Edges More Distinct Image Sharpening
Option Description
Best results, use a type G or D lens
Adjusting Contrast Tone Compensation
Normal
Custom
Suiting Colors to a Workflow Color Space
SRGB default
SRGB
Color Space
Matching Colors to the Subject Color Mode
Mode
Nikon Software
Hue
Controlling Color Hue Adjustment
Focus
Focus Mode
Controlling How the Camera Focuses
Servo AF
A2-AF-S Mode Priority
A1-AF-C Mode Priority
AF-ON Buttons
Predictive Focus Tracking
Focus Area Selection
High-Speed Crop
Focus Area Selection
F1-Center Button Shooting Mode
A6-Focus Area Illum
A7-Focus Area
Autofocus
AF-Area Mode
Crop is on
Icon Description
Subject in selected focus area
Poorly lit. Single-area AF is recommended in these cases
Summary of Autofocus Options
Focus mode AF-area mode
Single-area AF Dynamic-area AF
Automatic Manual
How it works
Continuous-servo AF
Focus Lock
Recompose the photograph and shoot
AF-Assist Illuminators
Getting Good Results with Autofocus
Electronic Range Finder
Manual Focus
Selection/Autofocus with Manual Priority
Focal Plane Position
Exposure
B6-Center Weight
Metering
Controlling How the Camera Sets Exposure
CPU Lenses
Exposure Mode
Depth-of-Field Preview
B7-Fine-Tune Exposure
Programmed Auto
Non-CPU Lenses
Exposure Warning
Exposure Program
Flexible Program
Shutter-Priority Auto
Changing from Manual to Shutter-Priority Auto
F5-Command Dials Change Main/Sub
Shutter-Speed Lock
Long Exp. NR
Aperture-Priority Auto
Aperture Lock
F5-Command Dials
Manual
Long Time-Exposures
AF Micro Nikkor Lenses
At 1/3 step
Electronic Analog Exposure Displays
Shutter-Speed and Aperture Lock
Shutter-Speed Lock
Aperture Lock
Autoexposure Lock
Adjusting Shutter Speed and Aperture
Metered Area
C1-AE Lock
Pressing the button Frame the photograph, focus, and shoot
Exposure Compensation
B4-Exposure Comp. EV
B5-Exposure Comp
Exposure and Flash Bracketing
Bracketing
E8-Auto BKT Selection
Shooting Mode
100
Bracketing
Order EVs
101
102
E6-Manual Mode Bkting
Resuming Exposure or Flash Bracketing
Exposure Bracketing
Choose WB bracketing for Custom Setting e5 Auto BKT set
103
White Balance Bracketing
White Balance Bracketing
104
Color temp. or
Turning the Camera Off
105
Flash Photography
Using Optional Speedlights
106
Modeling Illumination
TTL Flash Control
107
SB-800, SB-600 i-TTL Flash Control
SB-80DX, SB-28DX, SB-50DX D-TTL Flash Control
108
Compatible Speedlights
SB-80DX Flash mode/feature SB-800
109
Following Speedlights support TTL flash control
Use Only Nikon Flash Accessories
Flash mode SB-26 1 SB-27 SB-25 SB-24 SB-29S SB-15 SB-14
110
SB-30 SB-22S SB-23 SB-29 SB-20 SB-28 SB-21B
111
Flash Sync Modes
Flash sync mode
112
D2X supports the following flash sync modes
Shutter Speed and Aperture
113
E1-Flash Sync Speed
E2-Flash Shutter Speed
FV Lock
114
To use FV lock
115
Are no longer displayed in the control panel and viewfinder
Metering
Accessory Shoe
Flash Contacts and Indicators
116
Sync Terminal
Image Overlay
Overlay/Multiple Exposure
117
Combining Multiple Exposures in a Single Frame
118
Selecting Photographs for Image Overlay
Image Overlay
119
Multiple Exposure
To create a multiple exposure
OptionDescription
120
121
Taking Photographs at Preset Intervals
Interval Timer Photography
122
Select Intvl*no. Shots Remaining Intvl*shots Start
Use of a tripod is recommended
123
During Shooting
124
During Shooting
Maximum shots
125
Pausing Interval Timer Photography
No Photograph
Multiple Exposure
Interrupting Interval Timer Photography
126
Shooting Menu Banks
Delaying Shutter Release
Self-Timer Mode
C4-Self-timer
127
Specifying Lens Focal Length
Non-CPU Lenses
128
Specifying Lens Data
129
Default Maximum Aperture
130
Specifying Maximum Aperture
SB-800/SB-600
Zoom Lenses
131
132
Using a GPS Unit
Recording GPS Data
Icon is
Restoring Default Settings
Two-Button Reset
Fine tuning reset to Reset Shooting Menu
Menu Reset
134
Playback Options
135
Single-Image Playback
Using the Multi Selector
136
C5-Monitor Off
137
Photo Information
↔ Page 8 ↔
3 Shooting Data
4 Shooting Data
138
5 GPS Data
6 Histogram
7 Highlights
139
8 RGB Histogram
Histograms
F1-Center Button Playback Mode
Viewing Multiple Images Thumbnail Playback
140
141
Taking a Closer Look Playback Zoom
Cancel Resume zoom Select area Displayed
142
ToTo Use
Protecting Photographs from Deletion
143
Removing Protection from All Images
144
Deleting Individual Photographs
Protected and Hidden Images
After Delete
Recording and Playback
145
Recording Voice Memos
Playback Mode
146
Dust Off Ref Photos
Interrupting Recording
147
During Recording
After Recording
148
Voice Memo Recording Options
Voice Memo
Voice Memo
Voice Memo Overwrite
149
Voice Memo Button
ToOption Description
150
Playing Voice Memos
Press Description
Interrupting Playback
151
Voice Memo Playback Options
OptionTo
Via Video
152
153
Delete
Playback Menu
154
Managing Images
Deleting Selected Photographs Selected
Deleting All Photographs All
155
156
Playback Folder
Selecting a Folder for Storage
Current
Starting the Slide Show Start
Slide Show
157
To To
Changing the Display Interval Frame Interval
Voice Memo Playback Options Audio Playback
158
Hide Image
Hiding Selected Photographs Select/Set
159
Revealing All Photographs Deselect All
160
File Attributes for Hidden Images
161
Print Set
162
Modifying the Print Order Select/Set
163
Removing All Images from the Print Order Deselect All
After Creating a Print Order
Exif version
Image Review
Display Mode
164
Data
Rotate Tall
After Delete
165
Frame will be displayed or highlighted
166
Shooting Menu
Shooting Options
Shooting menu contains three pages of options
167
Shooting Menu Bank
Sensitivity ISO Equivalency
Shooting Menu Bank
Renaming Shooting Menu Banks
168
Following dialog will be displayed. low
Enter a name as described be
Reset Shooting Menu
Following settings are affected
169
170
Active Folder
Number of Folders
Automatic Folder Creation
171
File Naming
Jpeg Compression
Hi-Speed Crop
Raw Compression
White Balance
High ISO NR
Long Exp. NR
173
On Normal
Image Sharpening
Color Mode
Tone Compensation
Color Space
Interval Timer Shooting
Hue Adjustment
Image Overlay
Multiple Exposure
Fine-Tuning Camera Settings
Custom Settings
176
Group
Following Custom Settings are available
177
Options
178
179
Custom Setting C Custom Setting Bank
Two-Button Reset
Custom Setting R Reset CSM Menu
Custom Settings Bank
180
181
Default settings are listed below
Custom Setting a2 AF-S Priority Selection
Custom Setting a1 AF-C Priority Selection
182
FPS rate
183
Custom Setting a3 Pattern Selection in Group Dynamic AF
Pattern Center area
Pattern
Left † Center Right † Center1 Center2 BottomBottom
184
Custom Setting a4 Focus Tracking with Lock-On
Custom Setting a5 AF Activation
185
Continuous Mode When Selected
Custom Setting a6 Focus Area Illumination
186
Manual
Custom Setting a8 Vertical AF-ON Button Function
Custom Setting a7 Focus Area Select
Wrap-around disabled
187
Custom Setting b1 ISO Auto Control
188
Bank Select
Custom Setting b3 EV Steps for Exposure Control
Custom Setting b2 ISO Step Value
Ments equivalent to EV 1/3 step, the default
189
Custom Setting b5 Easy Exposure Compensation
Main command dial
190
Custom Setting b7 Fine Tune Optimal Exposure
Custom Setting b6 Center Weight Area
Fine-Tuning Exposure
191
Custom Setting c1 AE Lock Buttons
Custom Setting c2 Assignment of AE-L/AF-L Button
192
Custom Setting c4 Self-Timer Delay
Custom Setting c3 Auto Meter-off Delay
Custom Setting c5 Monitor off Delay
193
194
Custom Setting d1 CL-Mode Shooting Speed
195
Custom Setting d3 Exposure Delay Mode
Custom Setting d5 Control Panel/Viewfinder Display
Custom Setting d4 File Number Sequence
Tains no photographs, file numbering reset to
196
Custom Setting d6 LCD Illumination
197
Exposures
Custom Setting e1 Flash Sync Speed Setting
198
Fixing Shutter Speed at the Flash Sync Speed Limit
Custom Setting e3 AA Flash Mode
Custom Setting e4 Preview Button Activates Modeling Flash
199
200
Custom Setting e5 Auto Bracketing Set
Custom Setting e7 Auto Bracketing Order
Custom Setting e6 Auto Bracketing in M Exposure Mode
Ture and flash level Custom Setting e5 set to AE & flash
201
Custom Setting f1 Multi Selector Center Button
Custom Setting e8 Auto Bracketing Selection Method
Shooting Mode
202
Illuminate AF Area Not used
203
Thumbnail on/off
Histogram on/off Zoom on/off
204
Custom Setting f2 When Multi Selector Is Pressed
Autofocus
Pressing multi selector activates exposure meters
205
Custom Setting f4 Assign FUNC. Button
Command dial controls shutter speed
Custom Setting f5 Customize Command Dials
206
Main
Menus Playback
207
Custom Setting f6 Setting Method for Buttons and Dials
Custom Setting f7 Disable Shutter If No CF Card
208
Camera Setup
Setup Menu
Setup menu contains three pages of options
209
210
Format
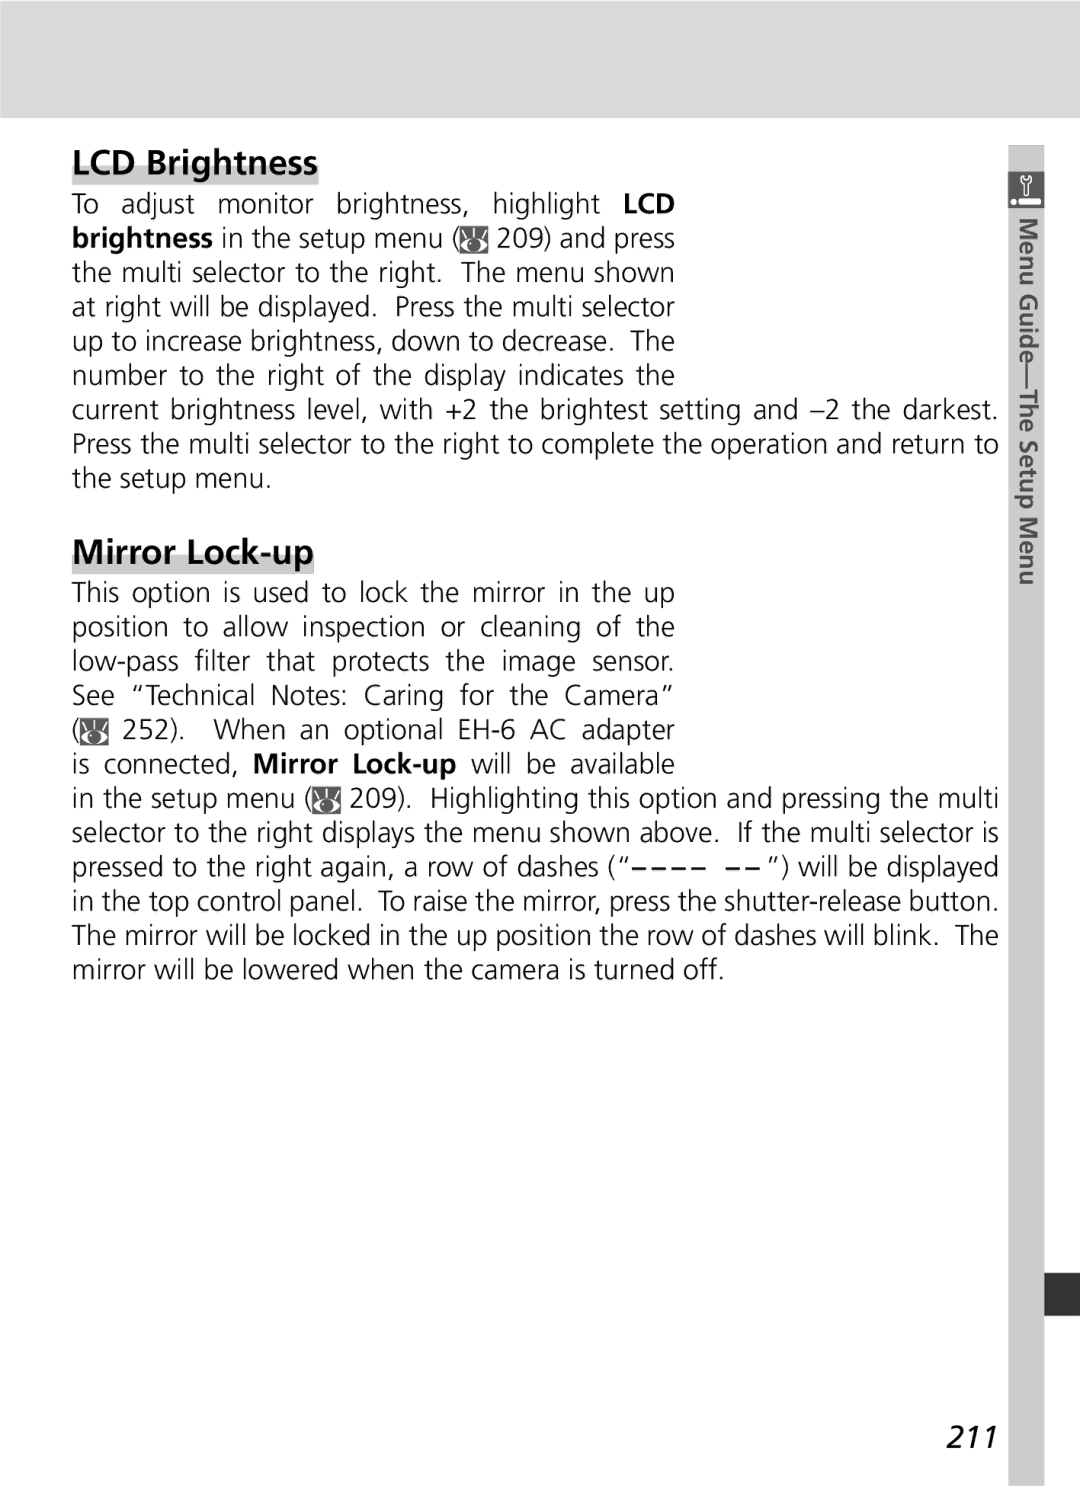
LCD Brightness
Mirror Lock-up
211
World Time
Video Mode
Language
212
213
Image Comment
Auto Image Rotation
214
Displayed in portrait orientation in camera monitor
Voice Memo Overwrite
Voice Memo
Voice Memo Button
Audio Output
216
USB
Dust Off Ref Photo
217
Image Dust Off
218
With the lens ten centimeters four inches
Image Dust Off Reference Data
Wireless LAN
Battery Info
219
Calibration Charging life
Settings
Wireless LAN Options for the WT-2/2A
Settings for the WT-2/2A and WT-1/1A
220
Settings
Wireless LAN system
221
Mode
222
Wireless
Multi selector to the right
Tions can be added to bank names as described on
Default Photos are not deleted after transmission
Under this name when pairing begins
Used when new folder is created or memory card inserted
223
Send both NEF and Jpeg files
224
225
Wireless LAN Options for the WT-1/1A
Transceiver
Status
Delete After Send?
226
Send File As
Send Folder
Adjust settings for connection to wire- less network
Network Settings
Firmware Version
227
228
Connecting to a Computer
Connecting to External Devices
Connecting to a Printer
229
230
DC-in connectors
Open the cover protecting the A/V-out
Use an AC Adapter
Before Connecting the Camera
Connecting to a Computer
231
Data Transfer and Camera Control
232
Connecting the USB Cable
Turn the camera on. If Mass Storage is
Do Not Turn the Camera Off
233
Disconnecting the Camera
234
Connecting to a Printer
Printing Photographs
Print Times
Done
235
Choose page size. Press multi selector
Size
236
Printing Selected Photographs
Highlight Choose folder
Highlight Print select . †
237
238
Printing the Current Print Order
239
Lenses and Other Accessories
Optional Accessories
Lenses for the D2X
240
Incompatible Accessories and Non-CPU Lenses
241
Compatible Non-CPU Lenses
Picture Angle and Focal Length
242
Calculating Picture Angle
Other Accessories
Use Only Nikon Brand Electronic Accessories
243
Eyepiece
244
245
246
247
Terminal for remote control and automatic
D2X is equipped with a ten-pin remote
Connects two cameras for simultaneous operation
248
Approved Memory Cards
Storage and Maintenance
Cleaning
Caring for the Camera
Storage
Replacing Focusing Screens
Replacing the Focusing Screen
250
Turn the camera off and remove the lens
Replacing the Clock Battery
Inserting the Clock Battery
251
252
Low-Pass Filter
Cleaning the Low-Pass Filter
Servicing the Camera and Accessories
253
Understanding Error Messages and Displays
Troubleshooting
Problem
254
Problem Solution
255
Monitor panel
256
257
Specifications
258
259
260
261
Battery Life
262
Index
263
Defaults, 180 menu banks
PTP
264
6MBA2111