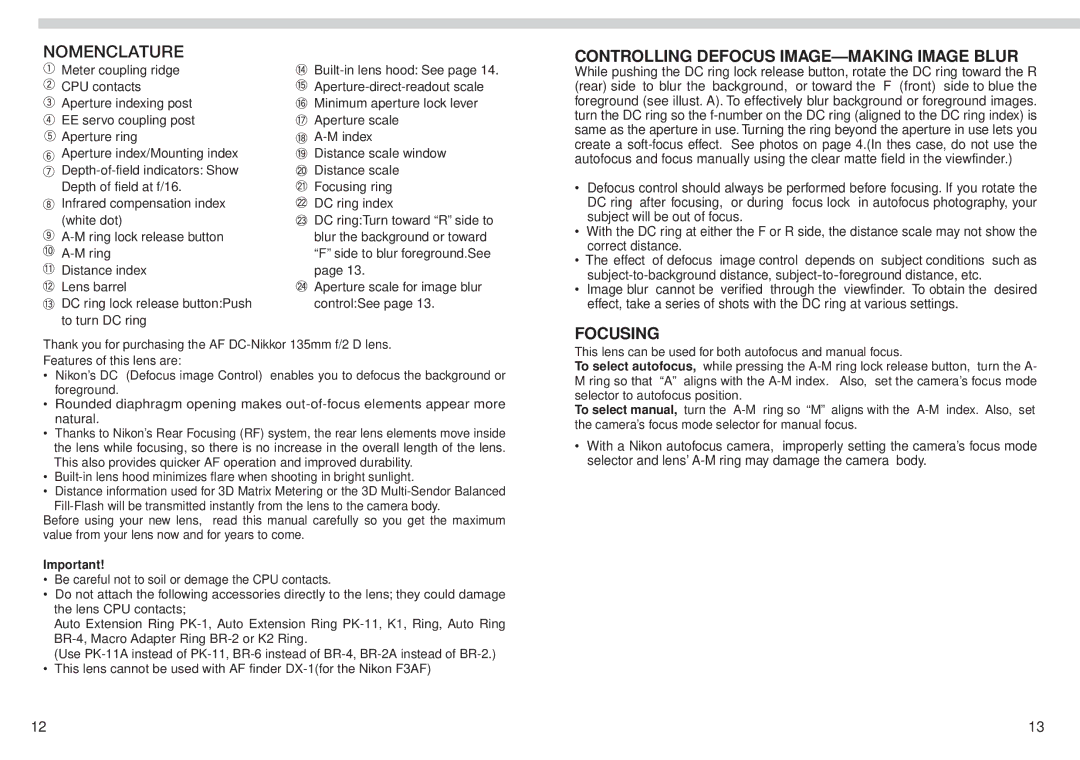
NOMENCLATURE
Meter coupling ridge
CPU contacts
Aperture indexing post
EE servo coupling post
![]() Aperture ring
Aperture ring
Aperture index/Mounting index
Infrared compensation index (white dot)
Distance index
Lens barrel
DC ring lock release button:Push to turn DC ring
Distance scale window Distance scale Focusing ring
DC ring index
DC ring:Turn toward “R” side to blur the background or toward “F” side to blur foreground.See page 13.
Aperture scale for image blur control:See page 13.
CONTROLLING DEFOCUS IMAGE–MAKING IMAGE BLUR
While pushing the DC ring lock release button, rotate the DC ring toward the R (rear) side to blur the background, or toward the F (front) side to blue the foreground (see illust. A). To effectively blur background or foreground images. turn the DC ring so the
•Defocus control should always be performed before focusing. If you rotate the DC ring after focusing, or during focus lock in autofocus photography, your subject will be out of focus.
•With the DC ring at either the F or R side, the distance scale may not show the correct distance.
•The effect of defocus image control depends on subject conditions such as
•Image blur cannot be verified through the viewfinder. To obtain the desired effect, take a series of shots with the DC ring at various settings.
FOCUSING
Thank you for purchasing the AF
•Nikon’s DC (Defocus image Control) enables you to defocus the background or foreground.
•Rounded diaphragm opening makes
•Thanks to Nikon’s Rear Focusing (RF) system, the rear lens elements move inside the lens while focusing, so there is no increase in the overall length of the lens. This also provides quicker AF operation and improved durability.
•
•Distance information used for 3D Matrix Metering or the 3D
Before using your new lens, read this manual carefully so you get the maximum value from your lens now and for years to come.
Important!
•Be careful not to soil or demage the CPU contacts.
•Do not attach the following accessories directly to the lens; they could damage the lens CPU contacts;
Auto Extension Ring
(Use
•This lens cannot be used with AF finder
This lens can be used for both autofocus and manual focus.
To select autofocus, while pressing the
To select manual, turn the
•With a Nikon autofocus camera, improperly setting the camera’s focus mode selector and lens’
12 | 13 |
