INSTALLATION
(CONTINUED)
STEP 6 – RUNNING THE SENSOR CABLE
Conceal the sensor cable between the sensor and the connection hub.For specific information refer to “Running Sensor Cable in New Construction” or “Concealing Sensor Cable in Existing Walls”.If you need to cut and restrip the wire, make sure that only 1/4” of wire is exposed. Exposing too much wire could create “shorts” within the system.
IMPORTANT: IF YOU HAVE DOUBTS ABOUT WHETHER YOU ARE CAPABLE OF INSTALLING A NILES REMOTE CONTROL ANYWHERE! KIT IN YOUR WALLS, CONSULT A NILES DEALER OR PROFESSIONAL INSTALLER. THEY HAVE SPECIAL TOOLS, TECHNIQUES, AND EXPERIENCE TO MAKE THE IMPOSSIBLE POSSIBLE. THE INSTALLER CAN PROVIDE YOU WITH AN ESTIMATE BEFORE ANY WORK IS DONE.
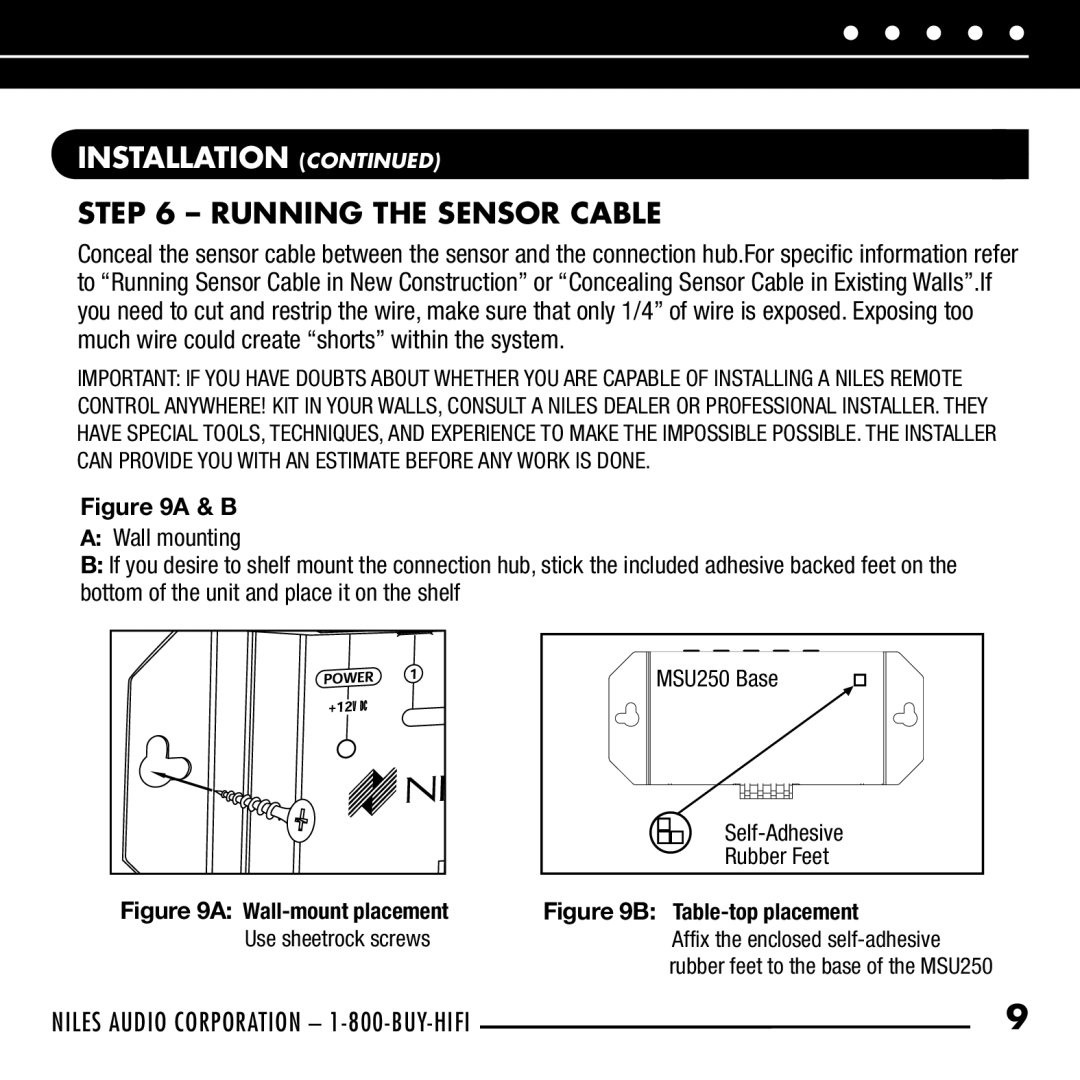
Figure 9A & B
A:Wall mounting
B:If you desire to shelf mount the connection hub, stick the included adhesive backed feet on the bottom of the unit and place it on the shelf
MSU250 Base![]()
| |
| Rubber Feet |
Figure 9A: | Figure 9B: |
Use sheetrock screws | Affix the enclosed |
| rubber feet to the base of the MSU250 |
NILES AUDIO CORPORATION – | 9 |