
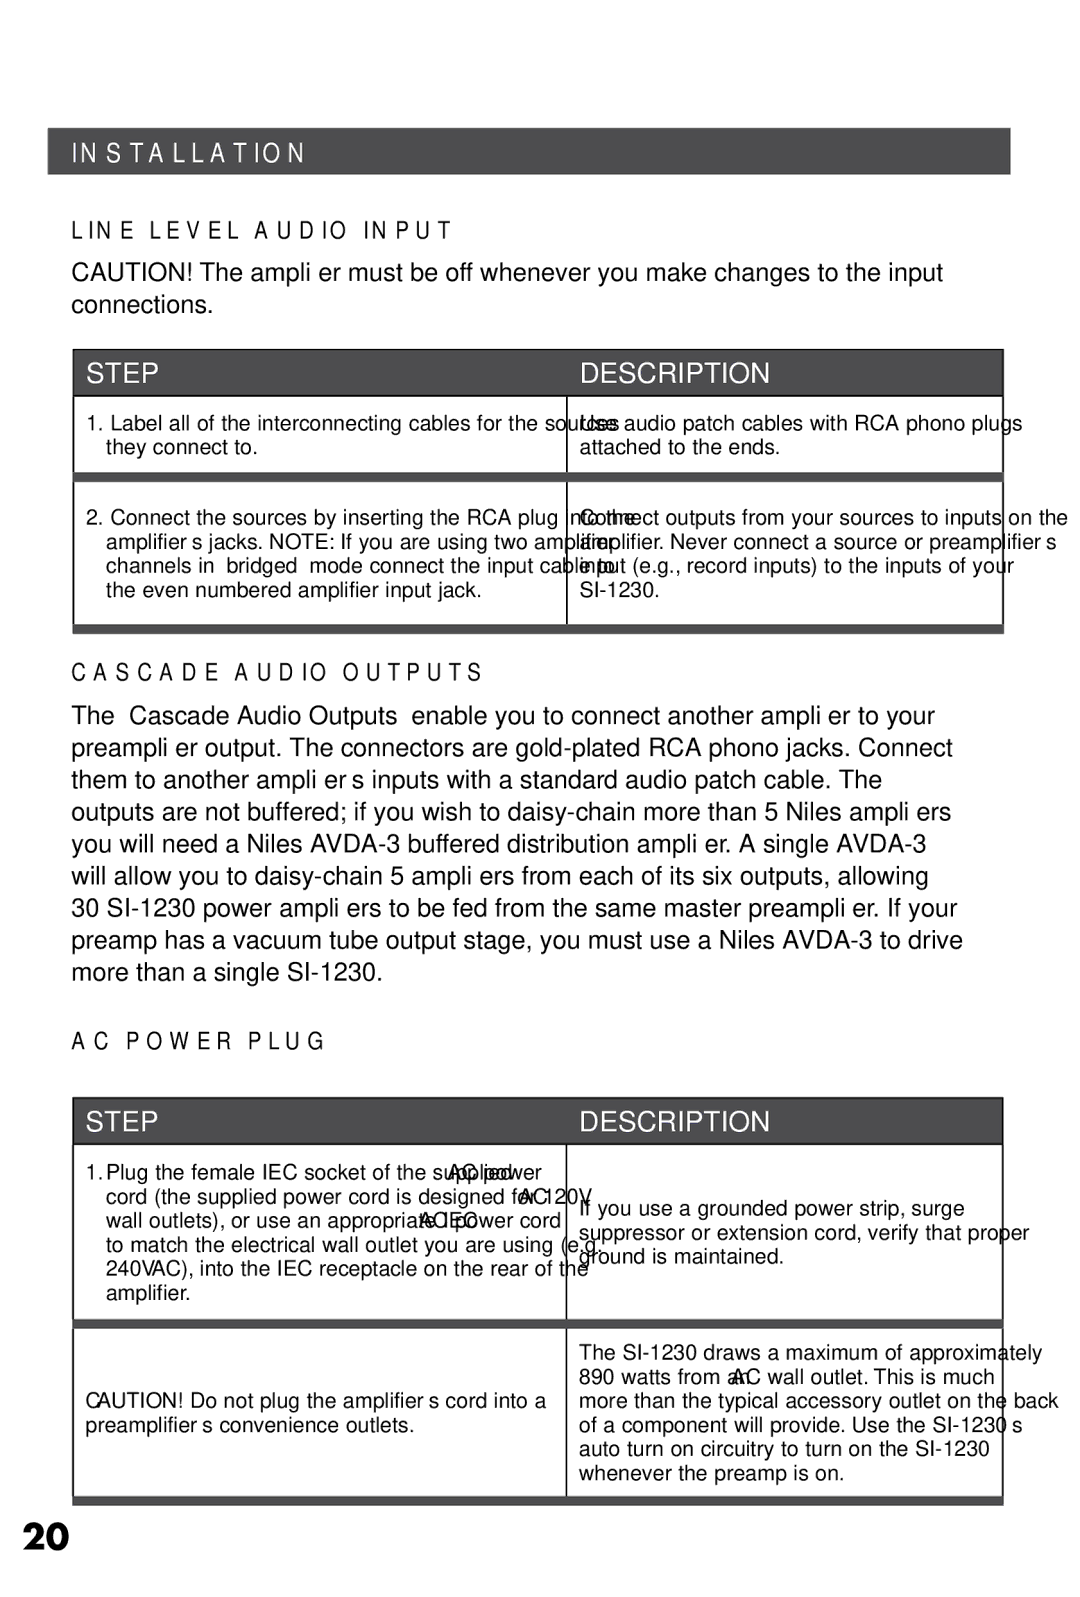
SI-1230 specifications
The Niles Audio SI-1230 is a standout model in the world of multi-channel amplifiers, designed to deliver outstanding audio performance for both home theater and whole-house audio systems. This amplifier is noted for its exceptional power, advanced features, and reliability, making it an ideal choice for audiophiles and professional installers alike.One of the main features of the SI-1230 is its robust power output. The amplifier delivers 30 watts per channel across all 12 channels. This consistent output ensures that every speaker in a multi-room setup receives adequate power, resulting in clear and dynamic sound reproduction. The SI-1230 is capable of driving a variety of speaker configurations, accommodating different layouts and preferences.
Another key characteristic of the SI-1230 is its incorporation of advanced technologies that enhance performance and ease of use. The amplifier features a high-performance, Class D design. Class D amplification is known for its efficiency, allowing the SI-1230 to maintain high output levels while minimizing heat generation and reducing power consumption. Additionally, this design ensures a compact form factor, making it easier to integrate into various environments.
The product also supports multiple input options, including both balanced and unbalanced connections. This versatility ensures compatibility with a wide range of audio sources, such as CD players, streaming devices, and home theater processors. The SI-1230 is equipped with a signal-sensing input that allows it to automatically power on and off, providing a convenient solution for energy conservation.
In terms of build quality, the Niles Audio SI-1230 is constructed with durable materials designed for longevity. It has a sleek design that can fit seamlessly into any home or commercial setting.
Moreover, it includes protection features to prevent overheating, short circuits, and power surges, which enhances its reliability. The amplifier also provides extensive control options allowing users to adjust settings as needed for optimal performance.
In summary, the Niles Audio SI-1230 is a powerful, efficient, and versatile multi-channel amplifier. Its combination of advanced technology, robust audio output, and user-friendly features makes it an excellent choice for enhancing audio experiences in both residential and commercial environments. Whether for a home theater setup or a multi-room audio system, the SI-1230 stands out as a reliable solution for high-quality sound reproduction.