
VCS-2D-HP specifications
The Niles Audio VCS-2D-HP is a high-performance volume control solution designed for audio enthusiasts seeking to enhance their multiroom audio experience. This device exemplifies premium craftsmanship and innovative technology, making it a staple in home audio installations.One of the standout features of the VCS-2D-HP is its dual-source capability, allowing users to control the volume of two different audio sources independently. This is particularly beneficial in multiroom setups, where different rooms may require different audio levels. The dual-source functionality enhances versatility, enabling seamless transitions in a home environment where various audio sources may be used simultaneously.
The VCS-2D-HP is equipped with a robust impedance matching feature, ensuring optimal performance without risking damage to amplifiers or speakers. This impedance matching capability allows the volume control to adjust and balance audio levels effectively across multiple speakers and zones, maintaining sound quality and clarity regardless of the setup.
Another notable aspect of this volume control is its high power handling capabilities. Designed to support up to 100 watts per channel, the VCS-2D-HP can accommodate a wide range of audio systems, from small setups to more powerful configurations. This makes it an ideal choice for both casual listeners and audiophiles seeking rich, immersive soundscapes.
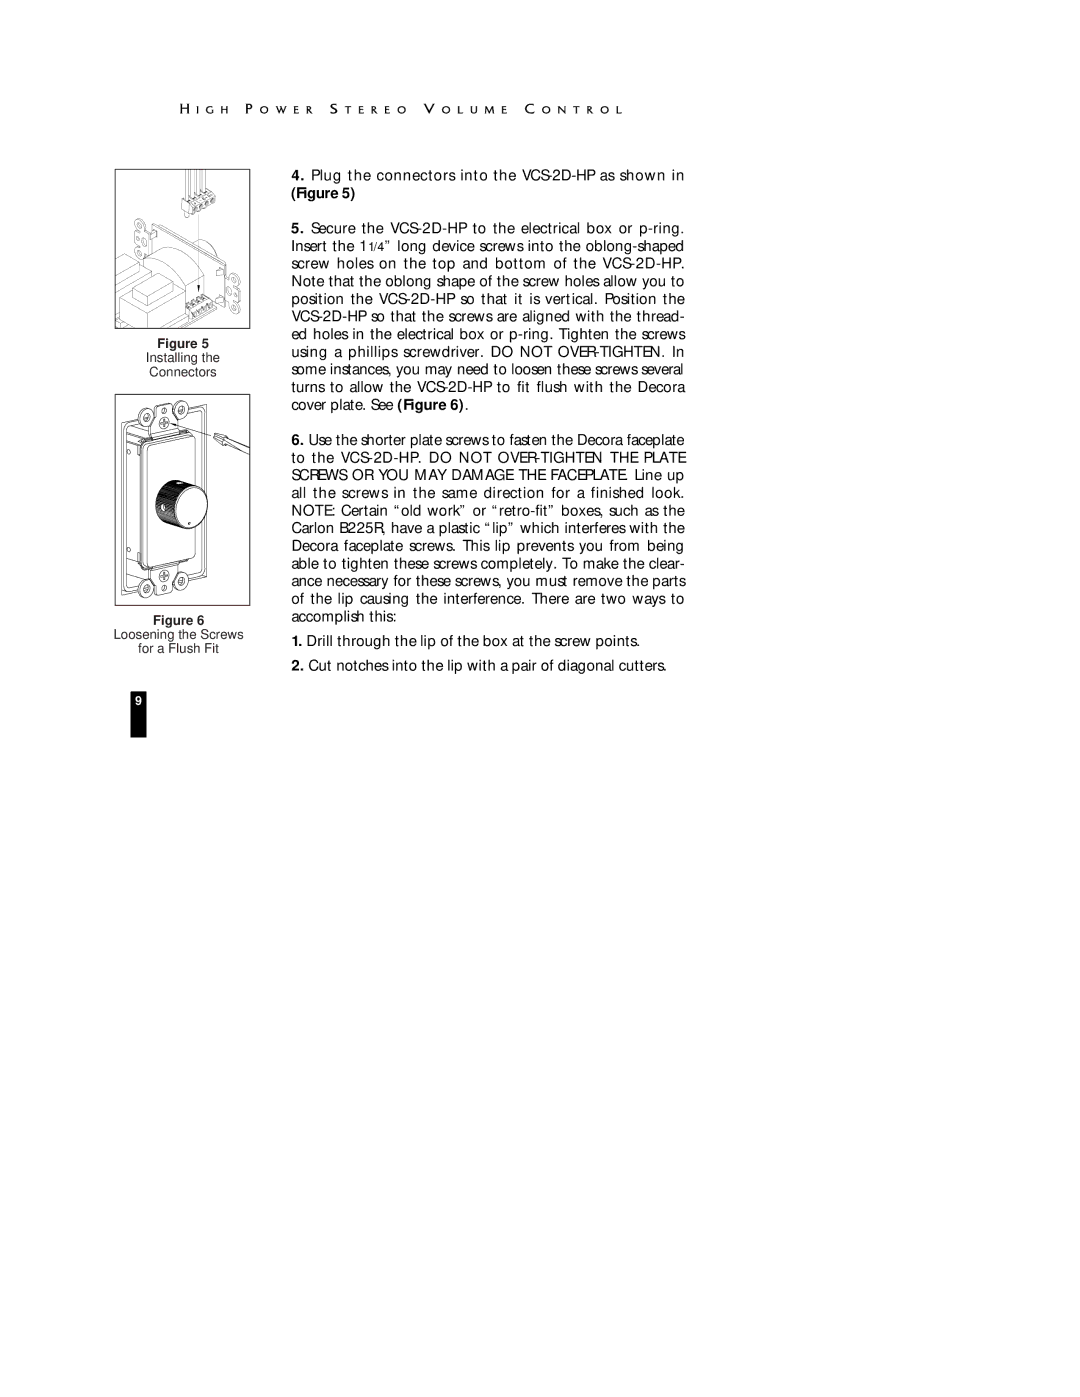
The ease of installation is yet another advantage of the VCS-2D-HP. It features a standard size that fits into a standard wall plate opening, making it compatible with most home decors. Its sleek and unobtrusive design blends seamlessly with any interior, ensuring that the audio control aesthetically complements the home.
Durability is also a key characteristic of the VCS-2D-HP. The device is built with high-quality materials, ensuring longevity and reliability over time. Furthermore, its simple knob control offers a tactile and intuitive interface for adjusting volume levels, allowing users to fine-tune their audio experience effortlessly.
In conclusion, the Niles Audio VCS-2D-HP volume control stands out as an essential component for anyone looking to optimize their home audio system. With its dual-source functionality, robust impedance matching, high power handling, ease of installation, and durable construction, it provides an exceptional solution for creating an enjoyable and flexible audio experience throughout the home. Whether setting the ambiance for a quiet evening or energizing a gathering, the VCS-2D-HP delivers impressive performance tailored to meet diverse audio needs.