DM1200/DM1235/DM1285
GUIDED TOUR OF FEATURES AND OPERATING INSTRUCTIONS...
INSTALLATION AND OPERATION
Study the Connections Diagram on page
14.First, connect all stereo input sources. Next connect your microphone(s) and monitor headphones. Make sure all faders are at "zero" and the unit is off. Finally, connect the stereo outputs to the power amplifier(s) and/or audio sources. Plug your mixer into AC power. Now you are ready to switch it on.
We have divided this manual into various functional blocks:
Input, Crossfader, DJ Mic, Master/Zone Output, Equalizer, and the onboard options of Beatkeeper or Sampler. It is important to learn how each of these work.
CHANNEL INPUTS/CONTROLS SECTION
1.Channels 1, 2, 3 & 4 Input Toggle Switches select which source will be live to that channel based on what you have connected to the rear panel input section.
2.The Input Faders are
3.Channel Cue Assign. The C u e pushbuttons are used to route channel audio to the Monitor Section. The channel faders do not control the C u e send volume.
4.Effect Send (Channels
The channel faders do not affect the signal levels which are routed to the send output.
CROSSFADER SECTION
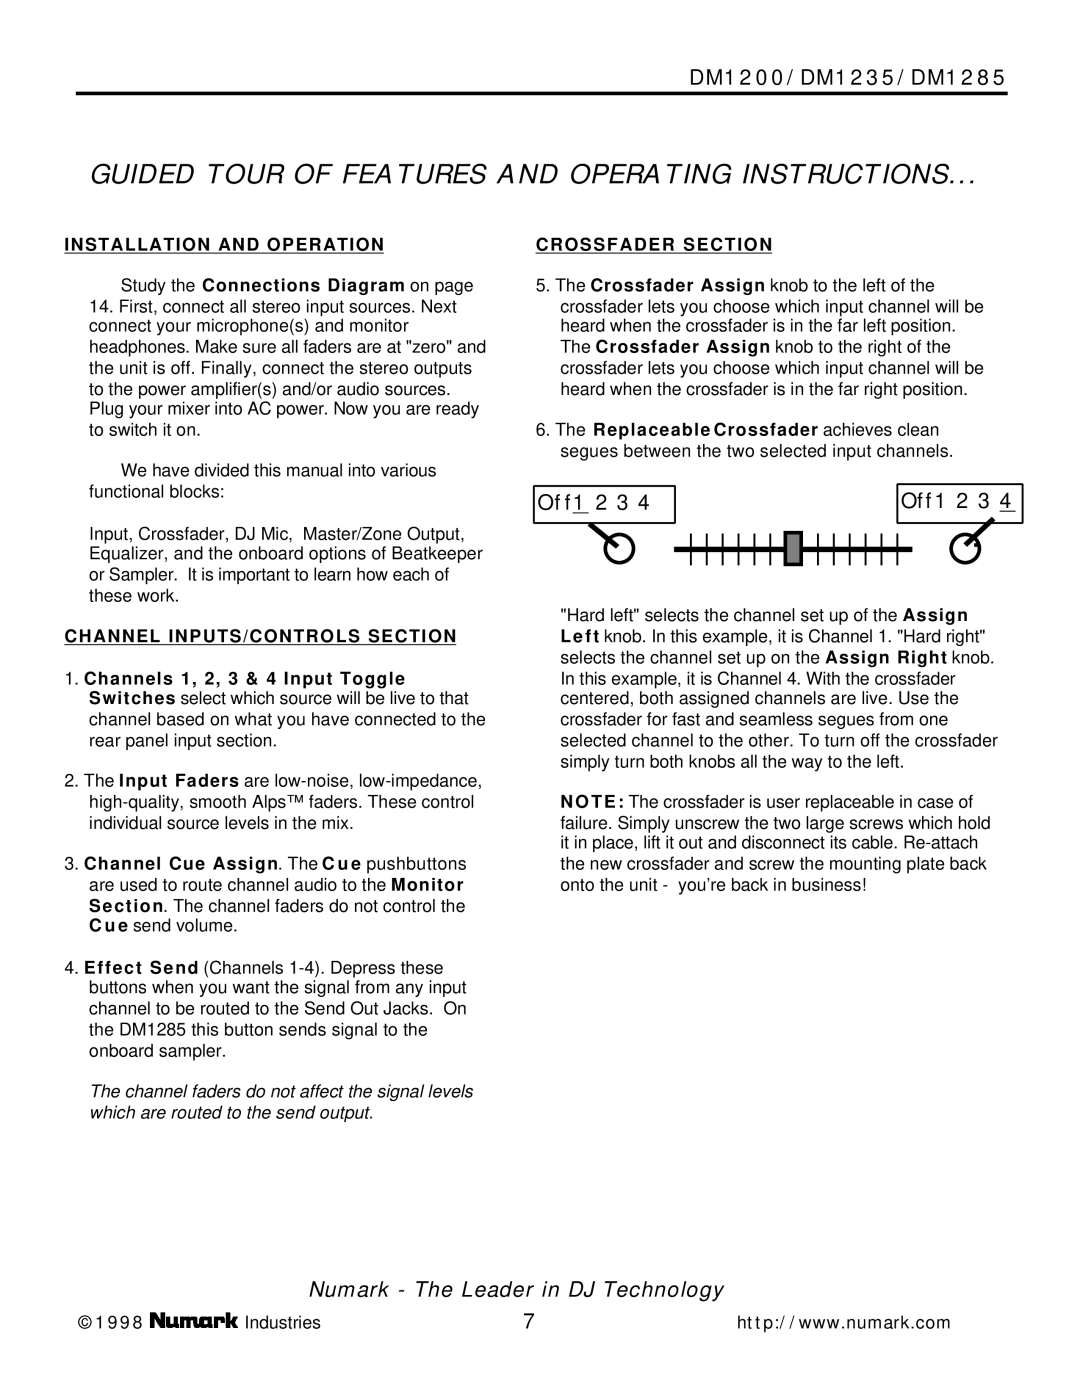
5.The Crossfader Assign knob to the left of the crossfader lets you choose which input channel will be heard when the crossfader is in the far left position. The Crossfader Assign knob to the right of the crossfader lets you choose which input channel will be heard when the crossfader is in the far right position.
6.The Replaceable Crossfader achieves clean segues between the two selected input channels.
Off1 2 3 4 |
| Off1 2 3 4 |
|
|
|
"Hard left" selects the channel set up of the Assign L e f t knob. In this example, it is Channel 1. "Hard right" selects the channel set up on the Assign Right knob. In this example, it is Channel 4. With the crossfader centered, both assigned channels are live. Use the crossfader for fast and seamless segues from one selected channel to the other. To turn off the crossfader simply turn both knobs all the way to the left.
N O T E : The crossfader is user replaceable in case of failure. Simply unscrew the two large screws which hold it in place, lift it out and disconnect its cable.
Numark - The Leader in DJ Technology
©1998 | Industries | 7 | http://www.numark.com |